Transform your home into a sustainable energy powerhouse through residential solar installation – a proven investment that delivers immediate environmental impact and long-term financial rewards. Before embarking on your solar journey, understanding these essential facts about solar installation will ensure a smooth transition to clean energy. Modern solar technology has revolutionized home energy production, offering homeowners the ability to slash electricity bills by 50-90% while increasing property values by an average of 4.1%.
The decision to go solar represents more than just an energy upgrade – it’s a strategic investment in your home’s future. With federal tax incentives covering up to 30% of installation costs, improved panel efficiency reaching 20-23%, and sophisticated energy monitoring systems, residential solar has never been more accessible or beneficial. Whether you’re motivated by environmental consciousness, energy independence, or financial savings, today’s solar solutions offer customizable options that adapt to your specific roof configuration, energy needs, and budget requirements.
Planning Your Residential Solar Installation
Home Energy Assessment
Before installing solar panels, conducting a thorough home energy assessment is crucial to ensure you get the most value from your investment. Start by gathering your past 12 months of electricity bills to understand your average monthly consumption in kilowatt-hours (kWh). This historical data provides a baseline for determining the ideal system size for your needs.
Next, evaluate your home’s energy efficiency. Look for areas where you can reduce consumption through simple improvements like LED lighting, better insulation, or energy-efficient appliances. These upgrades can help you maximize the benefits of your future solar installation by reducing the overall system size needed.
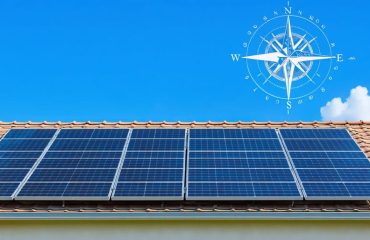
Consider your roof’s characteristics, including its size, orientation, and shade coverage. South-facing roofs typically receive the most sunlight in North America, while east and west-facing surfaces can still be viable options. Take note of any trees or structures that cast shadows on your roof throughout the day.
To calculate your optimal system size, divide your annual electricity usage by the average solar production in your area. Local solar professionals can help fine-tune these calculations based on factors specific to your location, such as weather patterns and seasonal variations.
Don’t forget to account for future changes in your energy needs, such as adding an electric vehicle or home additions. This forward-thinking approach ensures your solar system will meet both current and future energy requirements.
Site Evaluation and Solar Potential
Before installing solar panels, a thorough site evaluation is crucial to ensure maximum energy production and system efficiency. The process begins with assessing your roof’s orientation, with south-facing surfaces typically offering the best solar potential in the Northern Hemisphere. Your roof’s pitch or angle also plays a vital role in achieving an optimal panel layout.
Shade analysis is another critical factor. Trees, neighboring buildings, or other structures that cast shadows on your roof can significantly impact solar panel performance. Professional installers use specialized tools to track sun patterns throughout the year and identify potential shading issues.
Your roof’s condition and structural integrity must also be evaluated. Solar panels typically last 25-30 years, so your roof should be in good condition or may need repairs before installation. The available roof space determines how many panels can be installed and your potential energy production capacity.
Local weather patterns and climate conditions influence solar potential as well. While solar panels work effectively in most climates, factors like average sunny days, seasonal variations, and typical weather patterns help determine expected energy production. These elements, combined with your household’s energy consumption patterns, guide the system design to meet your specific needs.
Consider any local regulations, homeowners’ association rules, or building codes that might affect panel placement. A professional evaluation will account for all these factors to design a system that maximizes your solar investment while complying with local requirements.

The Installation Process Step by Step
Permitting and Documentation
Before installing solar panels, you’ll need to obtain the necessary permits and documentation from your local authorities. Most jurisdictions require building permits, electrical permits, and specific solar installation permits. Your solar installer typically handles this paperwork, but it’s important to understand what’s involved.
Start by checking your local zoning laws and homeowners association (HOA) requirements. Some areas have specific regulations about solar panel placement and appearance. Your installer will submit detailed system designs, including electrical diagrams and structural analysis of your roof, to the local building department.
You’ll also need documentation for utility interconnection, which allows your system to connect to the power grid. This includes applications for net metering programs and possibly additional safety certificates. Your installer should provide copies of all warranties, maintenance guidelines, and system specifications for your records.
The permitting process usually takes 2-8 weeks, depending on your location. While this might seem lengthy, these requirements ensure your installation meets safety standards and building codes. Keep all documentation in a safe place for future reference, especially for warranty claims or home sales.
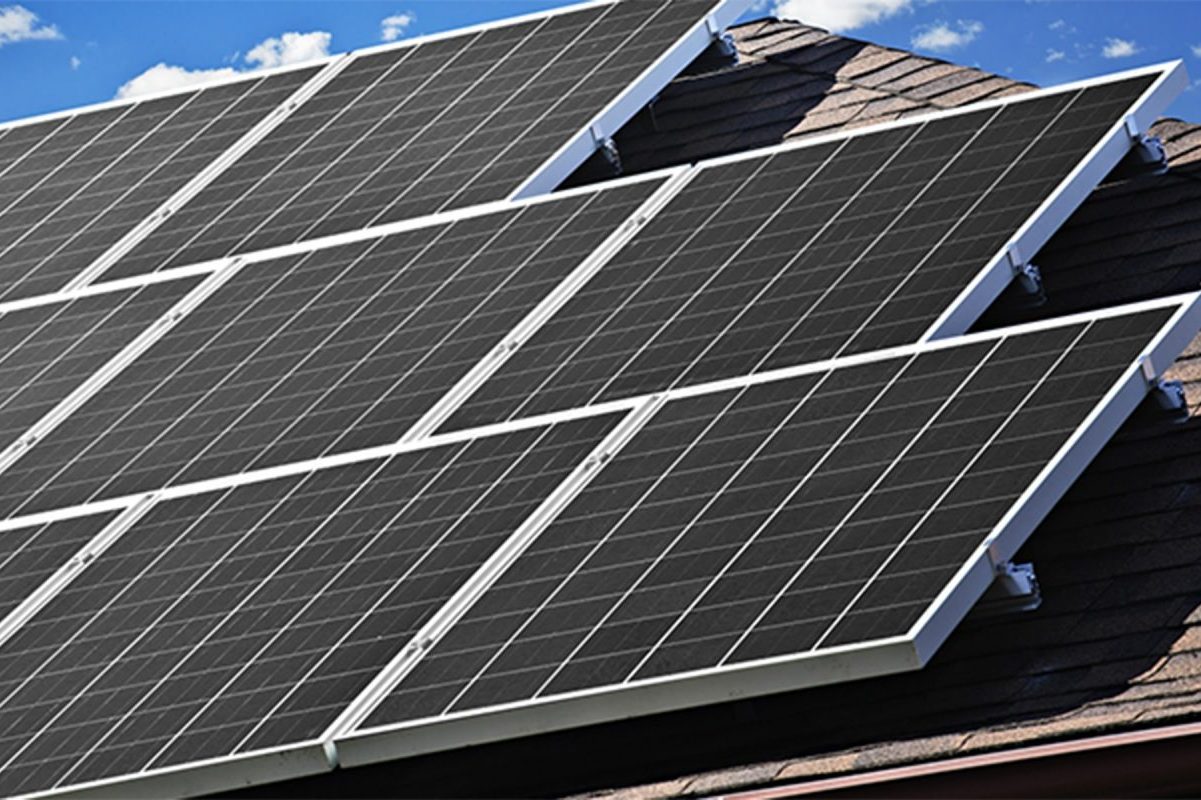
Mounting System Installation
Before installing solar panels, your roof needs proper preparation and a secure mounting system. First, your installation team will inspect the roof’s structural integrity and remove any obstacles like satellite dishes or old antennas. They’ll locate and mark your roof’s rafters, which provide the sturdy foundation needed for mounting.
The team then installs flashing and mounting brackets, carefully securing them to your roof’s rafters. These brackets are sealed with specialized weatherproof materials to prevent any water penetration. The mounting rails are attached to these brackets, creating a solid framework for your solar panels.
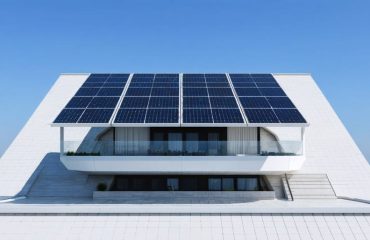
For flat roofs, installers may use a ballasted mounting system, which doesn’t require penetrating the roof surface. Instead, it uses weighted frames to hold the panels in place. For pitched roofs, flush mounting systems are most common, keeping panels parallel to your roof’s angle for optimal aesthetics and performance.
Throughout this process, installers follow strict building codes and manufacturer specifications to ensure your mounting system can withstand local weather conditions while maintaining your roof’s warranty.
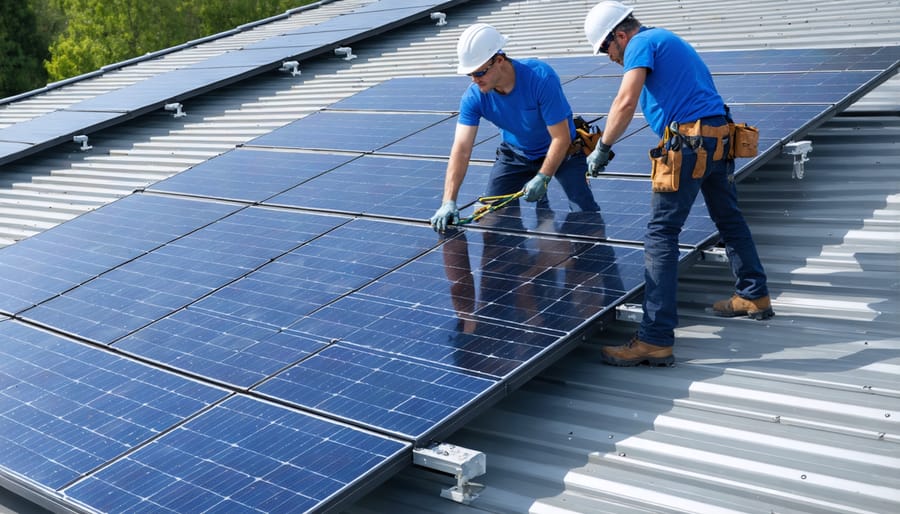
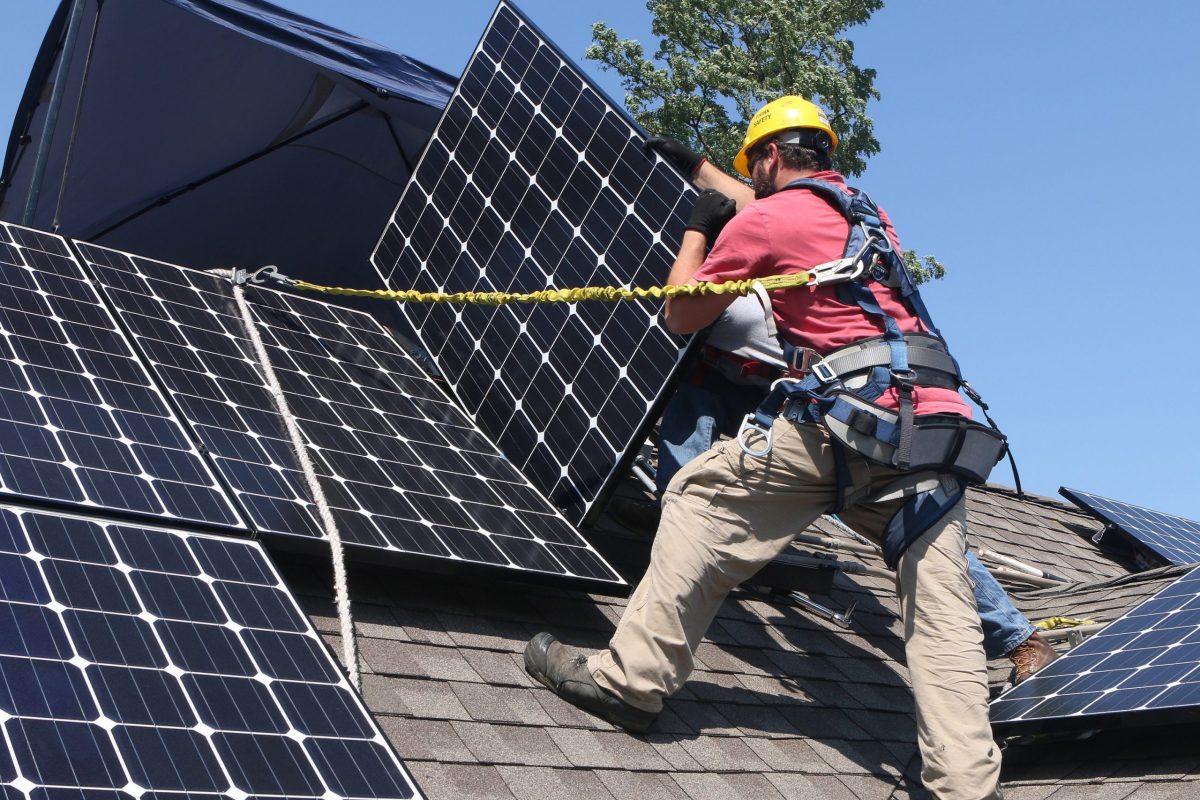
Panel Installation and Wiring
Once your solar panels arrive, professional installers will begin mounting the racking system to your roof. They’ll carefully place each panel, ensuring proper alignment and spacing for optimal sunlight exposure. The installation team will secure all panels using industry-approved mounting hardware and weatherproof sealing to protect your roof’s integrity.
After mounting, technicians will connect the panels in series or parallel configurations, depending on your system’s design. These connections lead to the inverter system setup, which converts the DC power generated by your panels into usable AC electricity for your home.
Safety is paramount during this phase, with installers following strict electrical codes and guidelines. They’ll install proper grounding equipment, surge protection devices, and disconnect switches. All wiring is carefully routed through protective conduits to prevent weather damage and ensure longevity.
The final step involves connecting your solar system to your home’s electrical panel and installing the necessary metering equipment for monitoring energy production. Most installations take 1-3 days, depending on system size and complexity.
Final Inspection and Grid Connection
Once your solar panels are installed, the system must pass a final inspection by your local authority. This inspection ensures that all electrical work meets safety codes and building regulations. Your installer will schedule this inspection and handle any necessary documentation.
After passing inspection, your utility company will install a new bi-directional meter that can track both the energy you consume and the excess power your system sends back to the grid. This typically involves a brief power interruption while they swap out the old meter.
The final step is receiving Permission to Operate (PTO) from your utility company. Once granted, your installer will activate the system and walk you through its operation. They’ll demonstrate how to monitor your energy production through the system’s monitoring app or website and explain basic maintenance requirements.
You can expect the entire inspection and connection process to take between 2-4 weeks, depending on your location and utility company’s schedule. Once complete, you’ll be ready to start generating your own clean, renewable energy and enjoying reduced electricity bills.
Post-Installation: What to Expect
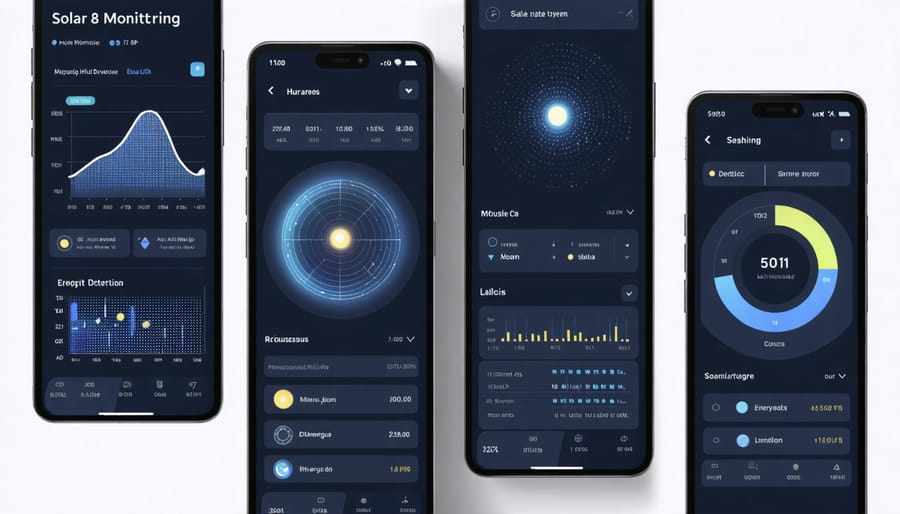
System Monitoring and Performance
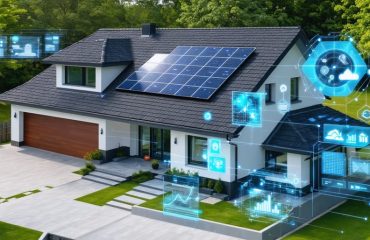
Modern solar installations come with sophisticated monitoring systems that let you track your system’s performance in real-time. Most manufacturers provide user-friendly mobile apps or web portals where you can view your energy production, consumption patterns, and potential savings at a glance.
These monitoring platforms typically display daily, monthly, and yearly energy generation statistics, helping you understand your system’s efficiency across different seasons and weather conditions. You’ll be able to see how much electricity your panels are producing, how much you’re consuming, and the amount of excess power being sent back to the grid.
Many monitoring systems also send alerts if they detect any issues with your installation, allowing for quick response to potential problems. You can track important metrics such as:
– Daily power generation
– Current system output
– Historical performance data
– Environmental impact (CO2 emissions avoided)
– Financial savings
To make the most of your monitoring system:
– Check your system’s performance regularly
– Compare production levels across different seasons
– Look for unusual drops in output that might indicate maintenance needs
– Keep track of weather patterns and their impact on generation
– Document your energy savings over time
Most modern inverters connect to your home’s Wi-Fi network, automatically uploading performance data to secure cloud servers. This allows you to access your system’s information from anywhere, giving you complete control and visibility over your solar investment. Regular monitoring helps ensure your system operates at peak efficiency and allows you to maximize your return on investment.
Maintenance and Care
Solar panels are remarkably low-maintenance, but regular care ensures optimal performance and longevity. Most homeowners find that cleaning and maintaining solar panels requires minimal effort while delivering maximum benefits.
A basic maintenance routine includes quarterly visual inspections to check for debris, damage, or unusual discoloration. During these checks, monitor your system’s performance through your solar inverter display or monitoring app to ensure consistent energy production.
In most climates, rain naturally washes away dust and light debris. However, if you live in a particularly dusty area or experience long periods without rain, gentle cleaning with water and a soft brush may be necessary 2-4 times per year. Avoid using harsh chemicals or abrasive materials that could damage the panels’ protective coating.
Keep trees trimmed to prevent shading and falling branches, and ensure leaves don’t accumulate on your panels during autumn. After snowfall, allow snow to melt naturally rather than attempting to remove it manually, which could risk damage to the system.
Consider scheduling professional inspections annually to verify electrical connections, mounting hardware, and overall system health. Many installers offer maintenance packages that include these services, along with performance monitoring and necessary adjustments.
With proper care, your solar installation can maintain peak efficiency for 25-30 years or more. If you notice any significant drops in energy production or physical damage, contact your installer promptly to address these issues before they affect your system’s performance.
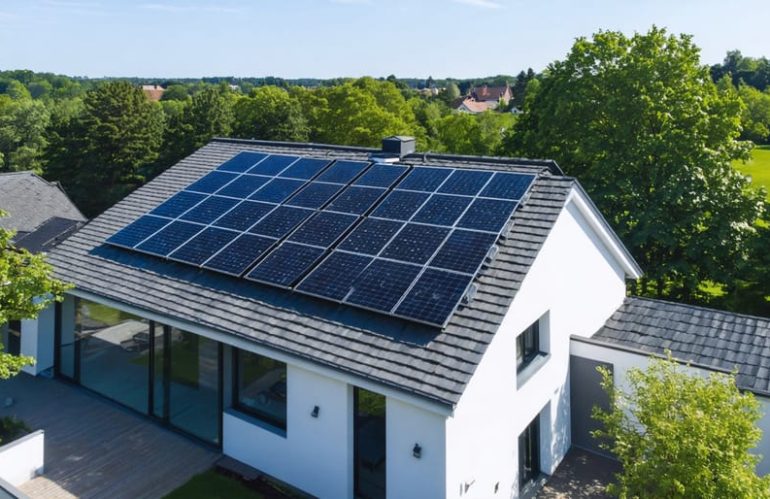
As we’ve explored throughout this guide, residential solar installation represents a significant step toward a more sustainable and financially secure future. The benefits of installing solar panels extend far beyond just reducing your carbon footprint. Homeowners who make the switch to solar energy typically see immediate reductions in their monthly utility bills, with many reporting savings of 50% or more on their electricity costs.
The long-term financial advantages are equally compelling. With federal tax incentives, state rebates, and the increasing efficiency of solar technology, the return on investment period has shortened considerably. Most homeowners can expect to recoup their initial investment within 5-8 years, while enjoying 25+ years of clean, renewable energy production.
Property value enhancement is another significant advantage, with solar-equipped homes typically commanding higher resale prices and selling faster than conventional properties. This addition of value, combined with the protection against rising energy costs, makes solar installation a sound investment in your home’s future.
Beyond the personal benefits, you’ll be contributing to a cleaner environment and energy independence for future generations. Each residential solar installation helps reduce reliance on fossil fuels and decreases greenhouse gas emissions, making a real difference in the fight against climate change.
Taking the next step toward solar power doesn’t have to be overwhelming. With numerous qualified installers, flexible financing options, and supportive governmental policies, there’s never been a better time to embrace solar energy. Start by getting multiple quotes from certified installers, reviewing your energy needs, and exploring available incentives in your area.
Remember, every solar journey begins with a single step. Whether you’re motivated by environmental concerns, financial benefits, or energy independence, the decision to go solar is an investment in both your home’s value and our planet’s future. Take action today to join the growing community of homeowners who are leading the way toward a more sustainable tomorrow.