Transform your home into a sustainable powerhouse with a professional solar panel installation that can slash energy bills and maximize the proven benefits of solar energy. This comprehensive guide walks you through every critical step of the solar installation process, from initial site assessment to final system activation.
Installing solar panels requires careful planning, precise execution, and attention to detail. Whether you’re considering a DIY approach or hiring professionals, understanding the fundamental requirements, local regulations, and technical specifications ensures a successful installation that meets your energy needs and building codes.
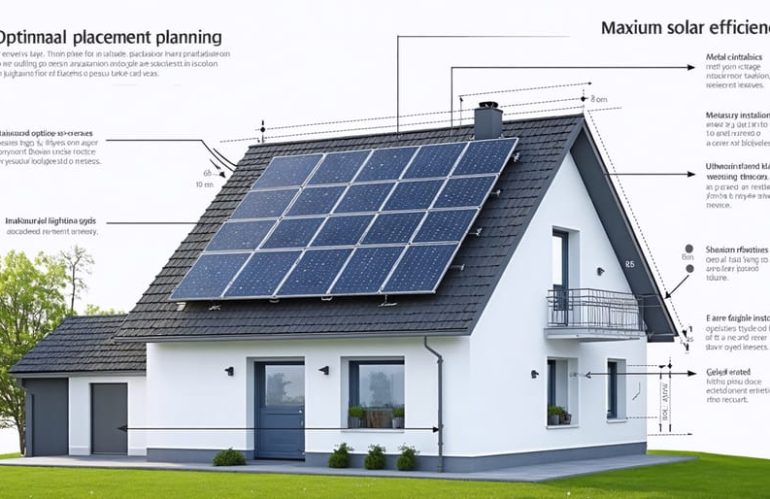
Before diving into installation, evaluate your roof’s condition, sun exposure, and structural integrity. Consider factors like panel orientation, shading from nearby structures, and your home’s average energy consumption. This guide provides the essential knowledge and step-by-step instructions to make informed decisions about your solar investment, ensuring optimal performance and maximum return on investment.
Let’s begin your journey toward energy independence with a detailed walkthrough of the solar installation process, covering everything from permit requirements to final inspections.
Planning Your Solar Installation
Site Assessment and Energy Needs
Before installing solar panels, it’s crucial to assess your property’s potential for solar energy generation and understand your household’s energy needs. Start by examining your roof’s orientation – south-facing roofs typically receive the most sunlight in the Northern Hemisphere. Consider factors like shade from nearby trees or buildings, as these can significantly impact solar panel efficiency.
Next, review your past 12 months of electricity bills to calculate your average energy consumption. This information helps determine the size of the solar system you’ll need. Most utility companies provide detailed usage history, making this step straightforward. Remember that your energy needs might change in the future, especially if you’re planning to add electric vehicles or major appliances.
A professional solar assessment can provide detailed insights about your roof’s structural integrity, optimal panel placement, and potential energy generation. They’ll use specialized tools to measure sun exposure throughout the day and seasons, ensuring maximum efficiency for your installation. This assessment also helps estimate the system’s cost, allowing you to explore various solar financing options that best suit your budget.
Consider local weather patterns, as they affect solar panel performance. While panels work effectively in most climates, understanding your area’s specific conditions helps set realistic expectations for energy production and savings.
Permits and Regulations
Before installing your solar system, you’ll need to navigate the necessary permits and regulations in your area. Most jurisdictions require building permits, electrical permits, and specific solar installation permits. These requirements ensure your installation meets safety standards and building codes.
Start by contacting your local building department to understand the specific requirements for your area. They can provide a checklist of needed permits and documentation. Common requirements include system design plans, electrical diagrams, and structural engineering reports to verify your roof can support the solar panels.
Many homeowners’ associations (HOAs) also have specific guidelines regarding solar installations. While many states have “solar rights laws” that prevent HOAs from prohibiting solar installations, they may have requirements about panel placement and visibility.
Your utility company will also need to approve your installation through an interconnection agreement. This document outlines how your solar system will connect to the power grid and establishes protocols for net metering.
While the permitting process might seem daunting, most solar installation companies handle these requirements as part of their service. They’re familiar with local regulations and can streamline the approval process. Just ensure all permits are properly obtained before installation begins to avoid potential fines or the need to modify your system later.
Choosing Your Solar Equipment
Panel Types and Efficiency
When choosing solar panels for your home, understanding the different types available and their efficiency ratings is crucial for maximizing your investment. Thanks to latest solar panel technology, homeowners now have several excellent options to consider.
Monocrystalline panels are the most efficient, typically converting 15-22% of sunlight into electricity. While they come at a higher initial cost, their superior performance and sleek black appearance make them popular for residential installations. These panels work exceptionally well in limited space situations.
Polycrystalline panels offer a more budget-friendly alternative, with efficiency ratings between 13-17%. Their distinctive blue color comes from multiple crystal fragments, and while slightly less efficient, they perform admirably in most residential settings.
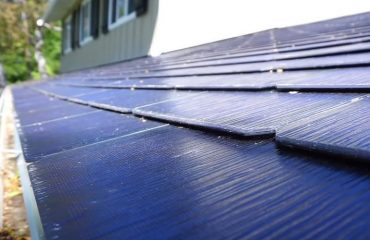
Thin-film panels are the most affordable option, though they typically have lower efficiency ratings of 10-12%. Their flexibility and lightweight nature make them ideal for unique installation situations, such as curved surfaces or structures with weight restrictions.
The panel’s efficiency rating directly impacts how much power you can generate from your available roof space. For example, a 300-square-foot roof area with 20% efficient panels will generate significantly more power than the same area with 15% efficient panels.
When selecting your panels, consider these key factors:
– Available roof space
– Local climate conditions
– Budget constraints
– Aesthetic preferences
– Warranty terms
– Manufacturing quality
Remember that higher efficiency doesn’t always mean better value – the best choice depends on your specific situation and energy needs.
Inverters and Battery Storage
Inverters and battery storage systems are crucial components that maximize your solar energy efficiency and ensure reliable power supply. The inverter converts DC power generated by your solar panels into usable AC power for your home, while battery storage allows you to save excess energy for later use.
Modern solar inverters come in three main types: string inverters, microinverters, and power optimizers. String inverters are the most economical choice and work well for installations with consistent sun exposure. Microinverters, while more expensive, optimize each panel individually and perform better in partial shade conditions. Power optimizers offer a middle-ground solution, combining the benefits of both systems.
For battery storage, lithium-ion batteries have become the industry standard due to their reliability, long lifespan, and decreasing costs. A typical home battery system can store between 10-15 kWh of energy, enough to power essential appliances during the evening or during power outages. Some popular options include the Tesla Powerwall, LG Chem RESU, and Enphase Encharge systems.
When selecting your components, consider factors like:
– Your daily energy consumption patterns
– Local weather conditions and grid reliability
– Available space for battery installation
– Future energy needs and system expandability
– Warranty terms and manufacturer support
Most modern systems include smart monitoring capabilities, allowing you to track energy production and consumption through mobile apps. This feature helps you optimize your energy usage and ensure your system performs at its best.
The Installation Process
Mounting and Placement
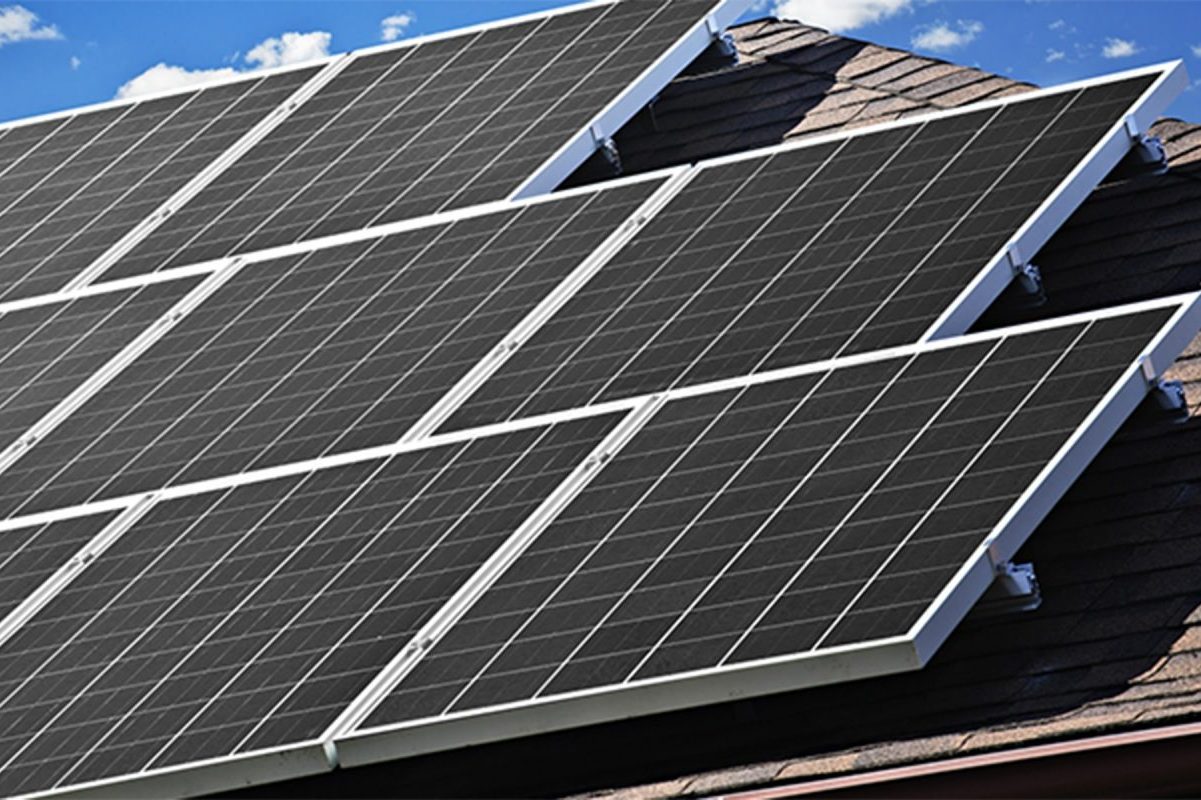
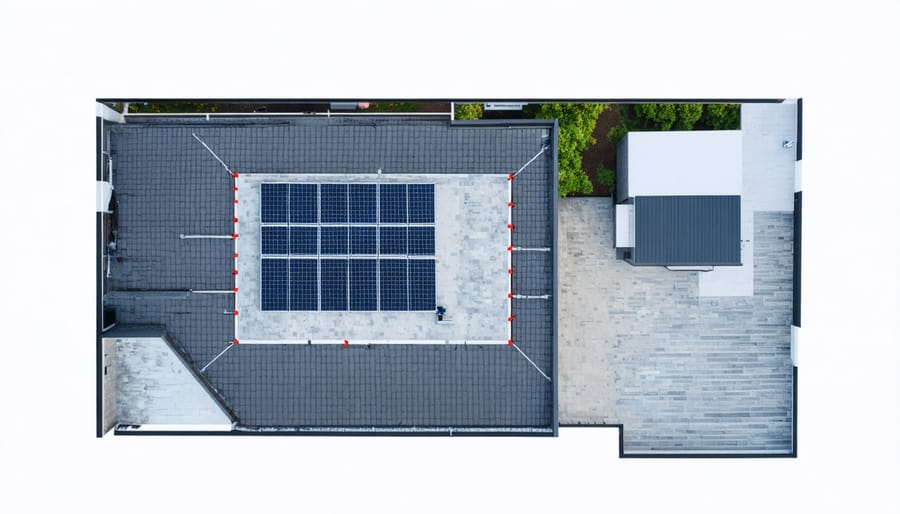
Proper mounting and placement of your solar panels are crucial for maximizing energy production and ensuring system longevity. The ideal location is typically your roof, though ground mounting is also an option for properties with sufficient space. Your roof should be structurally sound and able to support the additional weight of the solar system.
For optimal performance, panels should face south in the Northern Hemisphere, though southeast and southwest orientations can also work well. The ideal roof pitch is between 30-45 degrees, matching your geographical latitude for best results. However, modern mounting systems can adjust panel angles even if your roof pitch isn’t perfect.
Consider potential shade from trees, chimneys, or nearby buildings when choosing panel locations. Even partial shade on one panel can significantly reduce the efficiency of an entire string of panels. It’s often worth trimming trees or adjusting panel placement to minimize shading throughout the day.
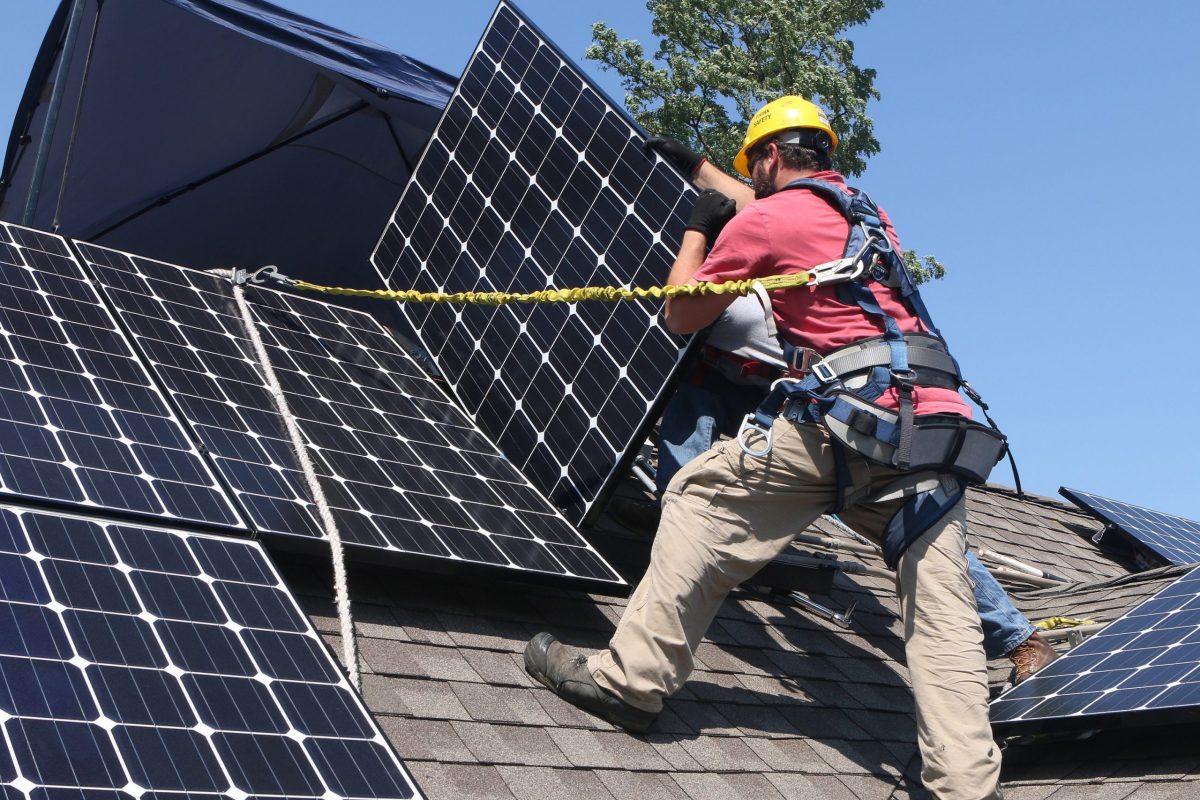
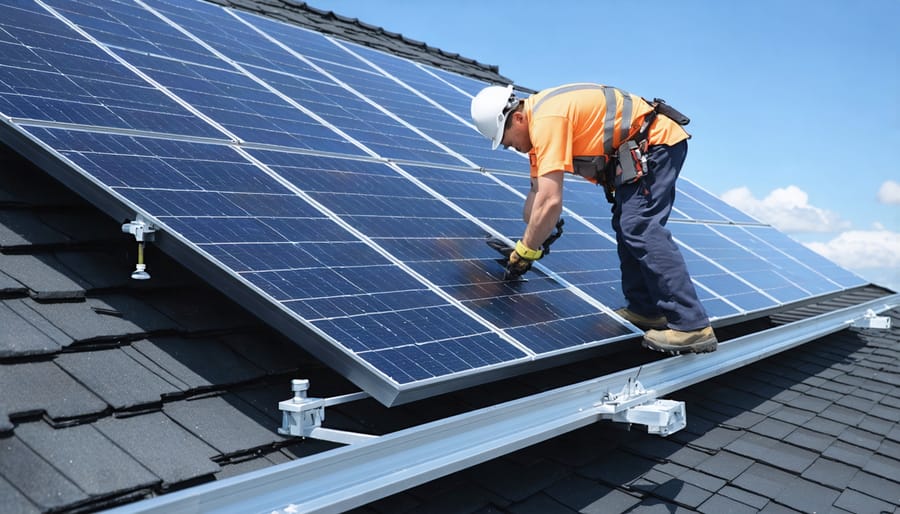
Professional installers will use mounting hardware specifically designed for your roof type. For shingled roofs, this typically involves installing mounting brackets beneath the shingles and securing them to roof rafters. For metal roofs, special clamps may be used that don’t require penetrating the roofing material.
Leave adequate space around the panels for maintenance access and proper airflow, which helps maintain panel efficiency. Also ensure your mounting system includes appropriate grounding equipment to protect against lightning strikes and electrical surges.
Electrical Connections
The electrical connections are a crucial part of your solar installation that require careful attention and professional expertise. Your solar panels connect to an inverter, which converts the DC power generated by your panels into usable AC power for your home. From there, the system connects to your home’s electrical panel and utility meter.
A licensed electrician will install a new circuit breaker in your main electrical panel specifically for your solar system. They’ll also set up the necessary safety disconnects, which allow you to shut off your solar system when needed for maintenance or emergencies.
For grid-tied systems, your utility company will install a bi-directional meter that tracks both the energy you draw from the grid and the excess power your system sends back. This is essential for net metering, where you receive credits for surplus energy production.
All wiring must comply with local electrical codes and be properly protected from the elements. Conduit housing protects external wiring, while weather-resistant junction boxes secure connection points. Your installer will also ensure proper grounding to protect against electrical surges and lightning strikes.
Remember to obtain all necessary electrical permits before beginning this phase of installation. While DIY solar projects are possible, the electrical connections should always be handled by certified professionals to ensure safety and code compliance.
Post-Installation Steps
System Testing
Once your solar panels are installed, thorough system testing is essential to ensure everything works perfectly. Your installer will conduct a series of tests to verify proper operation and maximum performance. This typically starts with a visual inspection to check all connections, followed by voltage and current measurements at different points in the system.
The testing process includes verifying that your inverter displays the correct readings and that your monitoring system accurately tracks power production. Your installer should demonstrate how to read these displays and explain what normal operation looks like. They’ll also test all safety mechanisms, including rapid shutdown features and ground fault protection.
Performance verification involves running the system through a complete operational cycle, usually during peak sunlight hours. Your installer will compare actual power output with expected production based on your system’s design. They should also verify that your system properly connects to the grid and that your meter correctly records both energy consumption and production.
Keep all testing documentation for future reference and warranty purposes. Your installer should provide a detailed report of all test results and system specifications.
Monitoring Setup
Setting up a monitoring system for your solar installation helps you track performance and ensure you’re getting the most from your investment. Most modern solar systems come with a user-friendly monitoring app that you can install on your smartphone or tablet. Once connected to your home’s WiFi network, these apps provide real-time data about your energy production and consumption.
To get started, download your manufacturer’s recommended monitoring app and create an account. Your solar installer will help you connect the system’s inverter to your home network and ensure the monitoring equipment is properly configured. The app will guide you through a simple setup process, usually involving scanning a QR code on your inverter or entering a serial number.
Your monitoring dashboard typically displays daily, monthly, and yearly energy production, helping you understand your system’s performance patterns. Many apps also send alerts if there’s an issue with your system and provide detailed reports on energy savings and environmental impact. Regular monitoring helps you spot potential problems early and verify that your solar investment is delivering the expected returns.
Keep your monitoring app updated and check it periodically to stay informed about your system’s performance and energy savings.
Taking the step towards solar energy is a smart investment in both your home’s future and the environment. Throughout this guide, we’ve covered the essential aspects of solar installation, from initial assessment to final system activation. Remember that proper planning, choosing qualified installers, and understanding your energy needs are crucial for a successful solar project.
By following the steps outlined in this guide, you’re well-equipped to navigate the solar installation process with confidence. Whether your primary motivation is reducing energy costs, increasing home value, or contributing to environmental sustainability, solar power offers multiple benefits that make the initial investment worthwhile.
Your next steps should include:
– Getting multiple quotes from certified solar installers
– Reviewing your home’s energy consumption patterns
– Checking local regulations and permit requirements
– Exploring available tax incentives and rebates
– Discussing financing options with solar providers
Keep in mind that while the installation process may seem complex, the long-term benefits of solar energy make it a worthwhile endeavor. With proper maintenance, your solar system can provide clean, reliable energy for 25-30 years or more. As energy costs continue to rise, your decision to go solar today will yield increasing returns in the years to come.
Don’t hesitate to consult with solar professionals who can address your specific needs and circumstances. The path to energy independence starts with taking that first step.