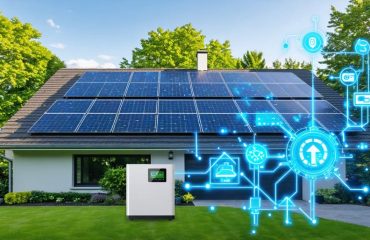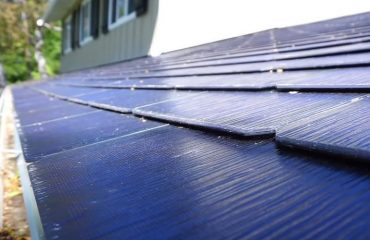
Connecting four solar panels in parallel can dramatically boost your home’s power generation while maintaining a consistent voltage output – a smart choice for homeowners seeking reliable renewable energy. This configuration allows your system to maintain steady voltage even when some panels are partially shaded, making it ideal for residential rooftops with varying sun exposure throughout the day. When properly installed, a parallel array of four panels increases current output fourfold, delivering the robust power needed for demanding household applications while offering built-in redundancy if one panel underperforms. Whether you’re expanding an existing setup or planning your first solar installation, understanding parallel configurations helps maximize your investment in clean energy while ensuring stable power production for years to come. This practical guide will walk you through everything you need to know about wiring, optimizing, and maintaining a four-panel parallel solar array for your home.
Understanding Parallel Solar Panel Connections
How Parallel Connections Work
When connecting solar panels in parallel, imagine multiple streams flowing into a larger river. In home solar systems, parallel connections allow electrical current to flow through multiple paths while maintaining the same voltage across all panels. This setup is particularly effective because if one panel’s performance is reduced (say, due to shade), the other panels continue working at full capacity.
Think of it like having four separate garden hoses connected to the same water tank. Each hose contributes its water flow independently, resulting in a higher total flow rate while maintaining consistent water pressure. Similarly, in a parallel solar setup, each panel contributes its current while sharing the same voltage.
The beauty of parallel connections lies in their reliability. If one panel experiences issues, the others continue functioning normally, ensuring your system maintains power production. This makes parallel configurations an excellent choice for residential installations where consistent energy output is crucial, especially in partially shaded conditions or when panels face different directions.
Benefits of Parallel Wiring
Connecting solar panels in parallel offers several compelling advantages for homeowners looking to maximize their solar energy system’s performance. The most significant benefit is increased current output while maintaining a consistent voltage level, allowing you to power more devices simultaneously without compromising system stability.
Parallel wiring also enhances system reliability through redundancy. If one panel becomes shaded or malfunctions, the other panels continue operating at full capacity, ensuring your home maintains power production throughout the day. This feature is particularly valuable during partial shading conditions, such as when trees or nearby structures cast shadows on portions of your solar array.
Another key advantage is the flexibility to add more panels to your system over time. As your energy needs grow, you can easily expand your setup without having to reconfigure the entire system. This scalability makes parallel wiring an excellent choice for homeowners who want to start small and gradually increase their solar capacity.
Maintenance is also more straightforward with parallel configurations, as individual panels can be removed for cleaning or repairs without shutting down the entire system.
Setting Up 4 Solar Panels in Parallel
Required Components
To set up four solar panels in parallel, you’ll need several essential components to ensure a safe and efficient system. The main items required are:
4 identical solar panels (recommended 100-400W each)
1 solar charge controller (rated for your total system amperage)
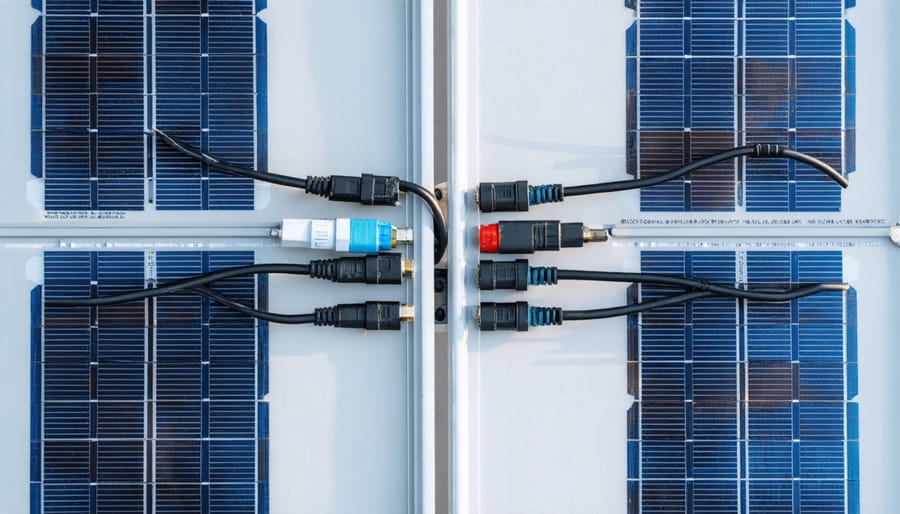
4 pairs of MC4 connectors
Heavy-duty solar cable (red and black)
MC4 branch connectors (Y-branches or 4-to-1 adapters)
Circuit breaker or fuse box
Deep cycle battery bank
Power inverter
Mounting brackets and hardware
Basic tools (wire strippers, crimping tool, screwdrivers)
For optimal performance, ensure all four solar panels are of the same make, model, and wattage rating. The charge controller should be sized approximately 20% larger than your total system output to handle surge currents. Your cables should be properly rated for outdoor use and UV-resistant. When selecting MC4 connectors, choose high-quality, waterproof options to prevent connection issues. The mounting hardware should be corrosion-resistant and suitable for your specific installation location, whether it’s a roof, ground mount, or other structure.
Installation Steps
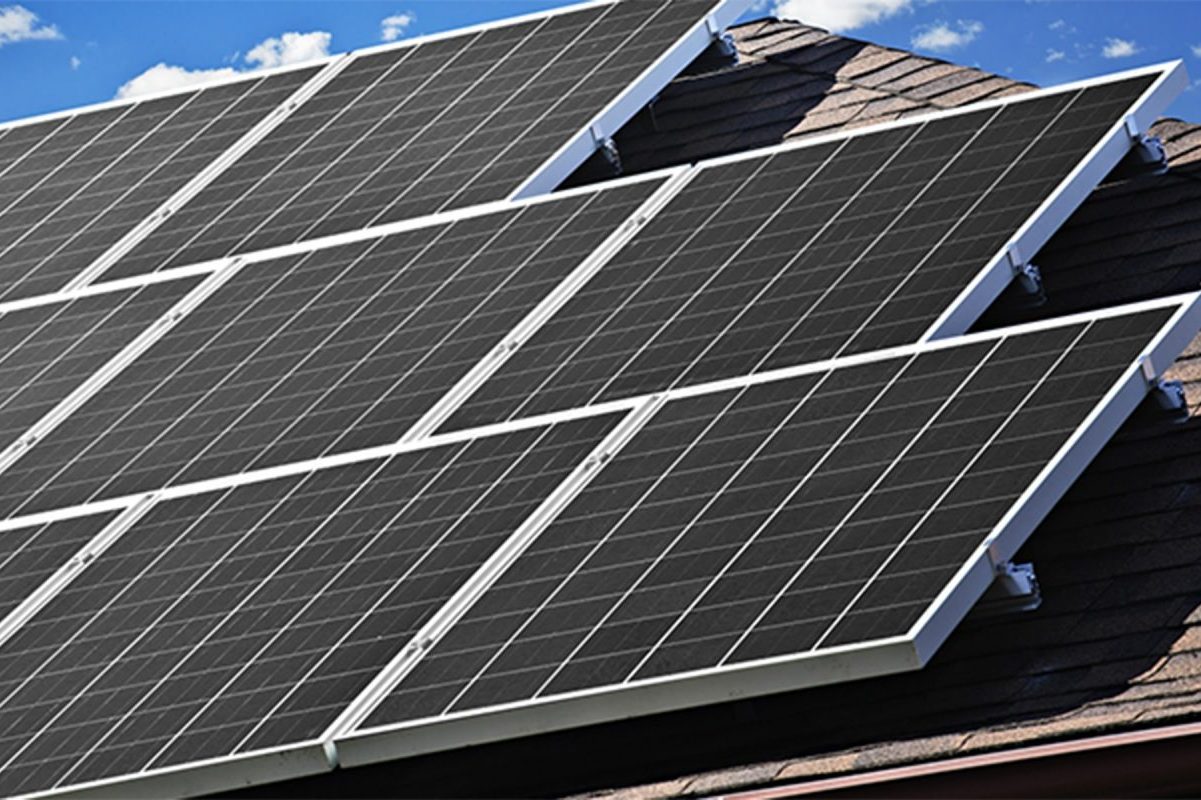
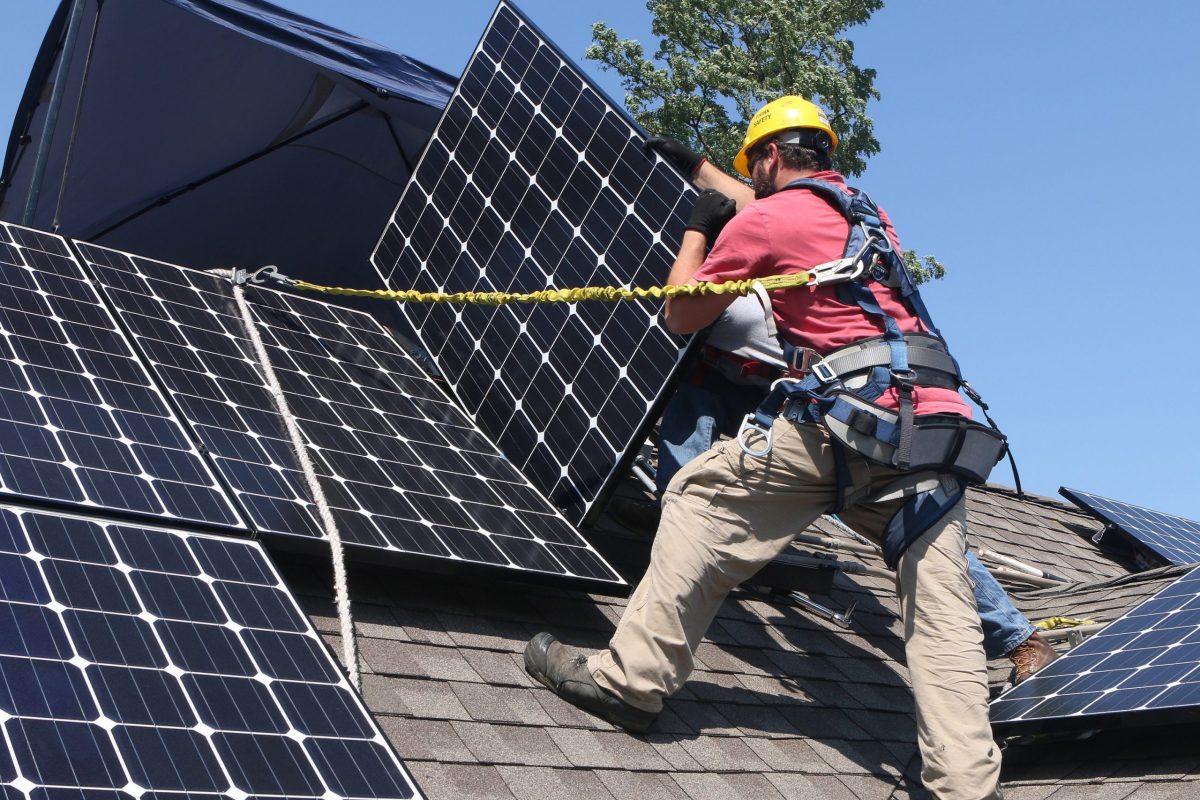
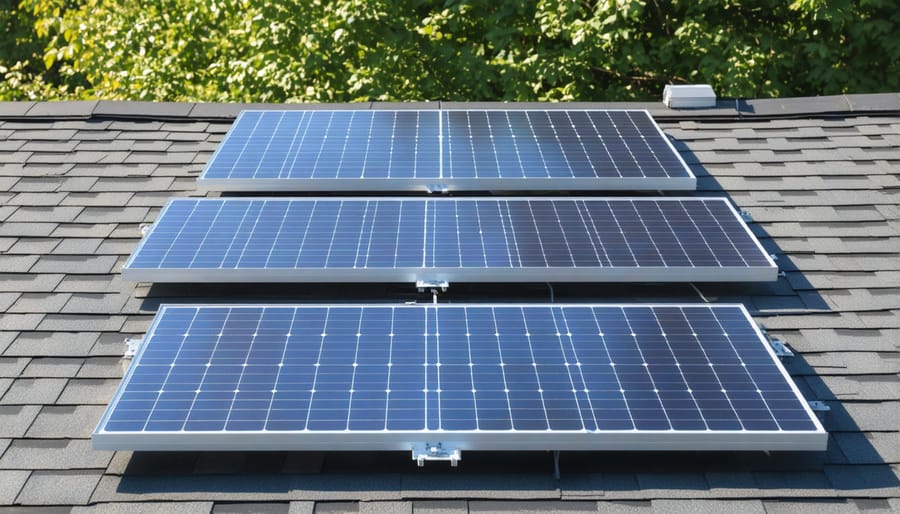
Before beginning the installation, ensure you have all necessary components and tools ready. Start by positioning your four solar panels in their designated locations, ensuring they receive optimal sunlight exposure for your self-sufficient solar system.
1. Mount the solar panels securely using appropriate mounting hardware, maintaining even spacing between panels for proper airflow and maintenance access.
2. Identify the positive and negative terminals on each panel. Most panels have clearly marked junction boxes with (+) and (-) symbols.
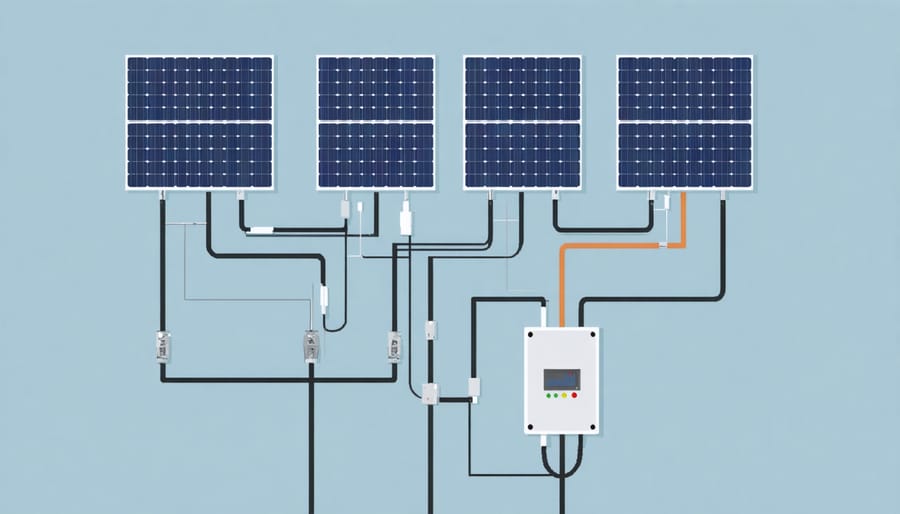
3. Connect the panels in parallel by following these steps:
– Join all positive terminals together using appropriate gauge solar cable
– Connect all negative terminals together with matching cable
– Ensure all connections are weather-tight using MC4 connectors
4. Install a combiner box near your panel array. This houses the connections and provides protection from the elements.
5. Run the main positive and negative cables from the combiner box to your charge controller, maintaining proper cable support and protection.
6. Double-check all connections:
– Verify polarity is correct at all points
– Ensure all connection points are tight and secure
– Confirm weatherproof seals are properly seated
7. Test the system using a multimeter to verify proper voltage output before connecting to your charge controller.
Remember to follow local building codes and safety guidelines throughout the installation process. If you’re unsure about any step, consult a qualified solar installer for guidance. Regular maintenance checks will help ensure your parallel system continues operating efficiently.
Maximizing System Performance
Maintenance Tips
Regular maintenance is essential to keep your parallel-connected solar panels operating at peak efficiency. Start by conducting monthly visual inspections of all four panels for dust, debris, or bird droppings that can reduce performance. Clean the panels using soft water and a non-abrasive cloth or sponge – avoid harsh chemicals that might damage the protective glass coating.
Check all electrical connections quarterly, ensuring they remain tight and corrosion-free. Pay special attention to the parallel connectors and junction boxes, as loose connections can lead to power loss or safety hazards. Consider integrating home battery storage systems into your maintenance routine, checking their connections and performance alongside your panels.
Monitor your system’s output regularly through your inverter display or monitoring app. A sudden drop in performance might indicate maintenance needs. During winter, clear snow accumulation promptly but safely. Trim nearby trees or vegetation that might cast shadows on the panels, as shading even one panel in a parallel configuration can impact the entire system’s performance.
Schedule professional inspections annually to ensure optimal system health and identify potential issues before they become serious problems.
Troubleshooting Common Issues
When your parallel-connected solar panels aren’t performing optimally, a few common issues might be at play. The most frequent problem is uneven voltage output between panels, which can occur when one panel is partially shaded or dirty. Regular cleaning and ensuring all panels receive equal sunlight can resolve this issue.
Another typical challenge is loose or corroded connections between panels. Check all wiring points regularly and ensure weatherproof connectors are properly sealed. If you notice any green corrosion or loose connections, clean the contacts and tighten all connections securely.
Hot spots can develop when panels are too close together. Maintain proper spacing between panels (typically 1-2 inches) to allow for adequate airflow and thermal expansion. This also helps prevent overheating issues during peak summer months.
Sometimes, faulty bypass diodes can cause reduced output. If you notice significant drops in power production, test each panel’s output individually to identify the problematic unit. While this might require professional help, it’s crucial for maintaining system efficiency.
Remember to monitor your system’s performance regularly through your inverter display or monitoring system to catch issues early and maintain optimal power production.
Installing four solar panels in parallel is a smart investment that can significantly boost your home’s energy independence while reducing your carbon footprint. This configuration offers excellent reliability, consistent power output, and the flexibility to expand your system as your energy needs grow. By maintaining steady voltage levels while increasing current output, parallel connections make the most of available sunlight, even during partially cloudy conditions.
Taking the step toward solar energy doesn’t just benefit the environment – it translates into substantial savings on your monthly energy bills. With proper installation and maintenance, your parallel solar panel system can provide reliable power for decades, making it a worthwhile long-term investment for your home.
As solar technology becomes more accessible and affordable, there’s never been a better time to embrace clean energy. Whether you’re starting small with four panels or planning to expand in the future, a parallel configuration provides the perfect foundation for your solar journey. Make the switch today and join the growing community of homeowners who are powering their lives with sustainable, cost-effective solar energy.