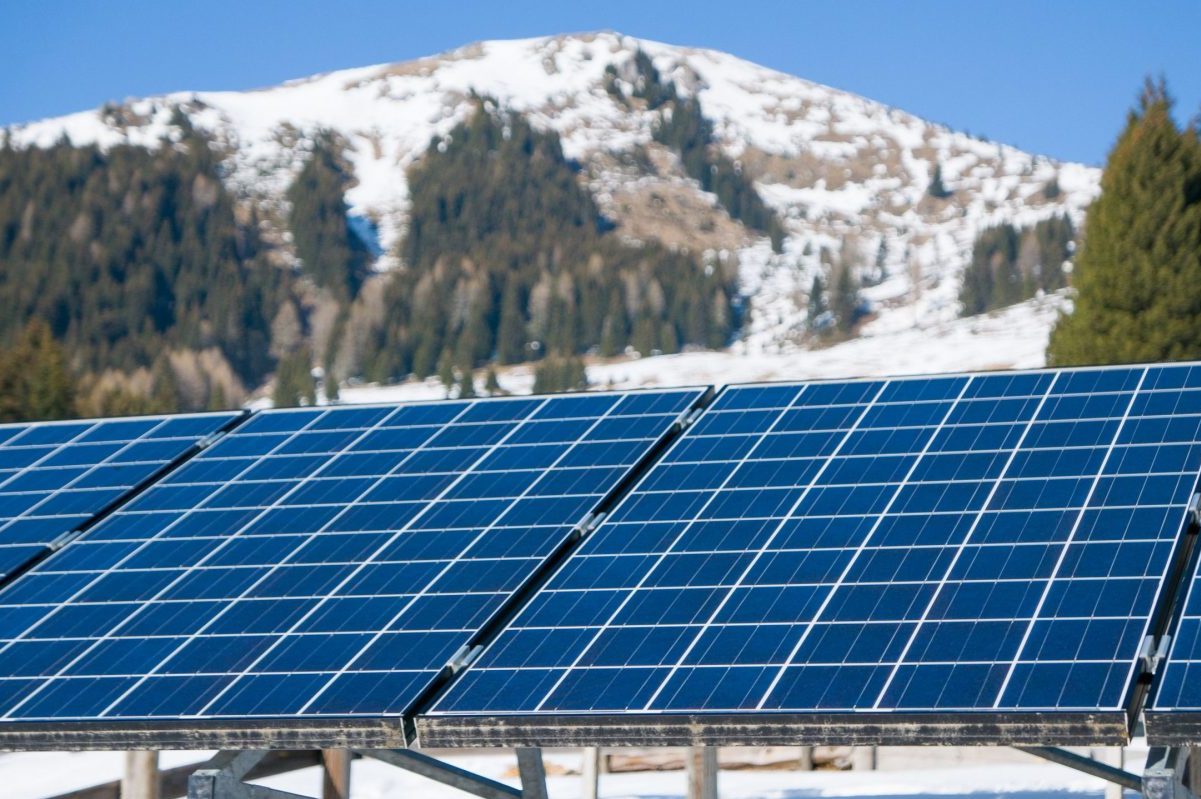
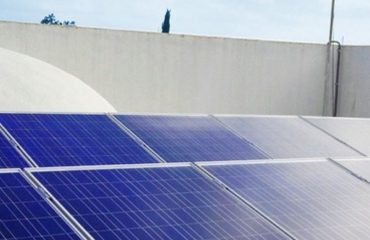
"Rooftop solar panels capturing sunlight, illustrating the shift to sustainable energy solutions at home."

From Sunshine to Savings: Your Step-by-Step Guide to Going Solar at Home

Harnessing the sun’s limitless energy to power your home with solar is no longer a distant dream but an accessible reality. The residential solar development process has been streamlined, making it easier than ever for homeowners to embrace clean, renewable energy. From initial site assessment to final installation, each step is designed to maximize your solar potential while minimizing hassle. With advancements in technology, attractive financing options, and expert guidance readily available, now is the perfect time to embark on your solar journey. Discover how you can reduce your carbon footprint, slash energy bills, and join the growing community of solar-powered homes. The future of sustainable living is here – and it starts with your decision to go solar.

Step 1: Assess Your Solar Potential

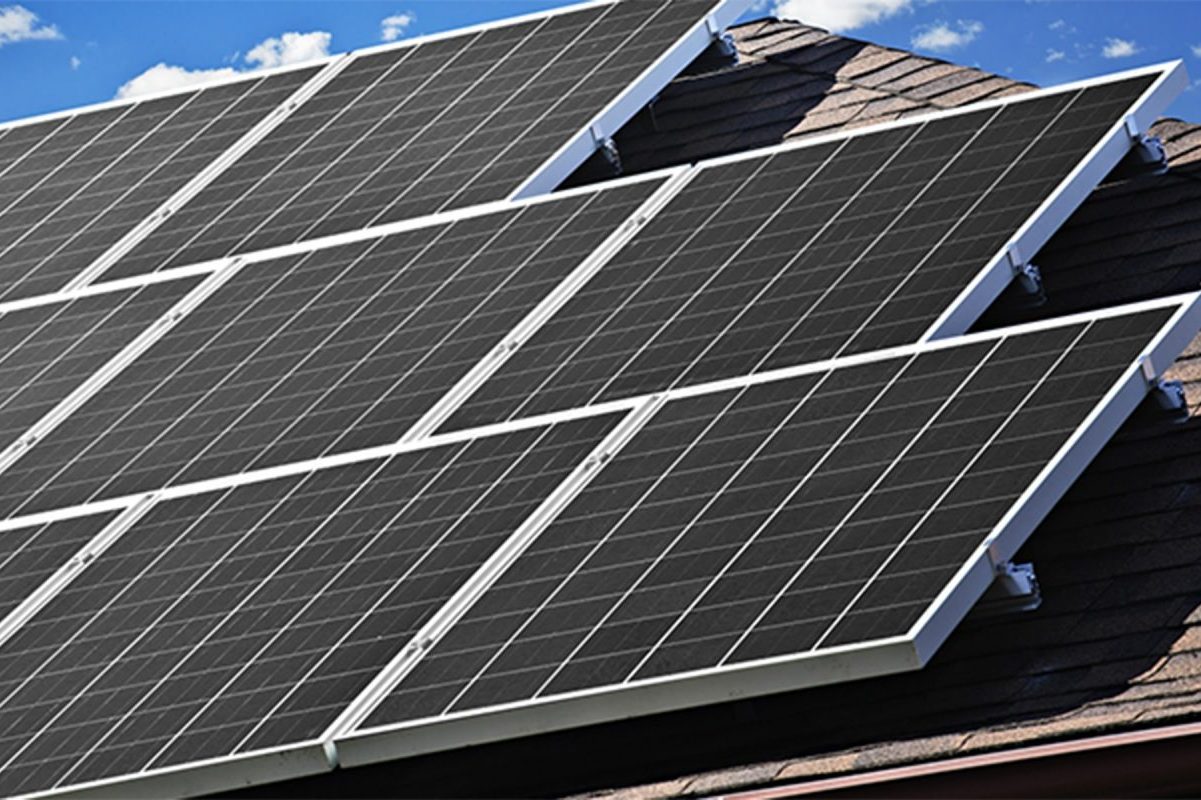
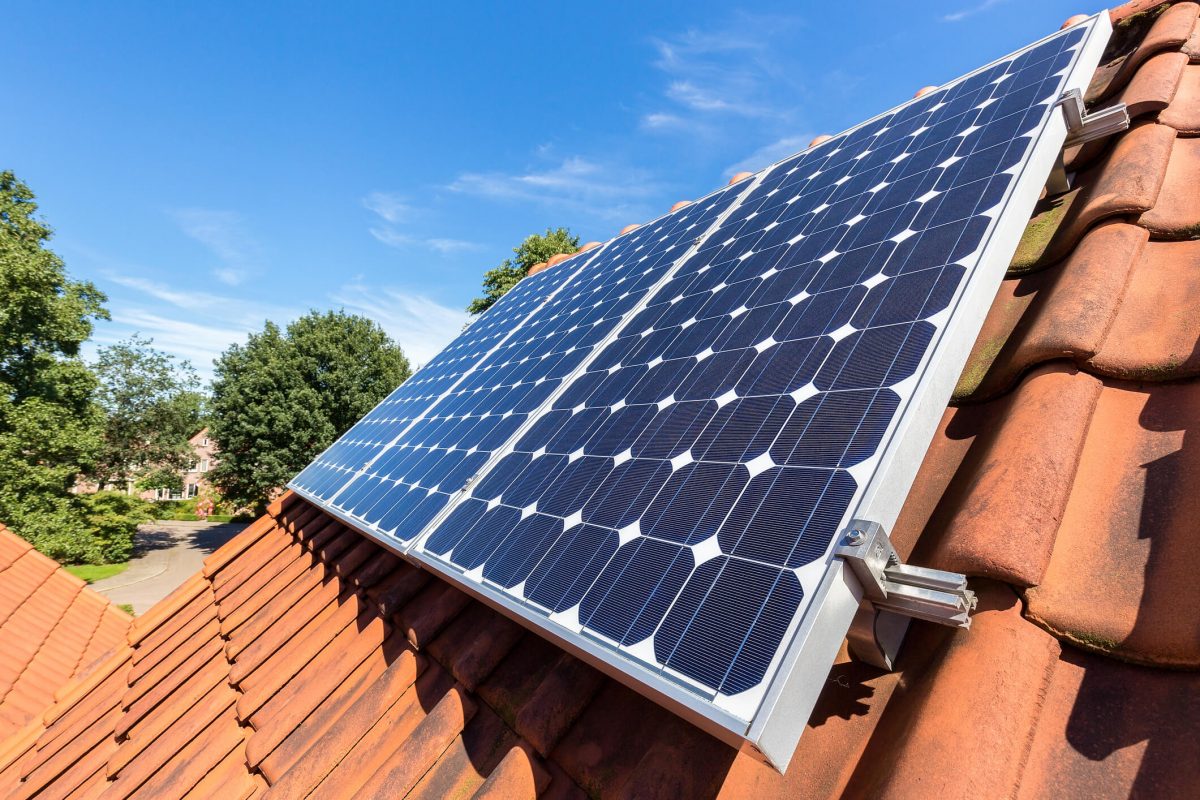
Solar panels installed on the roof of a residential home
Residential roof with solar panels installed

Evaluate Your Roof

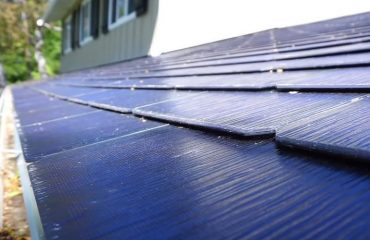
When evaluating your roof for solar panel installation, consider several key factors. First, the size and shape of your roof determine how many panels can be installed and the potential energy output. South-facing roofs with a slope between 15 and 40 degrees are ideal for maximum sun exposure. Your roof should also be in good condition, as solar panels can last 25-30 years. If your roof needs repairs or replacement soon, it’s best to address those issues before installing panels. Additionally, consider any shading from nearby trees or buildings, as this can impact solar energy production. While these are the ideal conditions, modern solar technology can still work well on roofs that don’t meet all these criteria. Consult with a professional solar installer to assess your roof’s suitability and potential for solar energy generation. Wondering whether to go for traditional solar panels or solar shingles? Check out this comparison of solar shingles vs panels.

Analyze Your Energy Usage

Analyzing your energy usage is a crucial step in determining the optimal solar system size for your home. By reviewing your past utility bills, you can gain insights into your average monthly electricity consumption. This information helps solar professionals design a system that meets your specific energy needs, ensuring you maximize savings and generate sufficient clean power. Keep in mind that factors such as your home’s size, appliance efficiency, and lifestyle habits all influence your energy usage patterns. Consulting with a solar expert can help you understand how these variables impact your solar system size and potential savings. By accurately assessing your energy requirements, you can make informed decisions about your solar investment, leading to significant long-term financial and environmental benefits.

Solar energy consultant discussing options with homeowners
Solar consultant meeting with homeowners

Step 2: Get a Professional Solar Consultation

What to Expect During a Solar Consultation

During a solar consultation, a professional solar advisor will assess your home’s solar potential, discuss your energy needs and goals, and provide a personalized solar solution. They will review your electricity bills, evaluate your roof’s condition and orientation, and consider any shading factors. The consultant will then explain the various solar technologies available, including panel types and inverter options, and recommend the best system size and configuration for your home. They will also discuss financing options, such as leases, loans, and purchase agreements, and explain any applicable incentives, rebates, or tax credits. You can expect a detailed cost-benefit analysis, including estimated energy production, potential savings, and return on investment. The solar consultant will address any questions or concerns you may have and provide a clear roadmap for the installation process. By the end of the consultation, you should have a comprehensive understanding of your solar options and the next steps in going solar.

Questions to Ask Your Solar Consultant

Here are some essential questions to ask your solar consultant to ensure you get the right system for your needs:

  • What size system do I need based on my energy usage?
  • What types of solar panels do you recommend and why?
  • How much will the system cost and what financing options are available?
  • What incentives and tax credits can I qualify for?
  • What is the expected output and performance of the system?
  • How long will installation take and what is the process?
  • What warranties and maintenance services do you provide?
  • Can you provide references from previous customers?

Asking these questions will help you make an informed decision and choose a reputable solar installer who can design the optimal system for your home.

Step 3: Review Your Solar Proposal and Financing Options

Understanding Your Solar Proposal

When reviewing a solar proposal, pay close attention to the system size, estimated energy production, and projected savings. Ensure the proposal clearly outlines equipment specifications, warranties, and any additional services like monitoring or maintenance. Look for a detailed cost breakdown, including incentives and financing options. Ask about the company’s experience, certifications, and references. A reputable installer will provide a comprehensive, transparent proposal tailored to your needs and goals. Don’t hesitate to ask questions and clarify any points before making a decision. Remember, a well-designed solar system can significantly reduce your energy bills and environmental impact for decades to come.

Solar Financing Options: Buy, Loan, or Lease

When it comes to financing your solar panel installation, you have three main options: buying, taking out a loan, or leasing. Buying your solar panels outright offers the greatest long-term savings and return on investment, as you’ll own the system and benefit from all the energy it produces. However, it requires a significant upfront investment. Taking out a loan allows you to spread the cost over time, often with low interest rates, while still enjoying the benefits of ownership. Leasing solar panels involves little to no upfront costs, but you won’t own the system or benefit from the long-term savings. Instead, you’ll pay a monthly fee to the leasing company. Ultimately, the best choice depends on your financial situation and goals. Be sure to explore all the solar financing options available, including government incentives and rebates, to find the most cost-effective solution for your home. With the right financing plan, you can enjoy the benefits of clean, renewable energy without breaking the bank.

Step 4: Solar Installation and Activation

Permits and Approvals

Before your solar installation can begin, you’ll need to obtain the necessary permits and approvals from your local government. This typically includes a building permit, electrical permit, and possibly a zoning permit depending on your location. Your solar installer will usually handle this process for you, working with the relevant authorities to ensure all requirements are met. Expect this step to take several weeks as the permits are reviewed and approved. Once you have the green light, your installer can proceed with scheduling your solar panel installation. Rest assured, the wait will be worth it when you start enjoying the benefits of clean, renewable energy.

The Solar Panel Installation Process

The solar panel installation process typically begins with a site assessment, where a team of experts evaluates your property to determine the optimal placement for the panels. They’ll consider factors like roof orientation, shading, and structural integrity to ensure maximum energy production and safety.

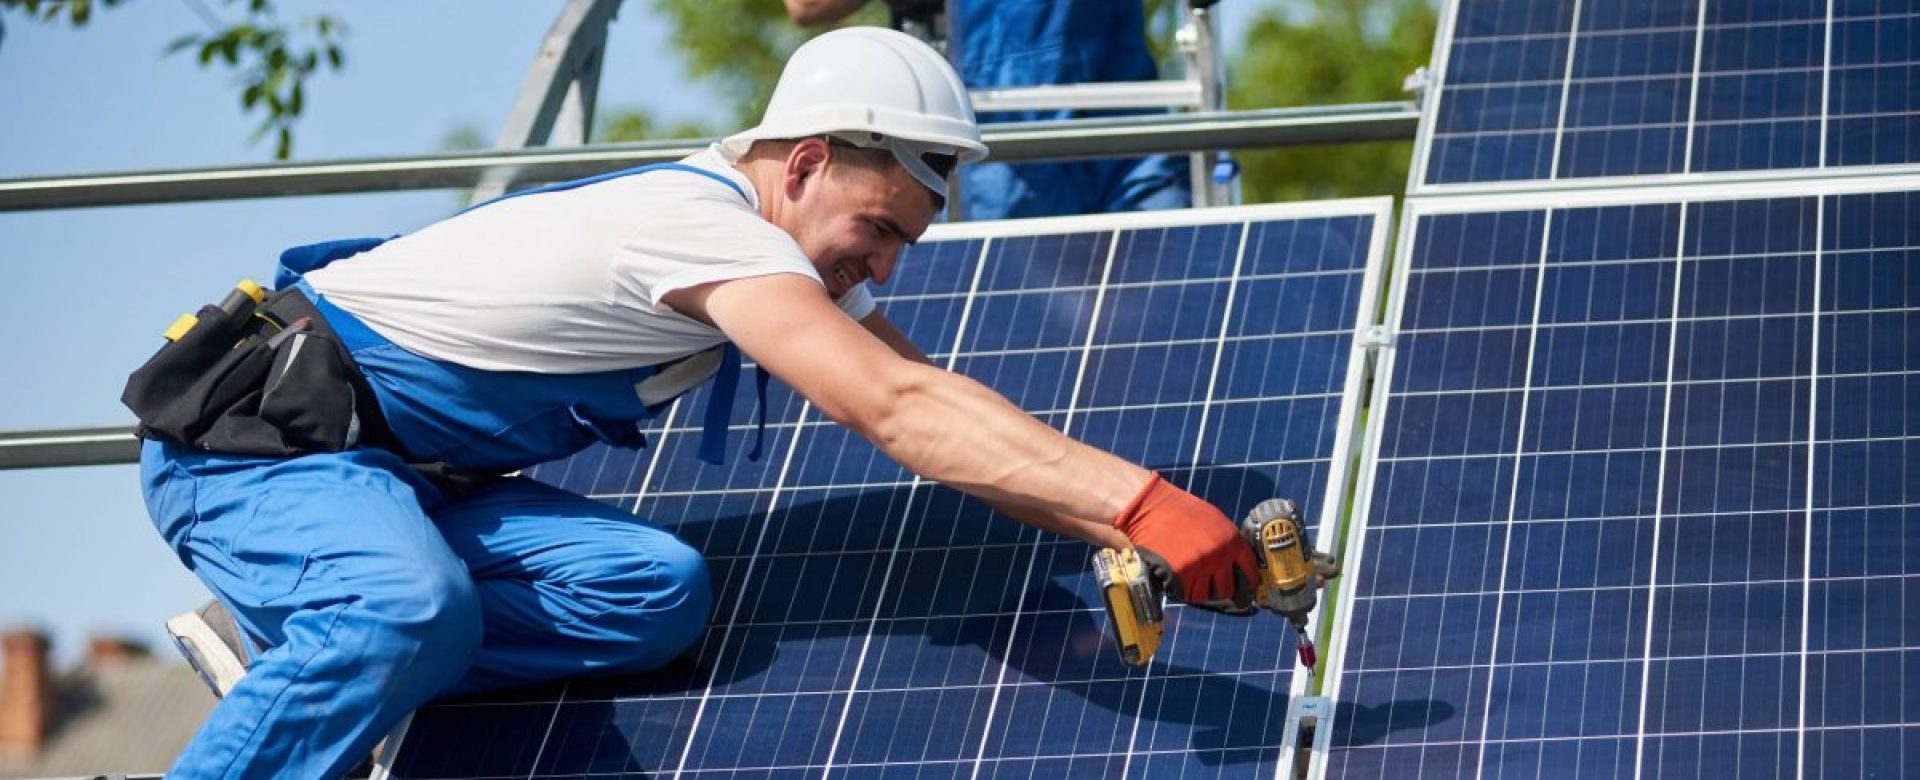
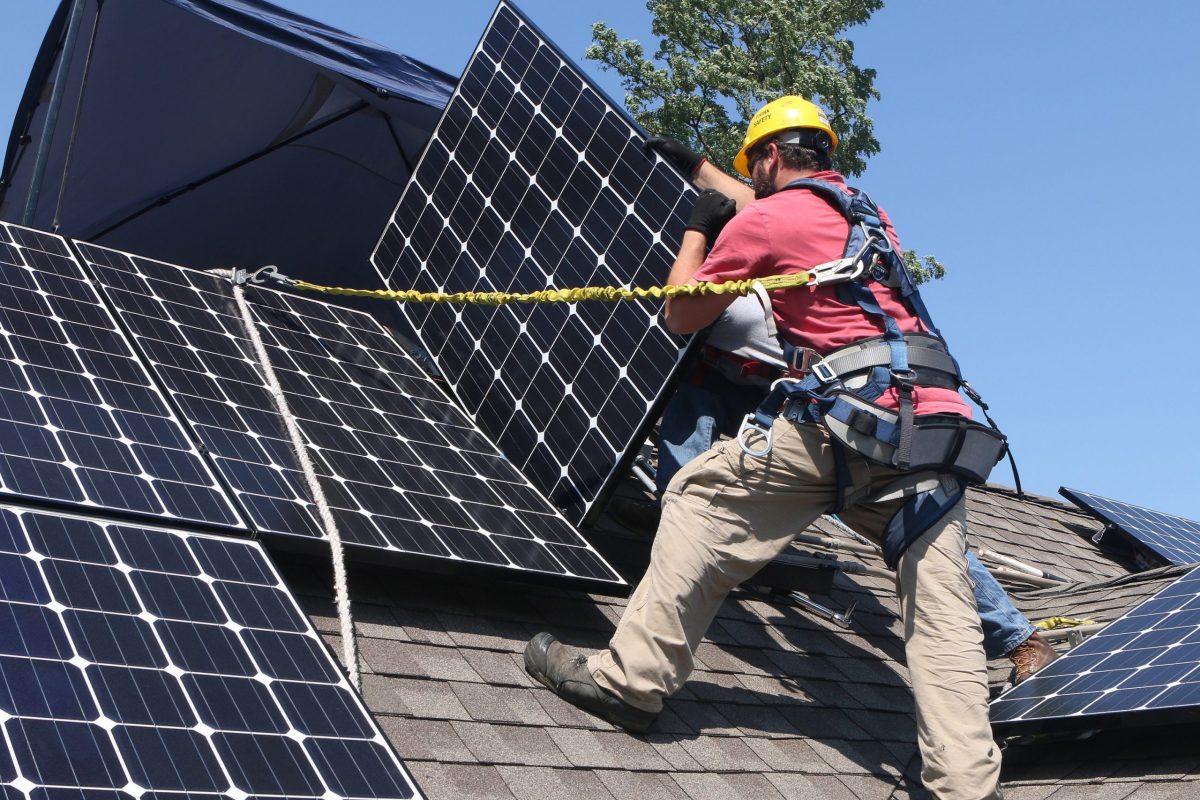
Once the design is finalized, the installation crew will arrive on-site to begin the work. They’ll start by securing mounting hardware to your roof, which will hold the solar panels in place. Next, the panels themselves will be carefully lifted and attached to the mounting system, ensuring a tight and secure fit.

With the panels in place, the crew will then connect the electrical wiring, running conduit from the panels to your home’s main electrical panel. They’ll install an inverter, which converts the direct current (DC) electricity generated by the panels into alternating current (AC) electricity that can be used in your home.

Finally, the system will be tested and commissioned to ensure it’s working properly. The crew will clean up the site, leaving your property neat and tidy. Once the necessary inspections are completed and your utility gives the green light, your solar panel system will be officially connected to the grid, and you can start enjoying the benefits of clean, renewable energy.

Professional solar panel installation process on residential roof
Workers installing solar panels on a roof

Step 5: Monitor and Maintain Your Solar System

Monitoring Solar System Performance

Monitoring your solar system’s performance is crucial for ensuring optimal energy production and savings. Modern solar monitoring systems provide real-time data on your system’s output, allowing you to track your energy generation and consumption. These user-friendly tools often include mobile apps and web portals, making it easy to access your system’s performance data from anywhere. Key metrics to monitor include daily, monthly, and yearly energy production, as well as any changes in performance that may indicate maintenance needs. By keeping a close eye on your solar system’s performance, you can maximize your energy savings and quickly address any issues that arise. Regular monitoring also helps you understand your energy usage patterns and make informed decisions about your consumption habits. With the right monitoring tools and a proactive approach, you can ensure that your solar investment continues to deliver reliable, clean energy and financial benefits for years to come.

Solar Panel Maintenance Requirements

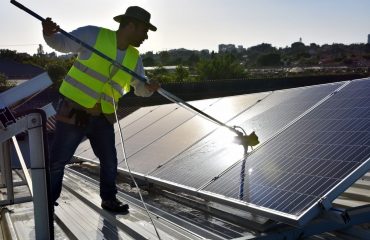
To ensure your solar panels continue operating at peak efficiency, regular maintenance is crucial. While solar systems are generally low-maintenance, it’s important to keep panels clean and free of debris. Periodically inspect panels for dirt, dust, leaves, or bird droppings that can obstruct sunlight and reduce power output. If necessary, clean panels with a soft brush and mild soap solution. Avoid harsh chemicals and abrasives. It’s also wise to trim nearby trees to prevent shading and falling debris. Schedule professional solar system maintenance checks every few years to identify potential issues early. With proper care, your solar panels will continue providing clean, renewable energy for decades.

Conclusion

The solar development process is a straightforward and rewarding journey that can help you achieve energy independence, lower your utility bills, and contribute to a cleaner environment. From the initial site assessment to the final installation and ongoing maintenance, each step is designed to ensure that your solar system is tailored to your specific needs and performs optimally for years to come.

As you embark on this process, remember the numerous benefits that solar energy offers. Not only will you be reducing your carbon footprint and doing your part to combat climate change, but you’ll also be investing in a reliable and sustainable energy source that can provide long-term savings on your electricity costs.

By understanding the solar development process and working with experienced professionals, you can make informed decisions and confidently transition to clean, renewable energy. Take the first step today and begin your journey towards a brighter, more sustainable future.

You may also like...

Popular Posts

Leave a Reply

Your email address will not be published. Required fields are marked *