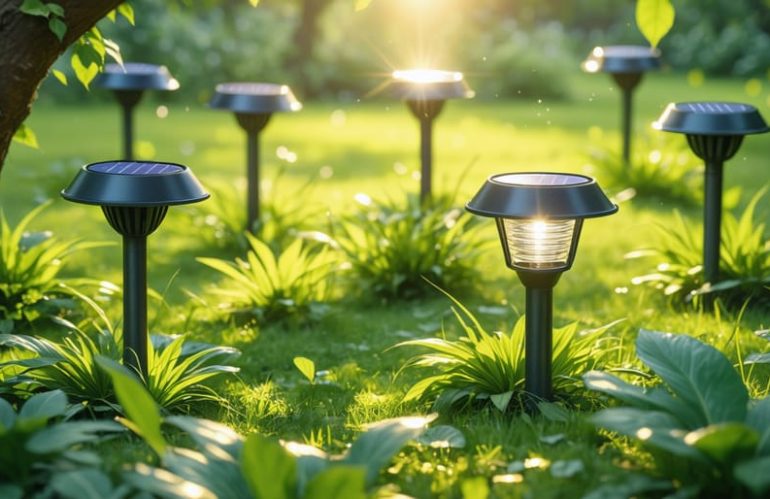
Position your solar lights in an area that receives direct sunlight for at least 6-8 hours per day. Flip the on/off switch to the “on” position to enable proper charging. Ensure the solar panel is clean and free of debris to maximize energy absorption. Allow the solar lights to charge for a full day before expecting optimal nighttime performance.
Step 1: Locate the On/Off Switch
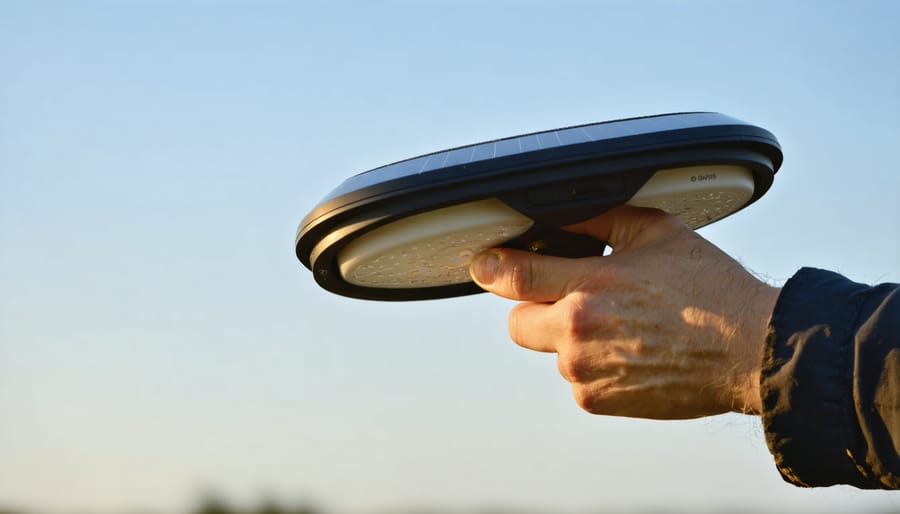
To begin charging your solar lights, you’ll first need to locate the on/off switch. This switch is typically found on the underside or back of the light fixture. Take a moment to carefully inspect your solar light, as the switch may be small or somewhat hidden. Once you’ve found the switch, ensure that it is in the ‘on’ position. This is a crucial step, as the solar panel will only charge the internal battery when the switch is turned on. If the switch is in the ‘off’ position, your solar light will not charge, even if it is placed in direct sunlight. By making sure the on/off switch is properly engaged, you’re setting the stage for optimal charging and longer-lasting illumination from your solar-powered lights.
Step 2: Choose an Ideal Location
To ensure your solar lights receive the maximum amount of sunlight for optimal charging, it’s crucial to choose an ideal location. Look for spots that get direct sunlight for the majority of the day, as this will allow the solar panels to absorb as much energy as possible. South-facing walls or open areas in your yard are prime locations, as they typically receive the most consistent sunlight throughout the day.
When selecting a spot, be mindful of any obstacles that could cast shade on your solar lights, such as trees, buildings, or fences. Even partial shade can significantly reduce the charging efficiency of your solar panels. If you have multiple locations to choose from, opt for the one with the least amount of shade to guarantee your solar lights have ample time to charge fully.
Keep in mind that the position of the sun changes throughout the year, so a location that receives plenty of sunlight in the summer might be more shaded during winter months. If possible, choose a spot that will receive consistent sunlight year-round to ensure your solar lights always have enough charge to illuminate your outdoor spaces effectively.
Step 3: Angle the Solar Panel
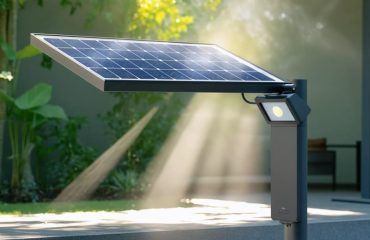
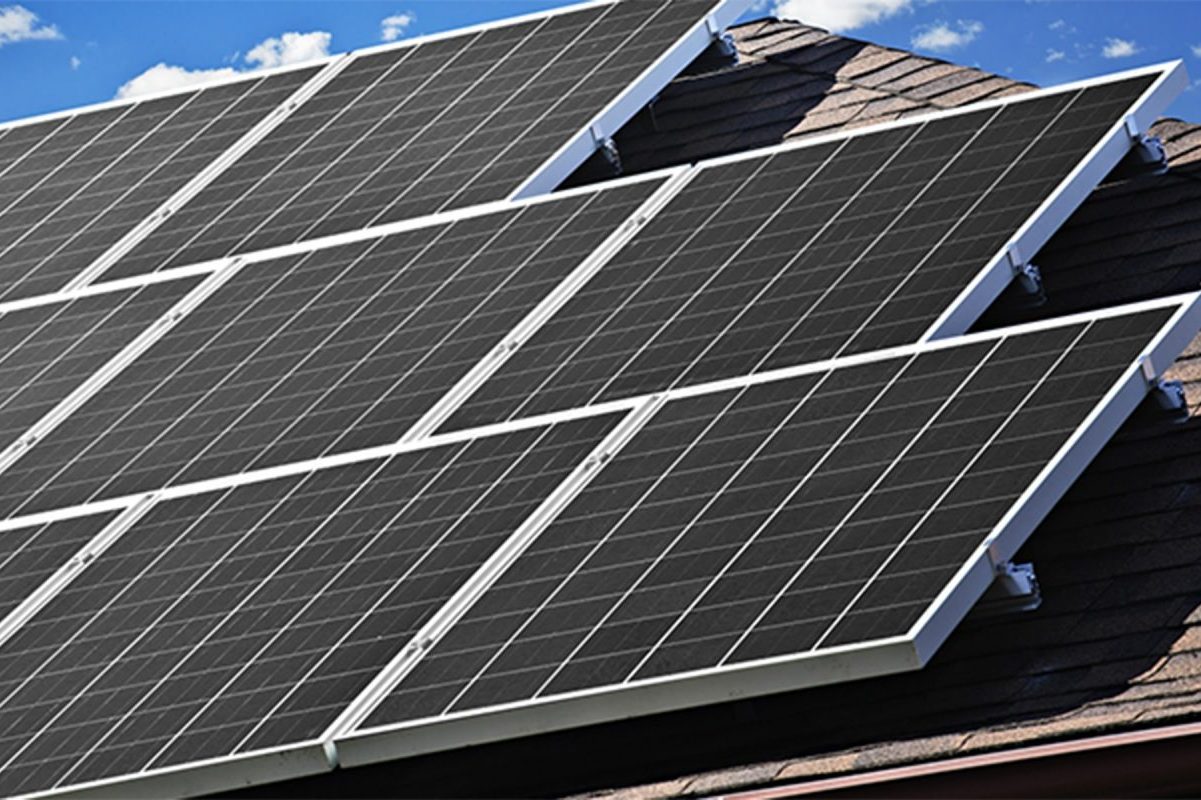
To maximize the charging efficiency of your solar lights, it’s crucial to angle the solar panel correctly. While it may be tempting to lay the panel flat, this will not yield the best results. Instead, tilt the panel slightly towards the sun to ensure it receives direct sunlight throughout the day. The optimal angle depends on your latitude, but a general rule of thumb is to position the panel at an angle equal to your latitude plus 15 degrees in the summer and minus 15 degrees in the winter. This adjustment accounts for the sun’s changing position in the sky throughout the year.
When angling your solar panel, consider any obstructions that might cast shadows on it, such as nearby trees or buildings. Aim to place the panel in a spot that receives uninterrupted sunlight for the majority of the day. Keep in mind that the sun’s position changes throughout the seasons, so you may need to adjust the panel’s angle accordingly. By properly angling your solar panel, you’ll ensure that your solar lights receive the maximum amount of energy, allowing them to shine brightly and reliably when you need them most. To learn more about how solar panel integration can revolutionize your home’s efficiency, visit our dedicated guide on solar panel integration.
Step 4: Let the Charging Begin
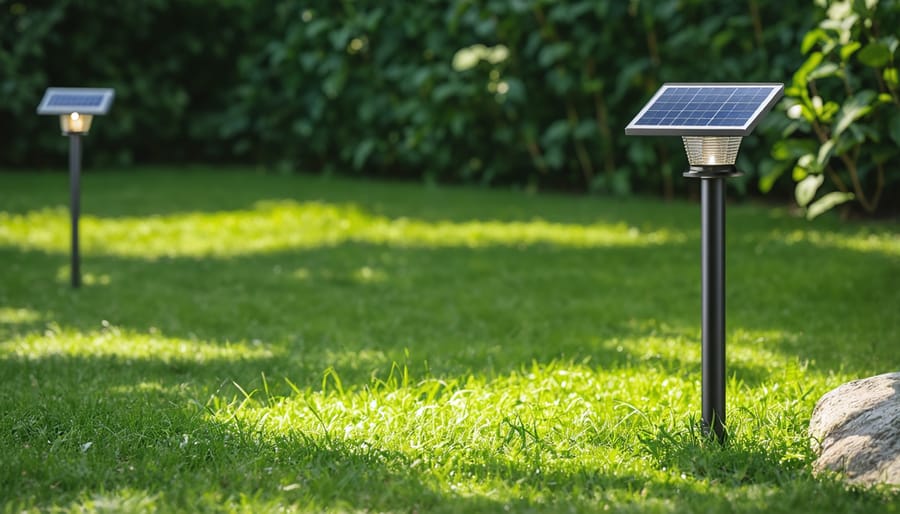
Once you’ve positioned your solar lights in a spot that receives ample sunlight and flipped the switch to the “on” position, you can sit back and let nature do its work. The solar panels will automatically begin absorbing energy from the sun, converting it into electricity to charge the built-in batteries. On a clear, sunny day, most solar lights will fully charge within 6-8 hours. However, charging times can vary depending on factors such as the intensity of sunlight, the angle of the solar panels, and the size of the batteries. Cloudy or rainy weather can significantly reduce the amount of sunlight reaching the panels, resulting in slower charging times or even no charging at all. Rest assured, though, that as long as there’s daylight, your solar lights are steadily storing up energy to illuminate your outdoor spaces come nightfall. With a little patience and the right conditions, you’ll soon be enjoying the eco-friendly, cost-saving benefits of solar-powered lighting.
Step 5: Maintain Your Solar Lights
To ensure your solar lights continue to perform optimally, regular cleaning of the solar panel is essential. Dust, dirt, and debris can accumulate on the panel, reducing its ability to absorb sunlight and charge the battery efficiently. Use a soft, damp cloth to gently wipe the panel surface, removing any buildup that may hinder its performance. In addition to cleaning, it’s important to perform periodic checking the lights to ensure they are functioning correctly. Look for any signs of damage, such as cracks or loose connections, and address them promptly to prevent further issues. By dedicating a small amount of time to maintenance, you can extend the lifespan of your solar lights and enjoy their eco-friendly illumination for years to come.
Charging solar lights with an on/off switch is a simple and straightforward process once you understand the key steps. By following the guidelines outlined in this article, you can ensure that your solar lights are properly charged and ready to provide you with free, sustainable lighting whenever you need it. Embrace the power of the sun and enjoy the benefits of energy-efficient lighting in your home or outdoor space. With a little know-how and minimal effort, you can make the most of your solar lights and contribute to a greener, more sustainable future.

