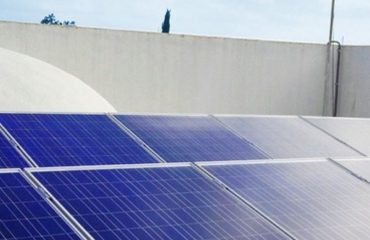
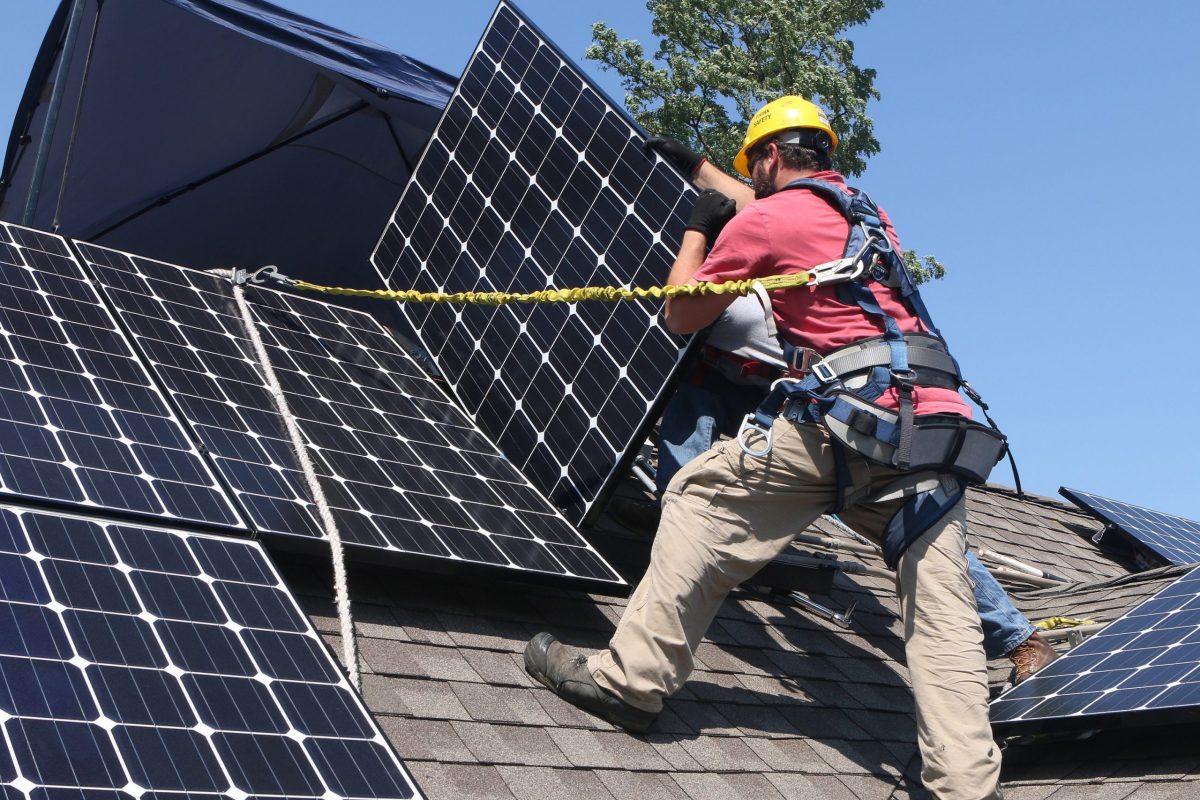
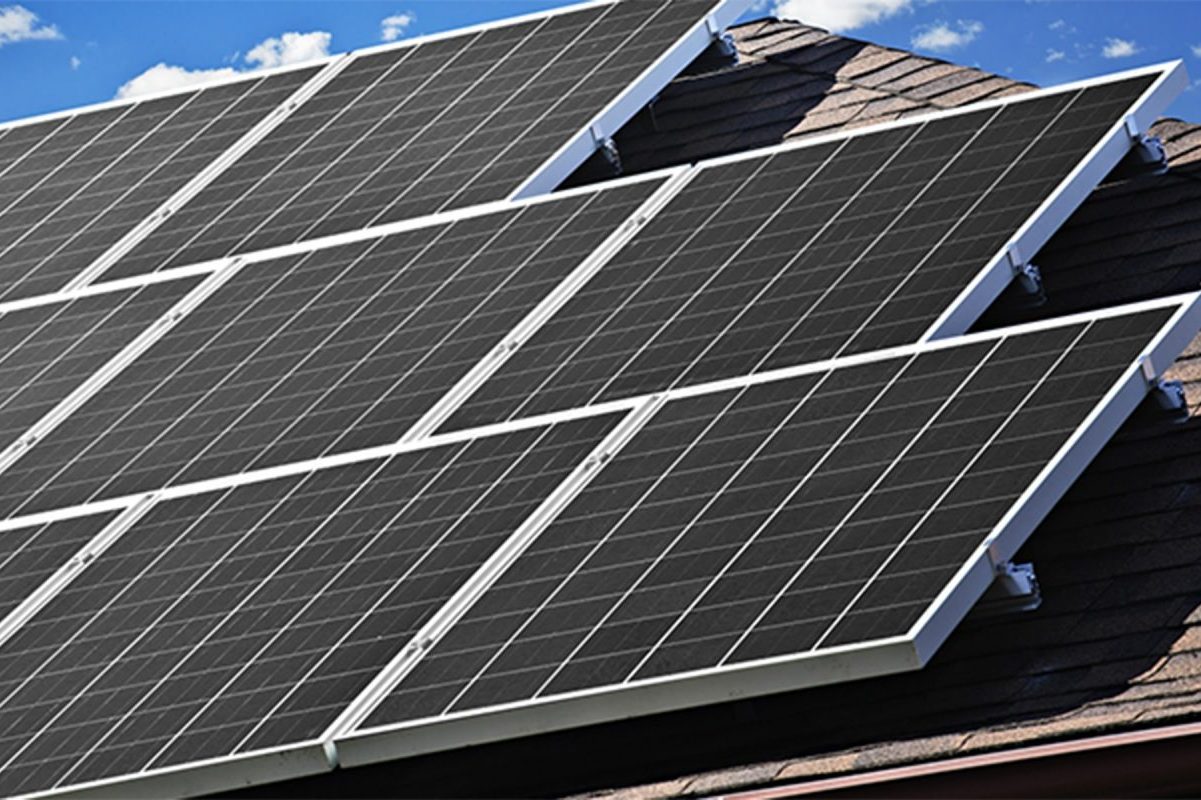
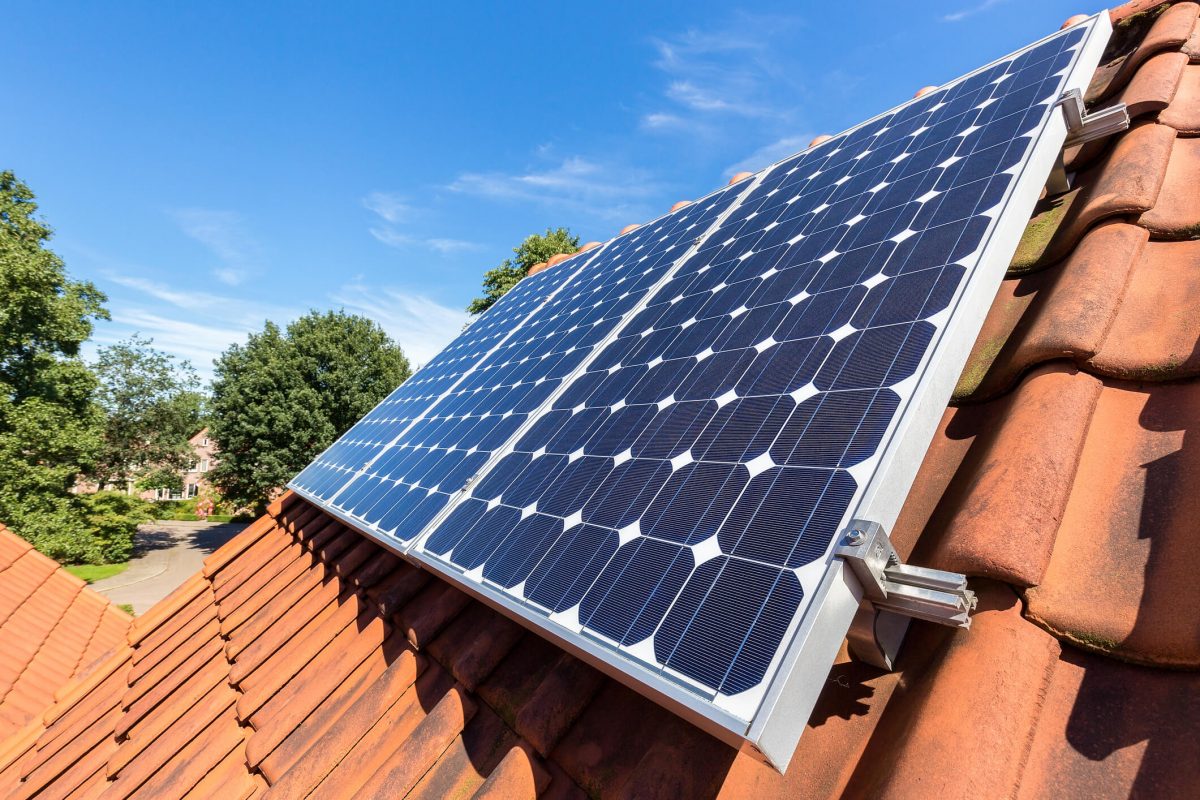
A residential home with solar panels installed on its rooftop, capturing sunlight to generate renewable energy and reduce electricity bills.

DIY Solar Magic: 7 Simple Steps to Slash Your Energy Bills Now

Harness the power of the sun and slash your energy bills with our easy-to-follow, step-by-step guide to setting up your own home solar system. Evaluate your home’s solar potential, calculate your energy needs, and select the right components to maximize the benefits of DIY solar. With clear instructions and expert tips, you’ll be generating clean, renewable energy in no time – even if you have no prior experience. Take control of your energy future and embark on your solar journey today!

Step 1: Evaluate Your Solar Potential

Illustration of key considerations when evaluating a home's solar suitability
Diagram showing factors affecting solar potential, such as roof orientation and shading

Tools for Solar Assessment

To assess your home’s solar potential, utilize online tools like Google’s Project Sunroof or PVWatts Calculator. These resources analyze factors such as roof orientation, shading, and local weather patterns to estimate solar energy production. Consult with local solar installers who can provide site-specific assessments and recommendations. Many offer free evaluations to determine your home’s suitability for solar panels. Additionally, review your past utility bills to understand your energy consumption patterns and calculate the size of the solar array needed to offset your usage. By leveraging these tools and expert advice, you can make an informed decision about your home’s solar potential and the feasibility of a DIY installation.

Step 2: Calculate Your Energy Needs

Energy Efficiency Tips

To maximize the benefits of your solar setup, reduce energy consumption by using energy-efficient appliances, LED lighting, and smart power strips. Insulate your home properly to minimize heat transfer and ease the burden on your HVAC system. Utilize natural lighting and ventilation whenever possible. Schedule energy-intensive activities, like running the dishwasher or washing machine, during peak sunlight hours to take full advantage of your solar power generation. Regularly clean your solar panels to ensure optimal performance and consider installing a solar battery storage system to store excess energy for use during low-light periods or power outages. By implementing these energy-saving strategies, you’ll optimize your solar setup’s efficiency and enjoy greater savings on your energy bills.

Step 3: Design Your Solar Array

Birds-eye view of a well-designed solar panel configuration on a house roof
Example solar panel array layout on a residential rooftop

Solar Panel Comparison

When comparing solar panels for your DIY setup, consider factors like efficiency, durability, and cost. Monocrystalline panels are the most efficient but also the most expensive, while polycrystalline panels offer a good balance between cost and performance. Thin-film panels are the least efficient but also the most flexible and lightweight, making them suitable for unique installations.

Consider the panel’s power output, typically measured in watts, and its physical size to ensure it fits your available space. Look for panels with high-quality materials and robust construction to withstand harsh weather conditions. Don’t forget to compare warranties, as longer warranties often indicate better quality and durability.

Ultimately, the best solar panel choice depends on your specific needs, budget, and installation constraints. Researching and comparing different options will help you find the most suitable panels for your DIY solar setup, ensuring optimal performance and long-term savings.

Step 4: Gather Your Supplies

Before beginning your solar panel installation, gather all the necessary supplies to ensure a smooth and efficient process. Your shopping list should include solar panels, an inverter, mounting hardware, wiring, junction boxes, and safety equipment like gloves and goggles. When selecting solar panels, consider factors such as efficiency, durability, and compatibility with your chosen inverter. Opt for a reliable, high-quality inverter that matches your system’s voltage and wattage requirements. Mounting hardware will vary depending on your roof type and the panels you choose, so make sure to select components that are compatible and designed for your specific installation. Don’t forget to purchase appropriate wiring and junction boxes to safely connect your panels to the inverter and your home’s electrical system. Additionally, having the right tools on hand, such as a drill, screwdriver, and wire cutters, will make the installation process much easier. By double-checking this checklist and ensuring you have all the essential supplies before starting, you’ll be well-prepared to tackle your DIY solar panel project with confidence.

Step 5: Install the Solar Mounts

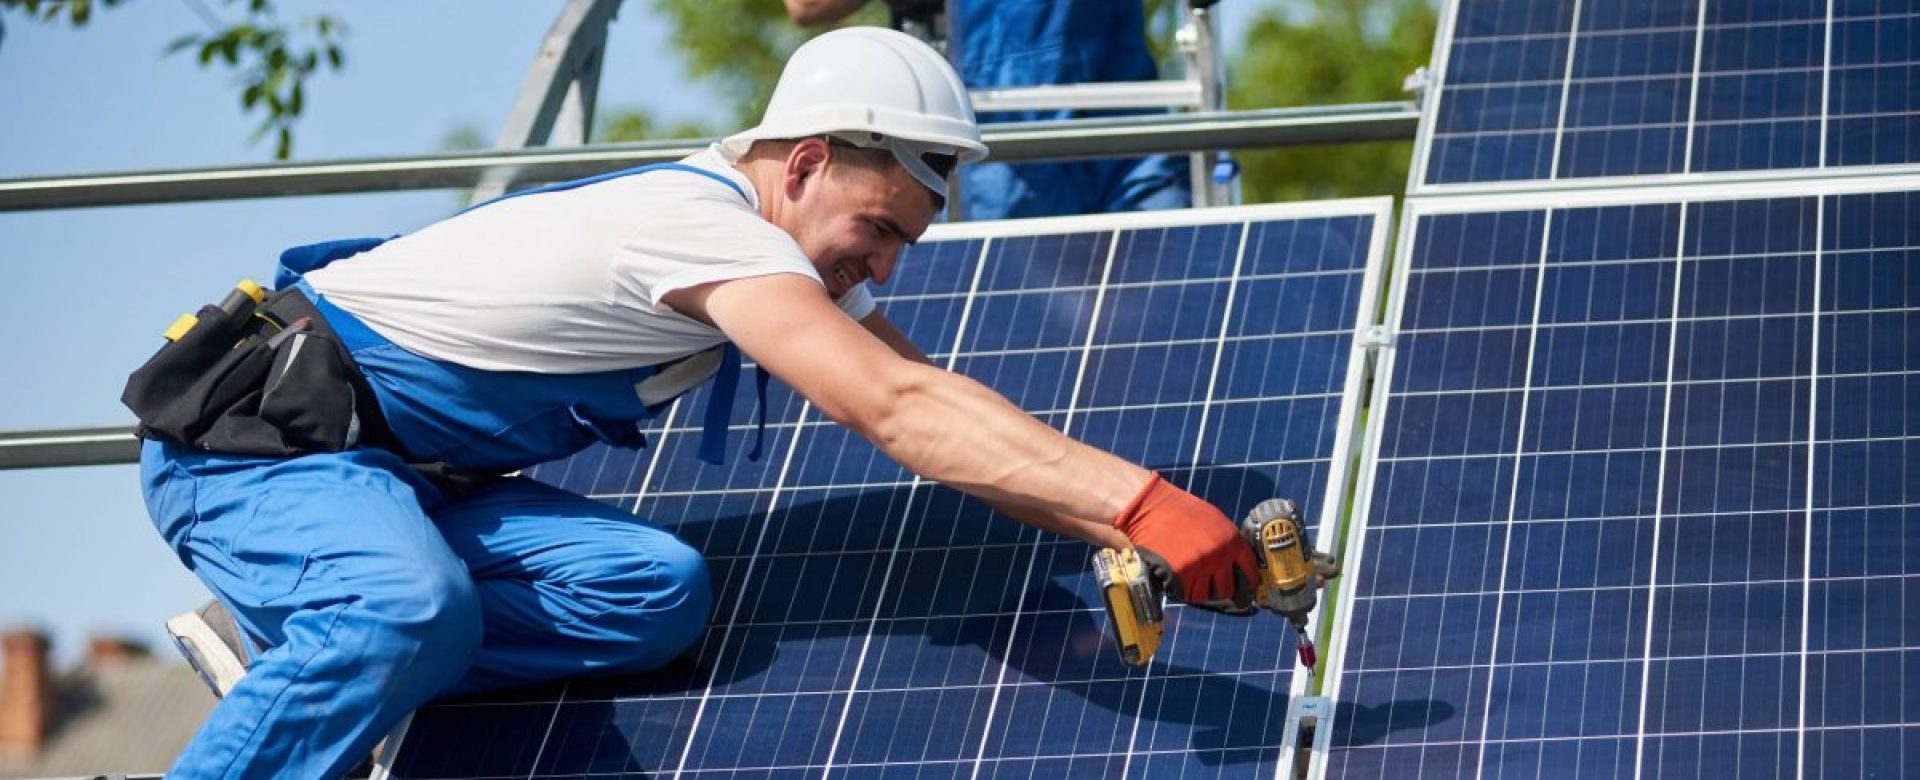
Now that you have your solar panel mounts, it’s time to securely attach them to your roof. First, identify the rafters or trusses in your roof using a stud finder. Mark these locations, as they will provide the most stable support for your mounts. Next, place the mounts on the marked spots and use a chalk line to ensure they are straight and aligned.

Using a drill and the appropriate sized bit, create pilot holes in the roof at each mount location. Be careful not to drill too deep, as this can damage your roof. Apply a generous amount of sealant around each pilot hole to prevent leaks.

Align the mounts with the pilot holes and securely fasten them using the provided lag bolts. Tighten the bolts using a socket wrench, ensuring a snug fit without overtightening, which can strip the threads or damage the roof.

After all the mounts are installed, apply a second layer of sealant around each bolt head and the base of the mounts. This extra step helps protect against water intrusion and extends the longevity of your solar panel installation.

With the mounts securely in place, you’re now ready to attach the solar panels. Remember, taking the time to properly install your mounts is crucial for the stability and performance of your solar panel system, ensuring you can enjoy the benefits of clean, renewable energy for years to come.

Technician wiring solar panels into a home's electrical system components
Electrician connecting solar panels to an inverter and battery bank

Step 6: Wire the Solar Panels

Now that you have all the necessary components, it’s time to wire your solar panels and connect them to the inverter and battery bank. Begin by laying out your solar panels in their designated location, ensuring they receive optimal sunlight exposure. Using the MC4 connectors, connect the positive wire of one panel to the negative wire of the next, creating a series connection. Continue this process until all panels are connected.

Next, run the solar panel cables to the charge controller, which regulates the flow of electricity from the panels to the battery bank. Connect the positive cable to the charge controller’s positive terminal and the negative cable to the negative terminal. Then, connect the battery bank to the charge controller, ensuring the positive and negative cables are correctly attached to their respective terminals.

From the battery bank, run cables to the inverter, which converts the DC power stored in the batteries to AC power for your household appliances. Connect the positive cable to the inverter’s positive terminal and the negative cable to the negative terminal. Finally, connect the inverter to your home’s main electrical panel using a dedicated circuit breaker.

Throughout the wiring process, use appropriate gauge wires and secure all connections tightly to prevent any electrical issues or safety hazards. It’s crucial to follow the manufacturer’s instructions and local electrical codes when wiring your solar panel system. If you’re unsure about any aspect of the wiring process, consult with a professional electrician to ensure your system is set up correctly and safely.

By carefully connecting your solar panels, charge controller, battery bank, and inverter, you’re one step closer to enjoying the benefits of clean, renewable energy in your home. In the next section, we’ll discuss how to maintain and troubleshoot your DIY solar setup to ensure optimal performance and longevity.

Step 7: Connect to the Grid (Optional)

Connecting your solar system to the electrical grid is an optional but beneficial step that allows you to send excess energy back to the grid, earning credits on your utility bill through net metering. To begin the process of tying the solar system into the electrical grid, contact your local utility company and inform them of your plans. They will guide you through their specific requirements and the necessary paperwork.

Typically, you’ll need to obtain permits from your local building department and have your system inspected to ensure it meets all electrical codes and safety standards. Your utility company will then install a special meter that tracks both the electricity you consume from the grid and the excess energy your solar panels send back. This two-way communication enables net metering, where you receive credits for the surplus energy you generate.

It’s crucial to work closely with your utility company and local authorities throughout this process to ensure a smooth and compliant grid connection. While it may seem daunting, the long-term financial and environmental benefits of grid-tied solar make it a worthwhile endeavor for many homeowners.

Congratulations on completing your DIY solar panel installation! You’ve taken a significant step towards energy independence, lower utility bills, and a reduced carbon footprint. By harnessing the power of the sun, you’re not only benefiting your household but also contributing to a cleaner, greener future for our planet.

Remember, while the initial investment in a solar setup may seem daunting, the long-term financial savings and environmental benefits far outweigh the costs. With proper maintenance and care, your solar panels will continue to generate clean, renewable energy for decades to come.

If you have any further questions or need additional support, there are numerous online resources, forums, and communities dedicated to DIY solar enthusiasts. Don’t hesitate to reach out and connect with like-minded individuals who can offer advice, share their experiences, and help you optimize your solar setup.

Once again, well done on your achievement! By taking the initiative to go solar, you’ve demonstrated that with determination, resourcefulness, and a willingness to learn, anyone can make a positive impact on the environment and their personal finances. Keep spreading the word about the benefits of solar energy and inspiring others to follow in your footsteps.

You may also like...

Popular Posts

Leave a Reply

Your email address will not be published. Required fields are marked *