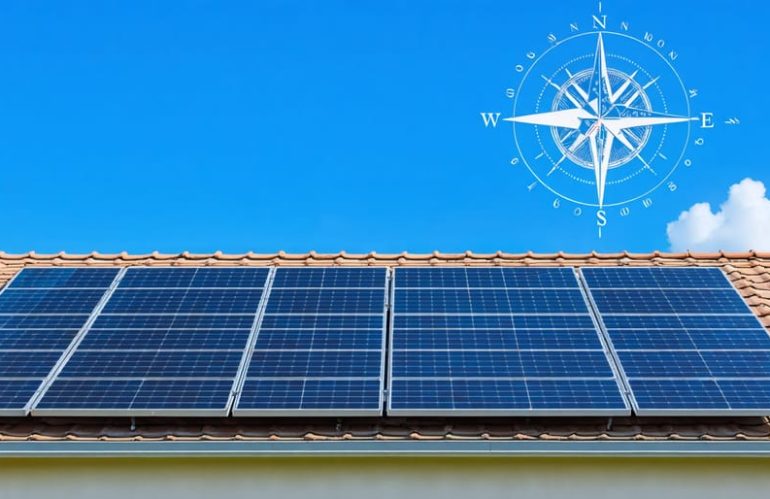
Choose a south-facing roof area with minimal shade for optimal solar exposure. Evaluate your roof’s structural integrity and make necessary repairs before installation. Size your system based on your energy needs and budget, using online calculators or professional assessments. Hire a licensed, experienced installer and carefully review warranty terms for panels, inverters, and workmanship.
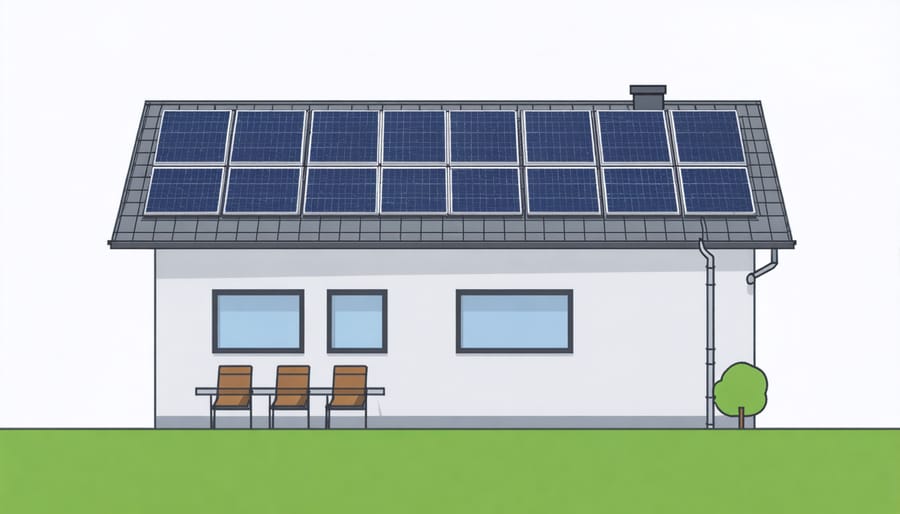
Optimize Panel Placement for Peak Sun Exposure
Assess Shading Issues
Shading can significantly reduce your solar panels’ performance, so it’s crucial to assess potential shading issues before installation. Start by observing your roof throughout the day, noting any shadows cast by nearby trees, buildings, or other obstructions. Consider factors like tree growth and seasonal changes that may affect shading patterns over time. If shading is a concern, you can use tools like a solar pathfinder or sun eye to analyze the severity and duration of shading on specific roof areas. Based on this assessment, you may need to trim or remove trees, adjust the placement of your solar panels, or explore alternative mounting options like ground-mounted or pole-mounted systems. In some cases, microinverters or power optimizers can help mitigate the impact of partial shading on individual panels. By proactively addressing shading issues, you can ensure your solar system operates at peak efficiency and maximizes your energy savings.
Consider Panel Orientation
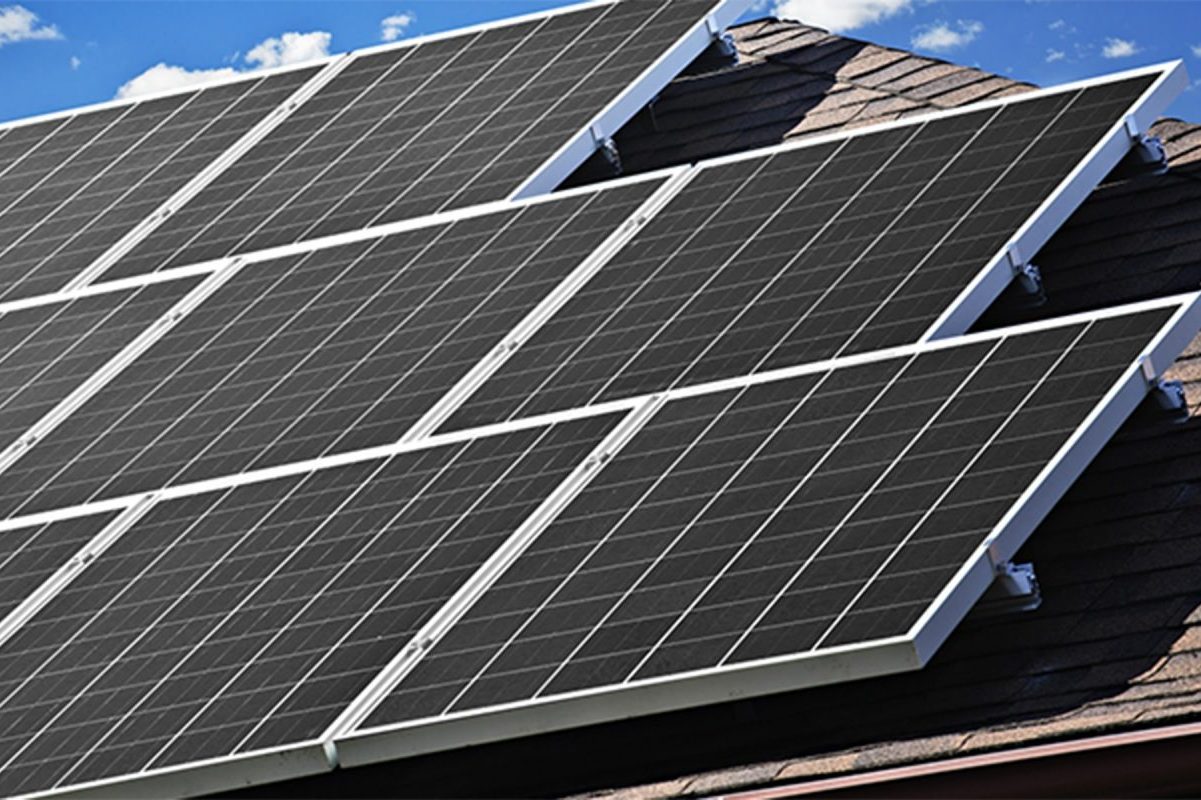
When installing solar panels, the orientation you choose can significantly impact their efficiency and energy production. While many homeowners assume that landscape orientation is always best, the optimal choice depends on various factors such as your location, roof pitch, and shading. In some cases, portrait orientation may be preferable to maximize sunlight exposure throughout the day.
Consider the path of the sun across your roof and any potential obstructions like chimneys or trees that could cast shadows on your panels. Consulting with a professional installer can help you determine the ideal orientation for your specific situation. They can also advise on bird-proofing measures to protect your panels from damage and maintain their efficiency over time. By carefully evaluating your options and making an informed decision about panel orientation, you can ensure that your solar installation generates the maximum amount of clean, renewable energy for your home.
Size Your System Based on Energy Needs
Determining the optimal number of panels for your home is a critical step in solar panel installation. To accurately size your system, start by reviewing your electricity bills from the past year. Take note of your average monthly energy consumption in kilowatt-hours (kWh). This information will help you estimate the amount of energy your solar panels need to generate to offset your usage.
Next, consider factors that may impact your energy needs, such as future home additions, electric vehicle charging, or changes in family size. It’s wise to slightly overestimate your requirements to ensure your system can accommodate potential increases in energy consumption.
Once you have a clear picture of your energy needs, work with a professional solar installer to determine the appropriate system size. They will take into account your location, roof orientation, and shading factors to recommend the optimal number and configuration of panels.
Remember, while it may be tempting to install a smaller system to save on upfront costs, undersizing your solar array can limit your long-term energy savings. On the other hand, oversizing your system may lead to unnecessary expenses and longer payback periods. By carefully evaluating your energy requirements and consulting with experts, you can strike the right balance and maximize the benefits of your solar investment.
Select High-Quality, Durable Panels and Mounts
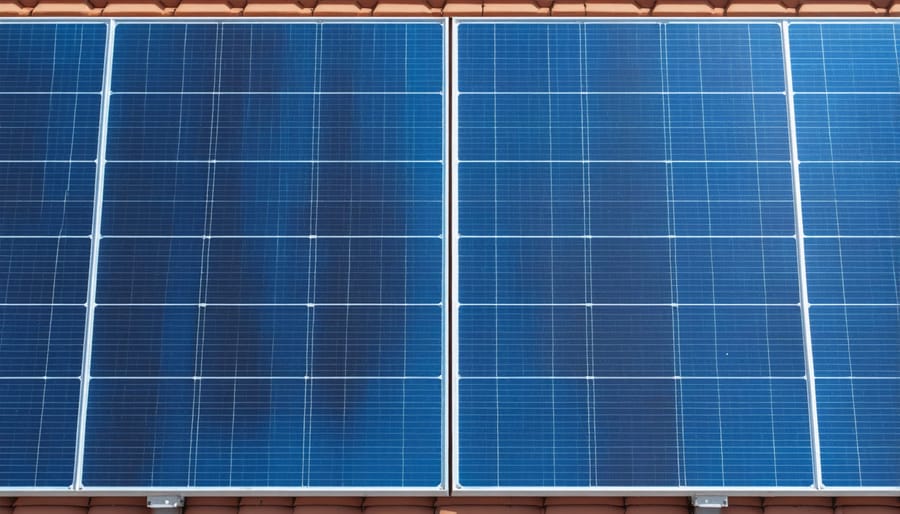
Monocrystalline vs Polycrystalline Panels
When choosing solar panels for your home, you’ll likely encounter two main types: monocrystalline and polycrystalline. Monocrystalline vs polycrystalline panels differ in their efficiency, durability, and cost. Monocrystalline panels are made from a single, high-purity silicon crystal, resulting in higher efficiency and better performance in low-light conditions. They also tend to have a sleeker, more uniform appearance. However, this superior performance comes at a higher price point.
On the other hand, polycrystalline panels are made from multiple silicon fragments melted together. While slightly less efficient than monocrystalline, they offer a more affordable option without sacrificing too much performance. Polycrystalline panels also tend to have a slightly shorter lifespan due to their less stable structure.
Ultimately, the choice between mono and poly panels depends on your budget, available space, and aesthetic preferences. Both types can effectively harness the sun’s energy to power your home and reduce your reliance on the grid. Consult with a professional solar installer to determine the best option for your specific needs and maximize your long-term savings.
Mounting Options for Different Roof Types
When installing solar panels, it’s essential to choose the right mounting system for your specific roof type. For tile roofs, bracket mounts are often used to secure the panels without drilling through the tiles. These brackets are attached to the roof’s underlayment and provide a stable base for the panels. Shingle roofs typically use flashing mounts, which are placed under the shingles and sealed to prevent leaks. This method ensures a secure and weatherproof installation.
Flat roofs require a different approach, using ballasted mounting systems that rely on the weight of the panels and additional materials to hold them in place without penetrating the roof surface. This minimizes the risk of leaks and makes installation easier. For metal roofs, clamps or standing seam mounts are commonly used. These attach directly to the raised seams of the metal roof, providing a strong and durable connection without the need for drilling.
Regardless of your roof type, working with a professional installer is crucial to ensure that the appropriate mounting system is used and that the installation is done correctly. By selecting the right mounting option for your roof, you can maximize the performance and longevity of your solar panel system while protecting the integrity of your home’s structure.
Ensure Proper Wiring and Grounding
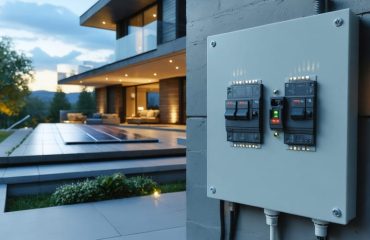
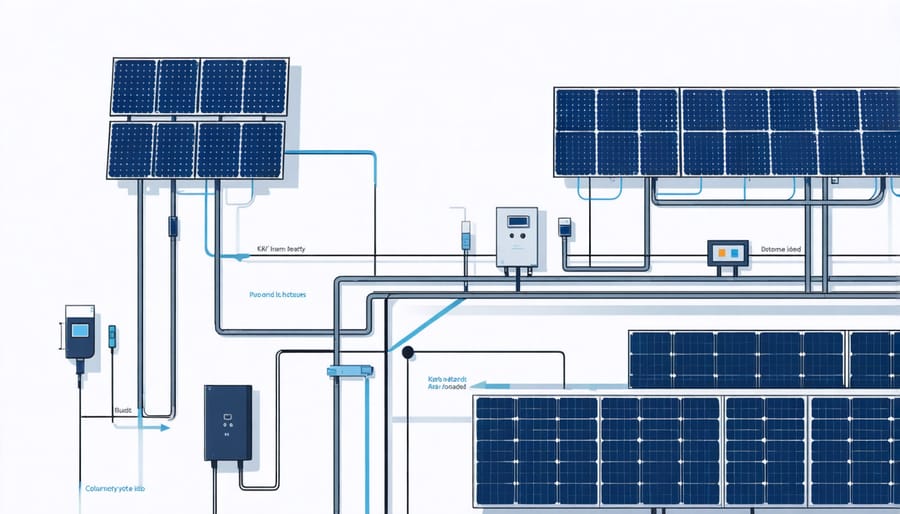
Proper wiring and grounding are crucial aspects of solar panel installation that should never be overlooked. Incorrect electrical work can lead to safety hazards, reduced system performance, and even damage to your home or appliances. Always hire a licensed and experienced electrician to handle the wiring and grounding of your solar panels. They will ensure that all connections are secure, properly insulated, and up to code. Grounding your solar panel system is essential for protecting against electrical surges, lightning strikes, and other potential hazards. It involves connecting the metal frames of the panels and inverters to a grounding rod driven into the earth. This provides a safe path for any excess electrical current to dissipate, minimizing the risk of fires or electrical shocks. Your electrician will also install appropriate surge protection devices to safeguard your system and home from power spikes. Investing in quality wiring and grounding not only ensures the safety of your family but also optimizes the performance and longevity of your solar panel system. Don’t cut corners when it comes to electrical work – trust the expertise of professionals to get the job done right.
Consider Adding Battery Storage
When installing solar panels, it’s worth considering adding battery storage to your system. Battery storage allows you to store excess energy generated by your panels during the day, which you can then use during periods of low or no sunlight, such as at night or on cloudy days. This stored energy can help reduce your reliance on the grid, leading to even greater energy savings.
Battery storage systems work seamlessly with your solar panels. When your panels produce more electricity than your home needs, the excess is sent to charge the batteries instead of being fed back into the grid. Then, when your energy demand exceeds what your panels are producing, you can draw power from the batteries rather than the grid.
Adding battery storage to your solar panel installation can increase your energy independence, provide backup power during outages, and potentially qualify you for additional incentives. While the upfront cost may be higher, the long-term benefits can make it a worthwhile investment for many homeowners looking to maximize their solar savings and reduce their carbon footprint.
Hire a Reputable, Experienced Installer
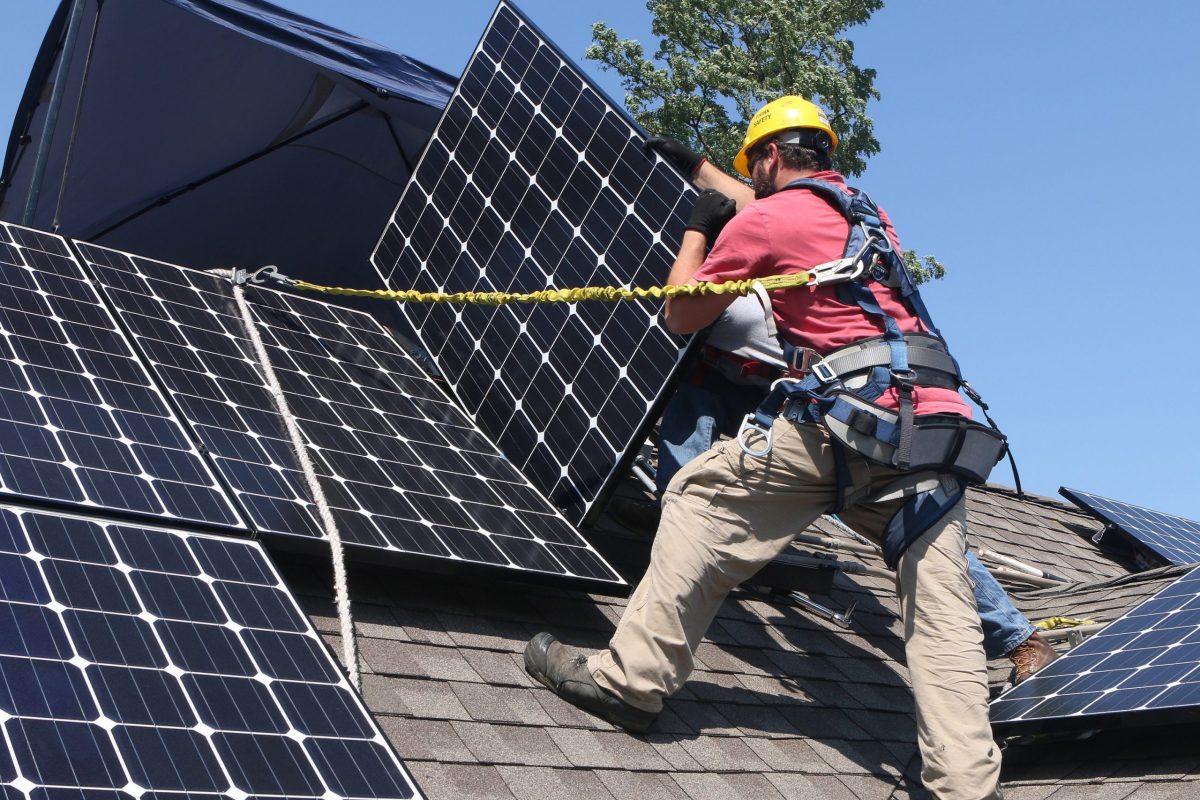
While DIY solar installation may seem like a cost-saving option, working with a reputable and experienced installer is crucial for optimal system performance, safety, and long-term savings. Professional installers have the expertise to design a system tailored to your home’s unique energy needs, ensuring maximum efficiency and reliability. When choosing an installer, look for a licensed and insured company with a proven track record of successful installations in your area. Read reviews, ask for references, and verify certifications such as North American Board of Certified Energy Practitioners (NABCEP) accreditation. A quality installer will provide a detailed proposal, outlining equipment specifications, estimated energy production, and projected savings. They should also offer comprehensive warranties on both labor and components, giving you peace of mind over your investment. Additionally, experienced installers stay up-to-date with local building codes, permitting requirements, and available incentives, ensuring your system is compliant and you’re taking advantage of all potential savings opportunities. While upfront costs may be higher with a professional installation, the long-term benefits of a properly designed and installed system far outweigh any short-term savings from a DIY approach. Invest in quality workmanship for a solar array that will deliver reliable, clean energy for decades to come.
Conclusion
Installing solar panels is a smart investment that can significantly reduce your energy bills and carbon footprint. By following these essential tips, you can ensure your solar system is installed correctly and performs optimally for years to come. Remember to work with a reputable installer, choose the right location for your panels, and invest in quality components. Proper maintenance, such as regular cleaning and inspections, will help keep your system running smoothly and efficiently. With a well-designed and properly installed solar panel system, you can enjoy the benefits of clean, renewable energy while saving money on your utility bills. Embrace the power of the sun and take a step towards a more sustainable future for yourself and the environment. By making informed decisions and following best practices, you’ll be well on your way to enjoying the long-term financial and environmental rewards of going solar.

