Understanding your home’s solar wiring diagram unlocks the key to efficient energy production, system maintenance, and safe troubleshooting. A properly designed residential solar wiring schematic connects your solar panels, inverter, charge controller, batteries (if applicable), and main electrical panel into a seamless power-generating system. Whether you’re planning a new installation, maintaining an existing setup, or diagnosing issues, mastering the fundamentals of solar wiring diagrams empowers you to take control of your renewable energy investment.
This comprehensive guide walks you through the essential components, common configurations, and safety considerations for residential solar wiring systems. From understanding basic series and parallel connections to interpreting industry-standard symbols, you’ll learn how these vital components work together to power your home sustainably. We’ll also explore best practices for sizing conductors, selecting appropriate disconnects, and ensuring code compliance – critical knowledge for any homeowner invested in solar energy.
Stay tuned as we break down complex electrical concepts into practical, actionable insights that help you maximize your solar system’s performance while maintaining the highest safety standards.
Understanding Your Solar System’s Wiring Layout
Key Components of Solar Wiring
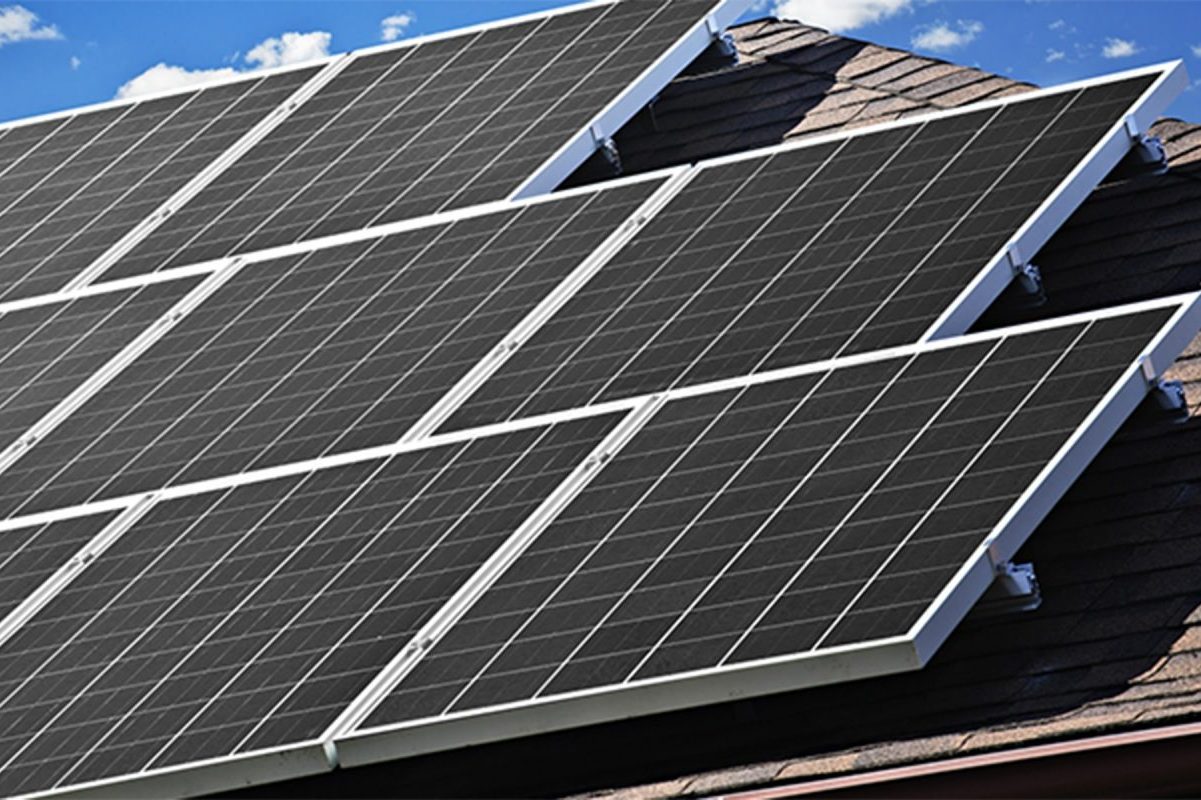
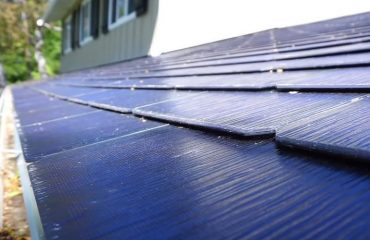
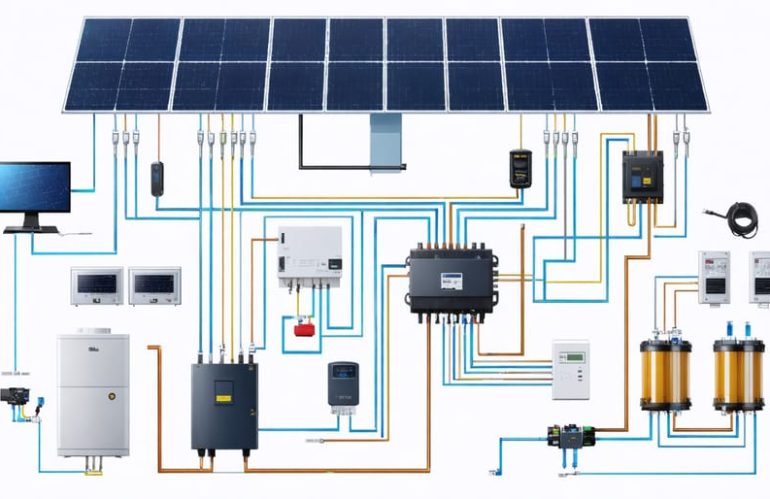
A residential solar system consists of several interconnected components working together to harness and convert solar energy. Solar panels, typically mounted on your roof, capture sunlight and convert it into DC electricity. Understanding the maximum voltage of solar panels is crucial for safe and efficient system design.
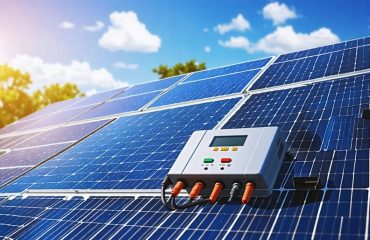
The inverter, often considered the system’s brain, converts DC power from the panels into AC power that your home can use. Modern systems commonly use either string inverters for the entire array or microinverters for individual panels, offering different benefits for various home setups.
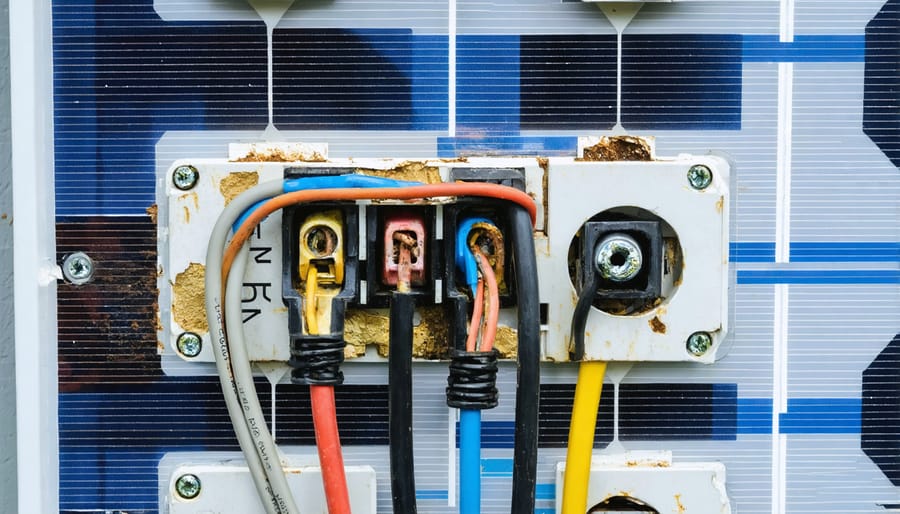
Junction boxes serve as connection points, housing essential wiring and protective components. These weatherproof enclosures contain disconnect switches, fuses, and grounding equipment to ensure safety and compliance with electrical codes.
Other key components include:
– DC disconnects for emergency shutoff
– Conduit to protect wiring
– Electrical meters to monitor production
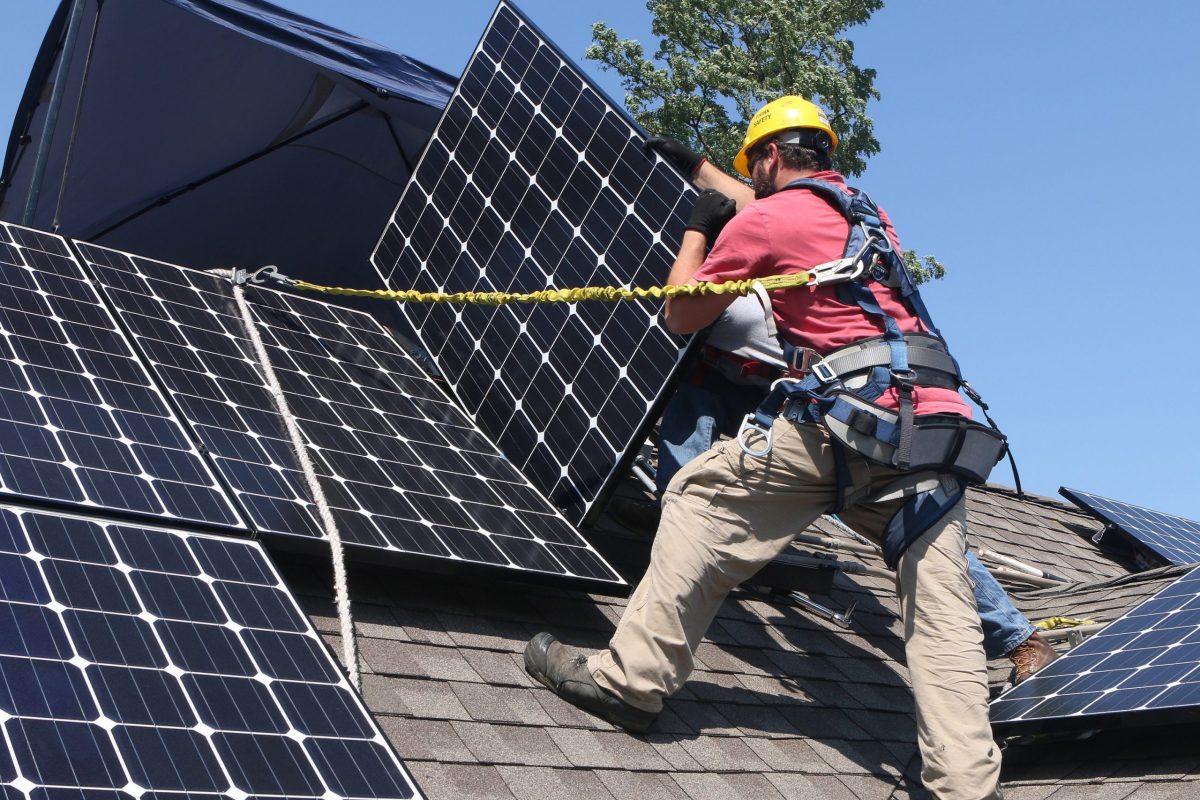
– Mounting hardware to secure panels
– Battery systems (optional) for energy storage
These components work together to create a reliable, efficient solar power system for your home.
Reading Your System’s Wiring Diagram
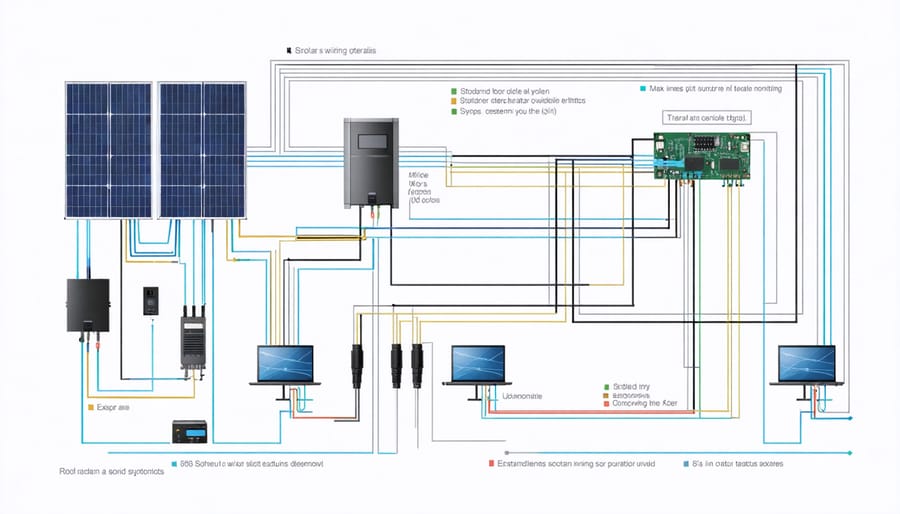
Reading your solar system’s wiring diagram might seem daunting at first, but it’s actually quite straightforward once you understand the basic symbols. Each component in your solar setup is represented by a distinct symbol – panels are typically shown as rectangles with diagonal lines, while inverters appear as boxes with wave-like symbols inside.
Look for lines connecting these components – solid lines represent positive (usually red) wires, while dashed lines often indicate negative (typically black) connections. Ground wires are shown with parallel lines, sometimes accompanied by a downward-pointing arrow. You’ll also notice squares with numbers inside them, which represent junction boxes or connection points.
The diagram will show how your panels are connected – either in series (one after another) or parallel (side by side). Series connections are indicated by components linked end-to-end, while parallel connections branch out like a tree. Pay special attention to symbols near your inverter and battery storage, as these often include important safety disconnects and surge protection devices.
Remember that arrows indicate the direction of current flow, helping you understand how power moves through your system. Keep your wiring diagram in a safe place – it’s invaluable for maintenance and troubleshooting.
Common Wiring Issues and Their Solutions
Connection Problems
Connection problems in solar wiring systems often start with simple issues that can significantly impact your system’s performance. One of the most common issues is loose connections, which can occur due to vibration, temperature changes, or improper initial installation. These loose connections not only reduce system efficiency but can also create potential safety hazards.
Corrosion is another frequent challenge, especially in outdoor connections exposed to moisture and environmental elements. Salt air in coastal areas can accelerate corrosion, while humidity in any location can lead to oxidation of metal components. Regular inspection of connection points, particularly those exposed to the elements, can help identify corrosion before it becomes a serious problem.
Damaged wires present a third major concern in solar installations. Wire damage can occur during installation, from wildlife activity, or through normal wear and tear. Common signs of wire damage include:
– Visible cuts or nicks in the wire insulation
– Discoloration or melting of wire coating
– Brittle or cracking insulation
– Exposed copper conductor
To prevent these issues, ensure all connections are properly tightened during installation and perform regular maintenance checks. Use appropriate weather-resistant materials and proper wire management techniques to protect cables from physical damage. If you notice any signs of connection problems, it’s important to address them promptly to maintain system efficiency and safety.
For optimal performance, consider having a qualified solar technician perform annual inspections of all electrical connections and wiring components. They can identify potential issues before they lead to system failure or safety concerns.
Circuit Issues
While solar systems are generally reliable, certain circuit issues can arise that require attention. Ground faults occur when an unintended electrical path develops between a power source and the ground. You might notice this through flickering inverter lights or system shutdowns. The good news is that modern solar installations come with ground fault protection devices that automatically detect and prevent these issues.
Overcurrent problems happen when too much electricity flows through the system’s wires. This can be caused by loose connections, damaged wiring, or improper installation. Warning signs include warm wires, burning smells, or frequent circuit breaker trips. Regular system inspections can help catch these issues early before they become serious concerns.
Voltage mismatches are another common challenge, especially in systems with multiple panels. This occurs when different panels produce varying amounts of power, often due to partial shading or panel degradation. To prevent this, ensure your panels are properly matched during installation and keep them clean and unobstructed.
The key to avoiding these circuit issues is proper initial installation and regular maintenance. Consider these preventive steps:
– Schedule annual professional inspections
– Keep panels clean and free from debris
– Monitor your system’s performance regularly
– Address any warning signs promptly
– Maintain proper documentation of your system’s wiring diagram
If you notice any electrical issues, it’s best to contact a qualified solar technician rather than attempting DIY repairs, as solar systems involve complex electrical connections that require professional expertise.
Safety First: Working with Solar Wiring
Working with solar wiring requires careful attention to safety protocols to protect both you and your solar power system. Before inspecting or troubleshooting any solar components, always ensure the system is completely shut down following your manufacturer’s guidelines. This typically involves turning off both AC and DC disconnects and waiting at least 5 minutes for stored energy to dissipate.
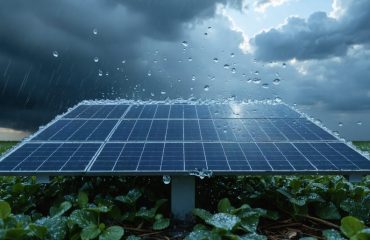
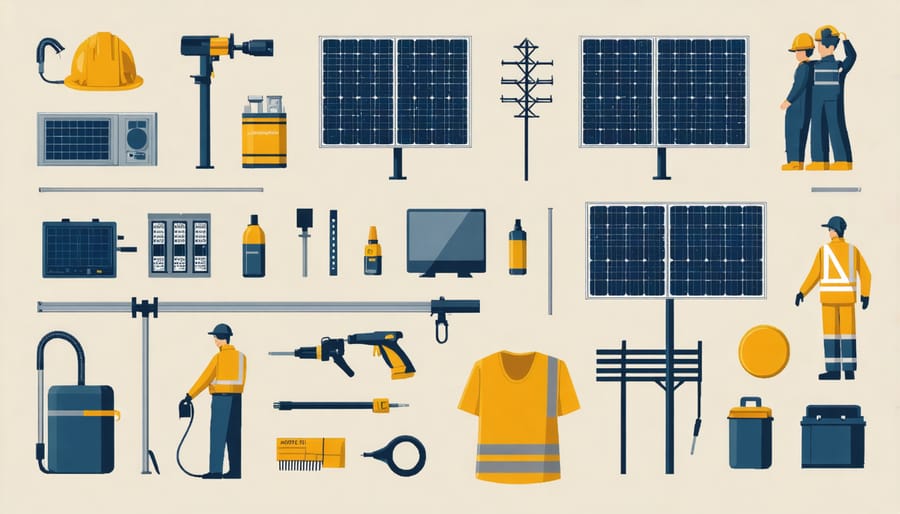
Never attempt to work on solar wiring during adverse weather conditions or when panels are wet. Moisture significantly increases the risk of electrical shock. Always wear appropriate personal protective equipment, including insulated gloves rated for electrical work and safety glasses. Rubber-soled shoes provide additional protection against electrical hazards.
Keep your tools organized and properly insulated. Use only tools specifically designed for electrical work, and ensure they’re in good condition with no exposed metal parts. When measuring voltage or current, always use a quality multimeter rated for DC voltage at your system’s specifications.
A crucial safety rule is never to disconnect solar panels while they’re under load. Solar panels actively generate electricity whenever they’re exposed to light, so covering them with an opaque material before working on connections can help reduce risks. If possible, schedule maintenance work during early morning or evening hours when solar production is naturally lower.
Remember that solar systems contain multiple high-voltage components. The inverter, charge controller, and battery bank (if present) all require specific safety considerations. Never attempt to modify or repair these components unless you’re a qualified professional.
If you notice any signs of damage, such as burnt connections, melted insulation, or loose wiring, don’t attempt repairs yourself. Contact a certified solar technician who has the proper training and equipment to address these issues safely. Maintaining proper documentation of your system’s wiring diagram and component specifications can help professionals work more efficiently when needed.
When to Call a Professional
While DIY solar maintenance can be rewarding, there are specific situations when you should immediately contact a qualified solar professional. If you notice any exposed wiring, damaged insulation, or signs of electrical arcing, stop what you’re doing and call an expert right away. These issues pose serious safety risks and require professional expertise.
Contact a solar professional if your monitoring system shows significant drops in power production that basic troubleshooting can’t resolve. Similarly, if you hear unusual buzzing sounds from your inverter or notice burning smells near any solar components, these are red flags that warrant immediate professional attention.
Any modifications to your existing solar setup, including adding new panels or changing the wiring configuration, should be handled by certified professionals. This ensures compliance with local electrical codes and maintains your warranty coverage. Remember that working with high-voltage DC electricity can be dangerous, and improper modifications could damage your system or create fire hazards.
You should also seek professional help if you’re experiencing repeated system shutdowns, error messages you don’t understand, or if your ground fault indicator is triggered. These issues often indicate underlying problems that require specialized diagnostic tools and expertise to resolve safely.
During severe weather events or after natural disasters, have a professional inspect your system before attempting to restart it. They can identify potential hazards and ensure all components are functioning correctly. Additionally, annual professional inspections are recommended to maintain system efficiency and catch potential issues before they become serious problems.
Preventive Maintenance Tips
Maintaining your solar system’s wiring is crucial for optimal performance and longevity. Following a regular maintenance schedule can help prevent common wiring issues and ensure your system operates safely and efficiently.
Start by visually inspecting all visible wiring connections monthly, looking for signs of wear, damage, or loose connections. Pay special attention to areas where cables enter junction boxes and check for any discoloration that might indicate overheating. Keep wire connections clean and free from dust, debris, and moisture by gently cleaning them with a dry cloth.
Monitor your inverter’s display panel regularly for error messages or unusual readings that might indicate wiring problems. Check that all conduit connections are properly sealed and weatherproof, especially after severe weather events. Ensure vegetation growth doesn’t interfere with wiring runs or create unnecessary strain on cables.
Test your system’s ground connections annually to confirm they’re secure and corrosion-free. If you notice any exposed wiring, immediately contact a qualified solar technician for repairs. Keep detailed records of your maintenance activities and any changes in system performance that might indicate developing issues.
Consider installing a monitoring system if you haven’t already – it can alert you to potential wiring problems before they become serious. During winter, check that snow and ice haven’t damaged or stressed any exposed wiring components. Remember to never attempt repairs on live electrical components yourself; always consult a certified professional for electrical work.
These preventive measures will help maintain your solar system’s efficiency and extend its lifespan while ensuring safe operation for years to come.
Understanding and maintaining your residential solar wiring system is crucial for ensuring long-term performance and safety of your solar investment. Throughout this guide, we’ve explored the essential components, common configurations, and best practices for solar system wiring. Remember that proper maintenance of your solar wiring not only extends the life of your system but also maximizes its energy production efficiency.
Regular inspections of your wiring connections, checking for signs of wear or damage, and keeping detailed maintenance records are fundamental practices that every solar homeowner should adopt. While the initial setup may seem complex, the long-term benefits of a well-maintained solar system far outweigh the effort required for proper upkeep.
Always prioritize safety by working with certified professionals for any significant wiring modifications or repairs. While basic monitoring and visual inspections can be performed by homeowners, electrical work should be left to qualified experts who understand local codes and safety requirements.
By following the guidelines outlined in this article, you’ll be better equipped to understand your solar system’s wiring layout, identify potential issues early, and ensure optimal performance. Remember that a properly maintained solar installation not only provides reliable clean energy but also protects your investment and contributes to a more sustainable future.
If you notice any unusual changes in your system’s performance or spot potential wiring issues, don’t hesitate to contact a professional solar technician for assistance.