Maximize your solar lights’ performance with proper charging techniques that extend battery life and enhance illumination. Solar lights with on/off switches offer greater control over your outdoor lighting, but they require specific charging methods to function optimally. Whether you’re new to solar lighting or looking to improve your existing setup, understanding the correct charging process ensures reliable nighttime illumination while saving energy. This guide walks you through proven charging strategies that work for all seasons, helping you maintain bright, consistent lighting without increasing your energy bills.
The key to successful solar light charging lies in proper switch positioning, optimal sunlight exposure, and regular maintenance. By following the right charging procedures, you’ll extend your lights’ lifespan, improve their brightness, and ensure they remain a reliable, sustainable lighting solution for your outdoor spaces. Let’s explore the essential steps to charge your solar lights effectively, addressing common challenges and maximizing their performance throughout the year.
Understanding Your Solar Light’s Charging System
How Solar Charging Works
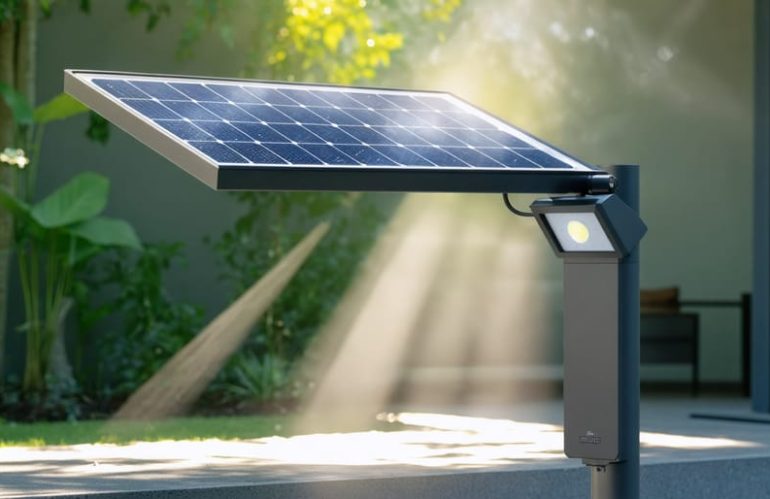
Solar lights work through a straightforward process that harnesses the sun’s energy to power your outdoor lighting. During daylight hours, the solar panel on top of your light converts sunlight into electrical energy. This energy is then stored in a rechargeable battery inside the light fixture, typically a NiMH or Li-ion battery.
The photovoltaic cells in the solar panel contain special materials that create an electric current when exposed to sunlight. Even on cloudy days, these cells can capture some solar energy, though not as efficiently as on bright, sunny days. The charging controller in your solar light manages this process, ensuring the battery receives the right amount of power and preventing overcharging.
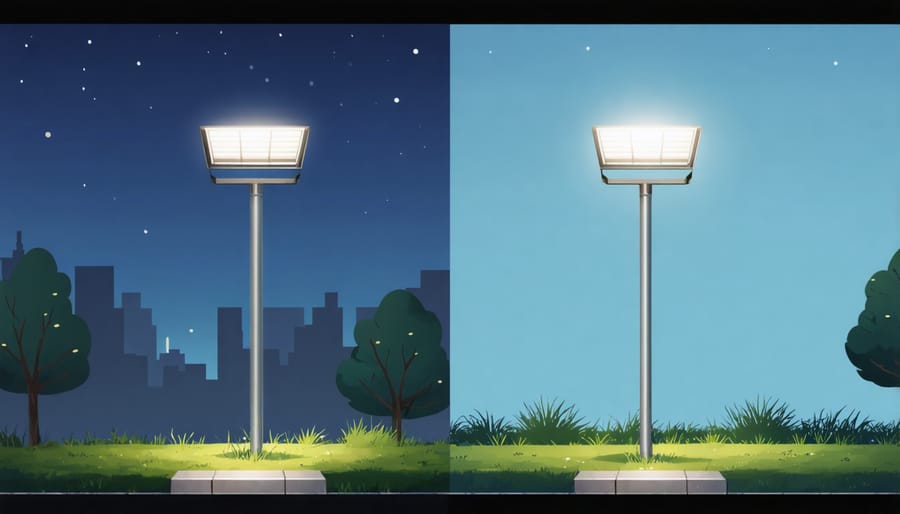
When darkness falls, the light’s photoresistor detects the lack of ambient light and triggers the LED bulbs to turn on, using the stored energy from the battery. This cycle repeats daily, providing sustainable, cost-free illumination for your outdoor spaces.

The Role of On/Off Switches
The role of solar light switches is crucial for efficient charging and optimal performance of your outdoor lighting system. These switches serve two essential functions: controlling when your lights turn on and managing the charging cycle. During daylight hours, keeping the switch in the “off” position allows the solar panels to direct all collected energy into charging the batteries, rather than powering the lights unnecessarily.
When switched “on,” your solar lights will automatically illuminate when darkness falls, using the stored energy from daytime charging. This dual functionality helps preserve battery life and ensures your lights perform at their best when needed. Many homeowners don’t realize that leaving solar lights permanently “on” can actually reduce their charging efficiency, as some energy gets diverted to the LED circuits even during daylight hours.
For maximum charging effectiveness, make it a habit to switch your lights off during initial installation and battery replacement. This simple practice helps establish a proper charging cycle and extends the lifespan of your solar lighting system.
Best Practices for Charging Solar Lights
Initial Charging Tips
Before powering up your solar lights for the first time, it’s essential to follow proper charging best practices to ensure optimal performance. Start by locating the on/off switch, typically found on the light’s base or solar panel housing. Switch it to the “off” position before beginning the initial charging process.
Remove any protective films or stickers from the solar panel surface, as these can significantly reduce charging efficiency. Place your lights in a location that receives direct sunlight, ideally during peak hours (10 AM to 3 PM). Allow them to charge for a full 8-10 hours before first use, even if the manufacturer suggests a shorter time.
During this initial charging period, keep the switch in the “off” position to allow the batteries to reach maximum capacity without any power drain. This helps condition the batteries and establishes a strong charging cycle from the start.
Once the initial charge is complete, switch the lights to the “on” position just before dusk. Your solar lights should now operate automatically, charging during daylight hours and illuminating at night. Remember that the first few charging cycles might not deliver peak performance – this is normal as the batteries need time to reach their full capacity.
Daily Charging Routine
To get the most out of your solar lights, establish a consistent daily charging routine. Start by ensuring your lights are turned off during daylight hours – this allows the solar panels to focus entirely on charging the batteries rather than powering the lights. Position your lights where they’ll receive 6-8 hours of direct sunlight, ideally during peak sun hours between 10 AM and 2 PM.
Before sunset, check that all solar panels are clean and free from debris, as dirt can significantly reduce charging efficiency. As darkness approaches, switch your lights on to enjoy their full brightness throughout the evening. If you’re planning to be away, consider leaving the switch in the ‘off’ position for a few days to allow the batteries to reach maximum charge.
During shorter winter days or periods of limited sunlight, you might need to adjust your routine. Try switching the lights on later in the evening to ensure they have adequate charge to last through the night. Some users find it helpful to rotate their solar lights, moving less-used lights to sunnier spots to maintain optimal charging.
Remember to check that the on/off switch is functioning properly each day – a sticky or faulty switch can prevent proper charging. If you notice any lights charging poorly, try cleaning the solar panels and repositioning them for better sun exposure before considering other troubleshooting steps.
Maximizing Solar Light Performance
Optimal Placement for Charging
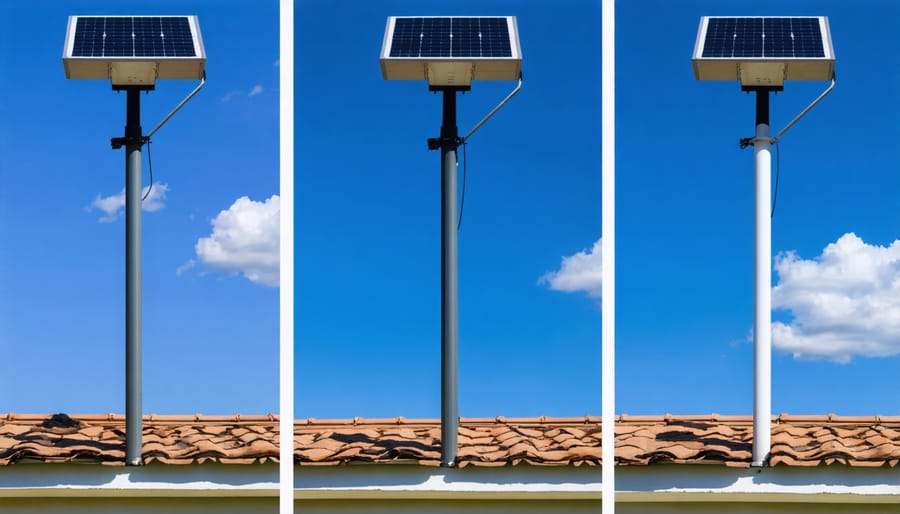
The key to maximizing your solar lights’ charging efficiency lies in their placement. Position your lights where they receive direct sunlight for at least 6-8 hours daily, typically facing south in the Northern Hemisphere. Avoid areas shaded by trees, buildings, or other structures that could block sunlight from reaching the solar panels.
Consider seasonal changes when placing your lights. The sun’s path varies throughout the year, so a spot that’s perfect in summer might receive less sunlight in winter. Choose locations that maintain good sun exposure year-round, and adjust the angle of your solar panels seasonally if possible.
Keep the solar panels clean and unobstructed. Even a thin layer of dust, leaves, or bird droppings can significantly reduce charging efficiency. Place lights away from areas where debris naturally accumulates, such as under trees or near dusty driveways.
For optimal charging, mount your lights at least 2 feet above ground level. This helps prevent shadows from nearby plants or structures from interfering with solar collection. If you’re using stake lights, ensure they’re firmly planted in the ground and angled slightly toward the sun’s path.
Remember that reflective surfaces nearby, such as light-colored walls or windows, can actually enhance charging by redirecting additional sunlight onto the panels. However, avoid placing lights where they might be affected by artificial light sources at night, as this could interfere with their automatic operation.
Seasonal Charging Adjustments
As the seasons change, so should your approach to charging solar lights. During summer months, when daylight is abundant, your lights typically need 6-8 hours of direct sunlight. Position them where they’ll receive maximum sun exposure, usually between 10 AM and 4 PM, when solar radiation is strongest.
In winter, you’ll need to adjust your charging strategy. With shorter days and weaker sunlight, consider extending charging times to 8-10 hours. Move your lights to catch low-angle winter sun, typically by placing them in more southerly-facing positions (for Northern Hemisphere residents). You might also need to clean your solar panels more frequently, as winter weather can leave debris that reduces charging efficiency.
Spring and fall require moderate adjustments. Aim for 6-8 hours of charging time, but be mindful of changing sun angles. During these transitional seasons, you might need to experiment with different positions to find optimal charging spots. For charging during poor weather conditions, consider temporarily relocating your lights to sunnier areas or using alternative charging methods.
Remember to adjust your lights’ on/off switch timing seasonally. In summer, you might delay activation until later in the evening, while winter might require earlier activation to maximize battery life during longer nights.
Troubleshooting Common Charging Issues
Even the best solar lights can occasionally experience charging issues, but most problems have simple solutions. If your lights aren’t charging properly, first ensure they’re positioned in direct sunlight with no shadows from trees, buildings, or other obstacles. Clean the solar panel regularly with a soft, damp cloth to remove dust and debris that can reduce charging efficiency.
If your lights still aren’t charging, check if the on/off switch is in the correct position during daylight hours. Many solar lights need to be switched “ON” to charge, even during the day. A common mistake is leaving them switched off, which prevents the battery from charging.
Battery issues are another frequent concern. If your lights have been working well but suddenly stop holding a charge, the rechargeable batteries might need replacement. Most solar lights use standard rechargeable batteries that you can easily swap out.
For lights that work intermittently, verify that the light sensor isn’t being affected by nearby light sources like street lamps or porch lights. These can trick the sensor into thinking it’s still daylight, preventing the light from turning on at night.
During winter months, you might notice reduced performance due to shorter days and weaker sunlight. Consider adjusting the light’s position or angle to maximize exposure to available sunlight during these periods.
Proper maintenance and charging of your solar lights with on/off switches doesn’t have to be complicated. By following the guidelines we’ve discussed – ensuring proper placement, regular cleaning, and optimal charging conditions – you can significantly extend your lights’ lifespan and performance. Remember to check your lights’ positioning seasonally, keep the solar panels clean and unobstructed, and use the on/off switch strategically to maximize battery life. With these simple practices, your solar lights will provide reliable, eco-friendly illumination for years to come. Make it a habit to inspect your lights monthly, and don’t hesitate to troubleshoot if you notice any decrease in performance. By investing a little time in maintenance, you’ll enjoy beautiful, sustainable outdoor lighting while reducing your carbon footprint and energy costs.