Reset your solar water heater effectively by first checking the breaker panel and ensuring all switches are in the correct position. When standard operation fails, locate the reset button on your heater’s control panel – typically a small red or black button near the temperature display. For stubborn issues, perform a complete system reset after power outages by shutting down power for 30 seconds before restarting. This simple maintenance routine not only resolves common performance issues but also helps extend your heater’s lifespan while maintaining optimal energy efficiency. Understanding these reset procedures saves you money on service calls and ensures your sustainable water heating system continues delivering reliable hot water year-round.
When Your Solar Water Heater Needs a Reset
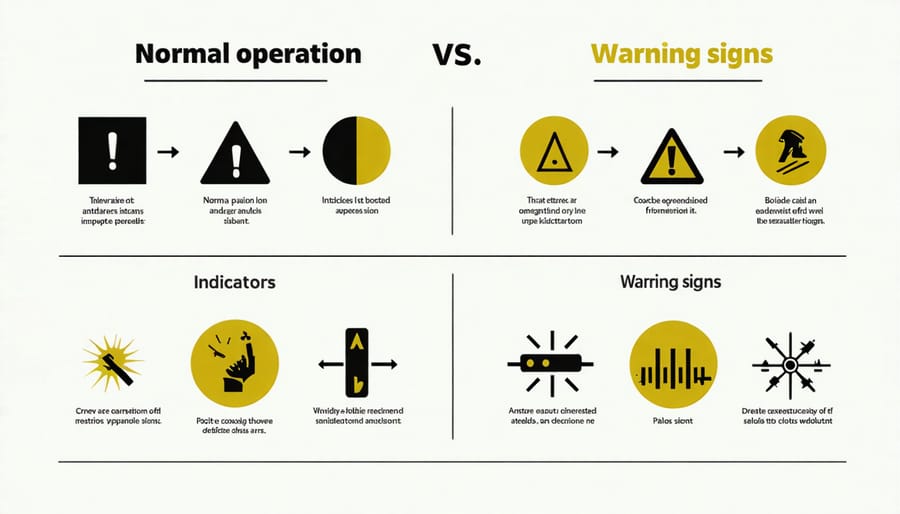
Common Warning Signs
Being alert to warning signs can help you identify when your solar water heater needs attention. Watch for unexpectedly cold water, even during sunny days, which often indicates a system issue. If you notice unusual noises like gurgling or rattling from your tanks or pipes, this could signal air in the system or circulation problems.
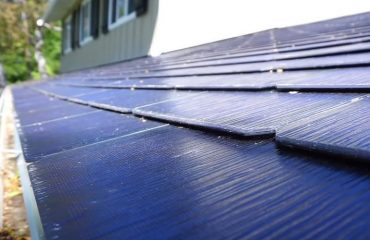
A sudden spike in your electricity bills might mean your backup heating element is working overtime to compensate for reduced solar efficiency. Check your solar collector panels for visible damage, discoloration, or scaling, which can reduce their effectiveness. Leaks around pipe connections or storage tanks are serious indicators that require immediate attention.
Monitor your system’s pressure gauge – readings outside the normal range (usually 30-60 PSI) suggest problems. Also, be mindful of error messages on your controller display, inconsistent water temperature, or if the system takes longer than usual to heat water. These signs typically mean it’s time for a system reset or professional maintenance.
Safety Check Before Reset
Before attempting to reset your solar water heater, take these essential safety precautions to protect yourself and your equipment. First, ensure you’re wearing appropriate protective gear, including heat-resistant gloves and safety glasses. Check that the water temperature isn’t dangerously hot by carefully testing the nearest faucet.
Turn off the main power supply to the solar water heater at your electrical panel. If your system uses gas backup, shut off the gas valve as well. Wait at least 30 minutes to allow the system to cool down sufficiently before proceeding with any reset procedures.
Inspect the area around your heater for any water leaks, unusual sounds, or burning smells. If you notice any of these warning signs, contact a professional immediately rather than attempting a reset. Also, ensure you have clear access to the reset button or panel, and that the workspace around the heater is dry and well-lit.
Remember, if you’re ever unsure about performing a reset safely, it’s better to consult with a qualified technician.
Step-by-Step Reset Process
Locating the Reset Button
The reset button on your solar water heater is typically located near the thermostat or on the upper element of the tank. For most residential models, you’ll find it behind a small access panel or cover plate on the side of the water heater. This panel is usually secured with a few screws and may be labeled “reset” or “high limit.”
Different manufacturers place the reset button in slightly different locations. For Bradford White models, look for a red button under the upper access panel. Rheem and Ruud units typically have the reset button behind a black plastic cover near the top of the tank. If you have a SunPower or AO Smith system, check both the upper and lower thermostat access panels.
Some newer models feature an external reset button that’s easier to access, often located on the control panel or near the temperature display. If you’re having trouble locating the reset button on your specific model, consult your owner’s manual or look for a diagram on the side of the tank.
Remember to turn off power to the unit before removing any access panels to ensure your safety.
Power Down Procedure
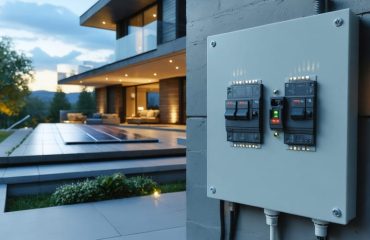
Before attempting any reset procedures, it’s crucial to safely disconnect power to your solar water heater system. Start by locating your system’s circuit breaker in your home’s main electrical panel. Switch off the dedicated breaker labeled for the solar water heater – this is typically a double-pole breaker rated at 20 or 30 amps.
If your system has a separate disconnect box near the solar water heater unit, turn this off as well. For added safety, place a piece of tape over the breaker switches to prevent accidental reactivation during maintenance.
Wait at least 5 minutes after power disconnection to allow any residual electrical charge to dissipate. During this time, check that your system’s digital display (if equipped) has gone completely dark, confirming power disconnection.
For systems with backup electric elements, verify these are also powered down. If you’re unsure about any electrical connections, it’s always better to consult a qualified technician rather than risk injury or damage to your system.
Remember to keep all power off until you’ve completed the entire reset procedure.
Reset Sequence
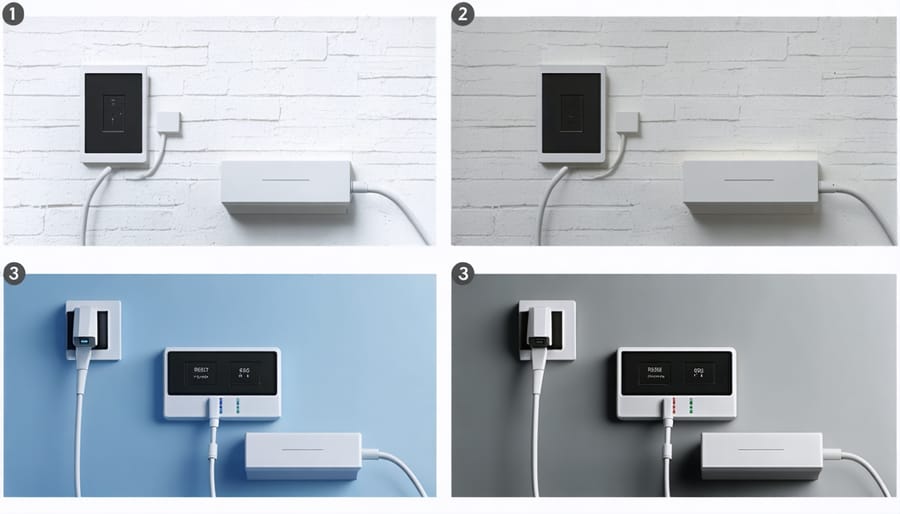
Begin by locating your solar water heater’s reset button, typically found near the thermostat or control panel. Before proceeding, turn off the power supply to ensure safety. Press and hold the reset button for approximately 3-5 seconds until you hear a click or see an indicator light change.
If your system has a digital display, wait for it to show “RST” or restart. Once the display clears, turn the power back on and wait for about 30 minutes while the system recalibrates. During this time, avoid using hot water to allow the heater to establish proper temperature settings.
For systems with a thermal cut-off switch, you may need to remove the access panel and locate the small red button. Press this firmly until you hear a click. Replace the panel securely before restoring power.
Check that the temperature setting is at your desired level, typically between 120-140°F for optimal efficiency and safety. Monitor the system for the next few hours to ensure it’s heating properly. If problems persist after resetting, consider scheduling a professional inspection.
Remember to document the reset process and date for future reference, as this can help identify patterns if issues recur.
System Restart
After completing the reset procedure, properly restarting your solar water heater is crucial for optimal performance. Begin by ensuring all drain valves are completely closed and the system is fully refilled with water. Open all hot water taps in your home to release any trapped air, and leave them open until you get a steady stream of water without sputtering.
Next, check that your circuit breaker is switched back on and your temperature controller is set to your desired temperature (typically between 120-140°F for most households). Listen for the normal operational sounds of your system to confirm it’s running correctly.
Monitor your system for the next few hours. The water should begin heating, though it may take 4-6 hours to reach full temperature, depending on your system size and available sunlight. Check for any unusual noises or leaks during this period.
For the first 24 hours after restart, use hot water sparingly to allow the system to stabilize. If you notice any issues like inadequate heating or strange sounds, consider consulting a professional technician for inspection.
After the Reset
Normal Operation Signs
After a successful reset, your solar water heater should display several clear signs of normal operation. The most immediate indicator is the restoration of hot water flow at your taps. You should notice consistent water temperature without sudden fluctuations. The system’s pressure gauge should read between 50-60 PSI, indicating optimal pressure levels.
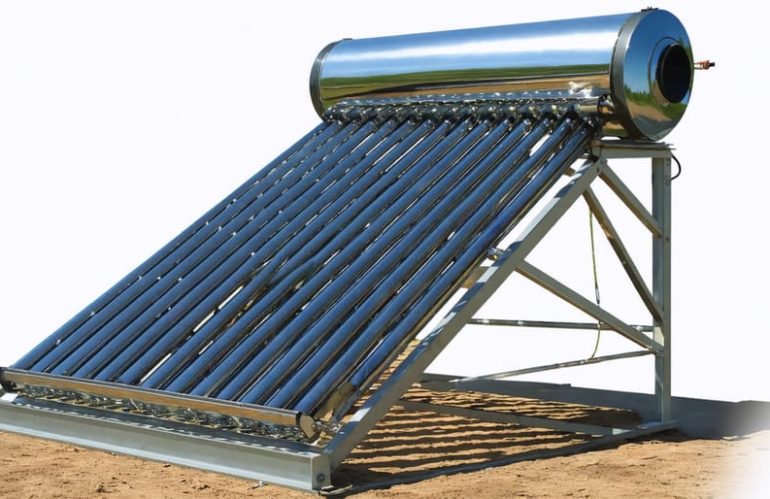
The solar collector panels should feel warm to the touch during daylight hours, showing they’re effectively absorbing solar energy. Your storage tank’s temperature display, if equipped, should show steady temperature increases during sunny periods. Listen for the gentle sound of water circulating through the system – this is normal and indicates proper flow.
The backup heating element, if present, should only activate during cloudy periods or high-demand situations. Your energy bills should remain stable or show the expected savings from solar heating. If you notice these signs, your reset was successful. However, if any issues persist after 24 hours, it’s advisable to contact a professional for inspection.
Remember, a properly functioning solar water heater operates quietly and efficiently, providing reliable hot water while keeping energy costs low.
When to Call a Professional
While many solar water heater issues can be resolved through basic troubleshooting solar panel issues, certain situations require professional expertise. Contact a certified solar technician if you notice persistent leaks, significant pressure drops, or unusual noises from your system. Professional help is essential when dealing with electrical components, complex circulation problems, or if your tank shows signs of corrosion.
Don’t attempt repairs if your system is still under warranty, as this could void your coverage. A professional should also be called if you’re unable to access your roof safely or if you notice structural issues around your solar installation. Additionally, seek expert assistance if your system hasn’t been serviced in over two years, as preventive maintenance can help avoid costly repairs.
For older systems (7+ years), having a professional assessment can help identify potential problems before they become serious issues. Remember, while DIY solutions can save money, risking your safety or potentially damaging expensive equipment isn’t worth the short-term savings.
Resetting your solar water heater is a crucial skill that ensures you can maintain optimal performance and address common issues effectively. By following the steps outlined in this guide, you can confidently troubleshoot and reset your system without always needing professional assistance. Remember that while resetting can solve many problems, it’s just one aspect of proper system maintenance.
To keep your solar water heater running efficiently for years to come, combine these reset procedures with regular maintenance tips and periodic inspections. This proactive approach not only extends the lifespan of your system but also helps maintain its energy efficiency, ultimately saving you money on utility bills.
Pay special attention to warning signs that indicate the need for a reset, such as inconsistent water temperature or reduced hot water output. Quick action when these issues arise can prevent more serious problems from developing. Additionally, keeping a maintenance log of when you perform resets and routine checks can help identify patterns and prevent future complications.
By taking ownership of your solar water heater’s maintenance, you’re not just protecting your investment – you’re also contributing to a more sustainable future while ensuring reliable hot water for your household. Remember, when in doubt about any maintenance procedure, don’t hesitate to consult with a qualified professional.