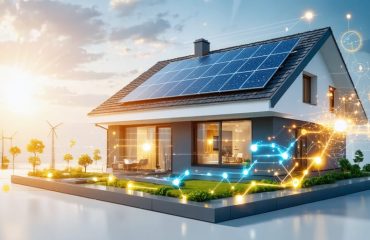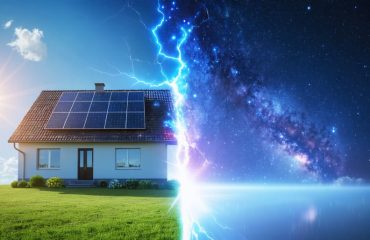
Transform your solar investment into a smart energy powerhouse by connecting your solar panels to WiFi. Modern solar monitoring systems enable real-time tracking of energy production, consumption patterns, and system performance—all from your smartphone or tablet. Whether you’re using a SolarEdge inverter, Enphase microinverters, or another smart solar solution, setting up WiFi connectivity unlocks powerful features that help maximize your energy savings and system efficiency.
This comprehensive guide walks you through the essential steps of connecting your solar panels to your home network, from initial hardware requirements to troubleshooting common connectivity issues. You’ll learn how to integrate your solar system with smart home devices, set up automated energy management, and leverage data insights to optimize your solar investment. Not only will this connectivity help you track your energy production, but it also enables proactive maintenance alerts and remote system monitoring for peace of mind.
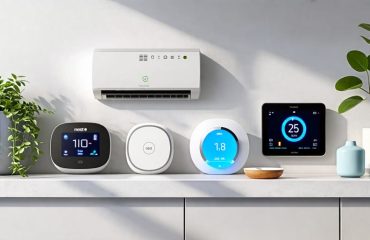
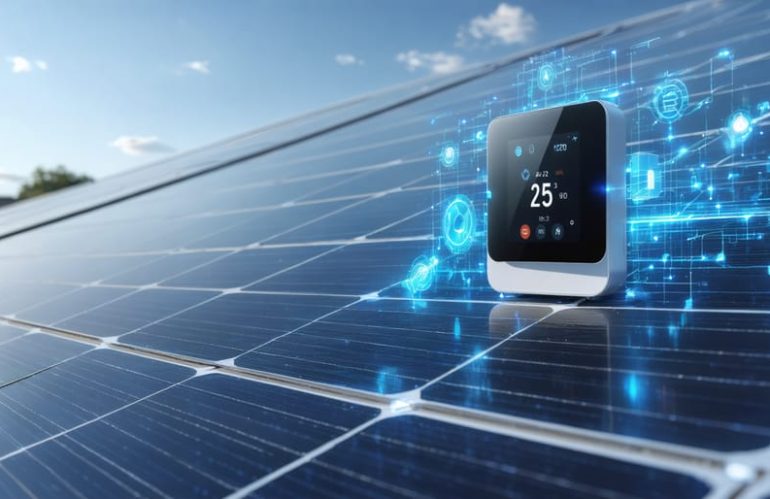
Why Connect Your Solar Panels to Smart Thermostats?
Energy Optimization at Your Fingertips
Connecting your solar panels to WiFi transforms your home into a smart energy hub, putting real-time monitoring and control right at your fingertips. Through sophisticated energy management systems, you can track your solar production, energy consumption, and battery storage levels from your smartphone or tablet. This integration enables you to make informed decisions about when to run energy-intensive appliances, maximizing your solar power usage during peak production hours.
The WiFi connection also provides valuable insights through easy-to-read graphs and reports, helping you understand your energy patterns and identify opportunities for greater efficiency. You’ll receive instant notifications about system performance and can adjust settings remotely to optimize energy consumption. This level of control not only helps reduce your carbon footprint but also maximizes your return on investment by ensuring your solar system operates at peak efficiency.
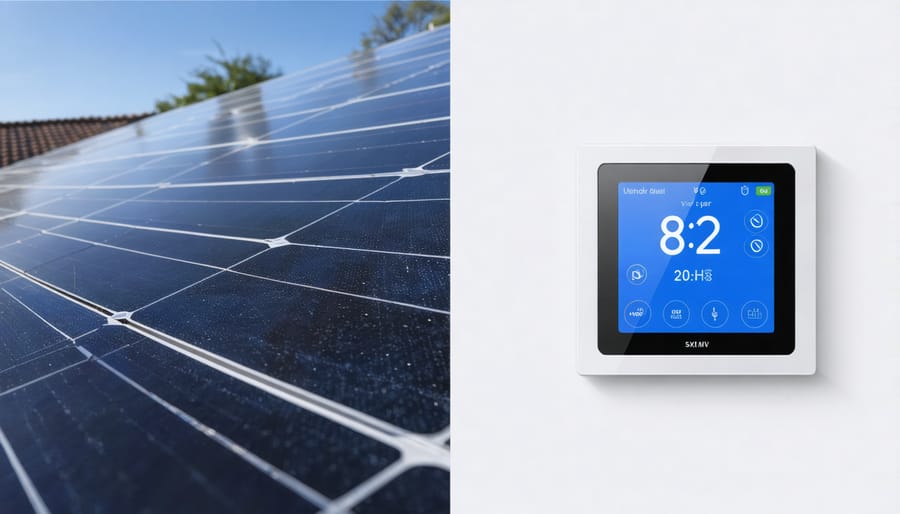
Real-Time Energy Production Monitoring
Monitoring your solar energy production in real-time through your smart thermostat brings convenience and control right to your fingertips. Instead of checking multiple apps or displays, you can view your solar production, energy consumption, and temperature settings all in one place. This integration enables you to make informed decisions about when to run energy-intensive appliances, maximizing your solar power usage during peak production hours.
Smart thermostats can display daily, weekly, and monthly energy production trends, helping you identify patterns and optimize your energy usage. You’ll receive notifications about production changes, weather impacts, and potential system issues, allowing for quick responses to maintain peak efficiency. Many systems also provide detailed reports and insights, making it easier to track your energy savings and environmental impact over time.
The ability to monitor and adjust your home’s energy usage remotely through your smartphone adds another layer of convenience, ensuring you’re always in control of your solar investment.
Setting Up the Connection
Required Equipment
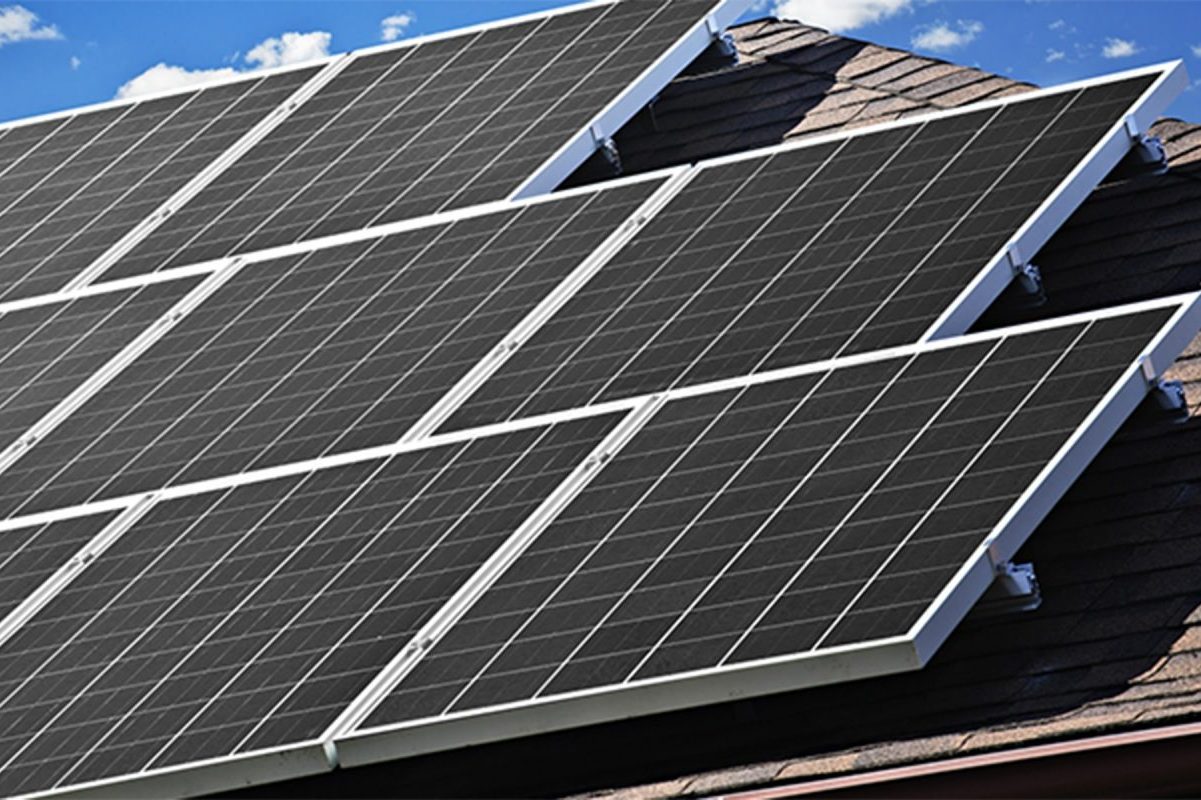
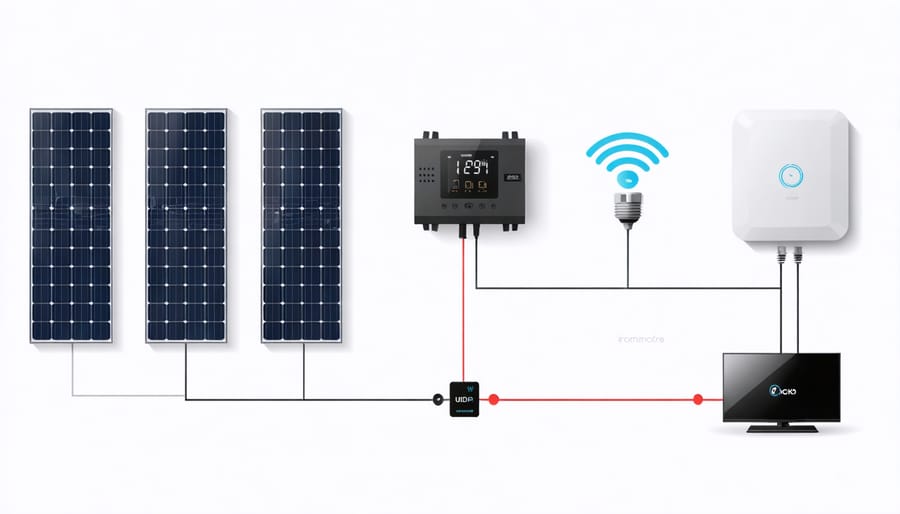
To connect your solar panels to WiFi and create a smart energy monitoring system, you’ll need several key components. First, ensure you have a compatible solar inverter with built-in WiFi capabilities or a separate WiFi monitoring device. Most modern inverters from brands like SolarEdge, Enphase, or Fronius come with this feature.
You’ll also need:
– A stable WiFi network with good coverage in your inverter’s location
– A smartphone or tablet running iOS or Android
– The manufacturer’s monitoring app (free download from app stores)
– Your WiFi network name and password
– The inverter’s serial number (usually found on the side of the unit)
Optional but recommended equipment includes:
– A WiFi signal extender if your router is far from the inverter
– A backup battery system for continuous monitoring
– Smart home hub (if planning to integrate with other devices)
– Energy monitoring display screen
– Weather station (for advanced monitoring)
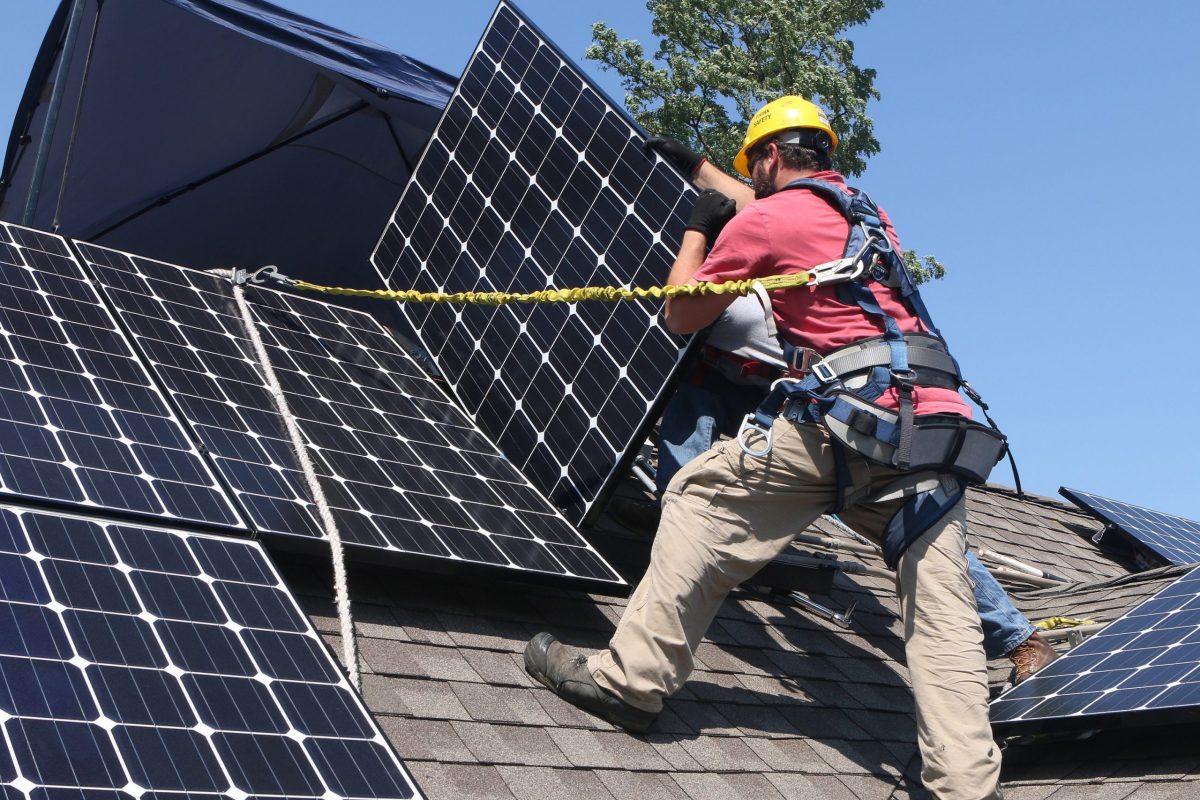
Make sure all components are compatible with your specific solar panel system before proceeding with the setup. Most manufacturers provide detailed compatibility information on their websites or through their customer service.
Connection Steps
Before starting the connection process, ensure you have your solar monitoring device and home Wi-Fi network details ready. Most modern solar systems come with a monitoring gateway or communication device that enables Wi-Fi connectivity.
First, locate your solar system’s monitoring device, typically installed near your inverter or electrical panel. Power on the device and wait for the indicator light to show it’s ready for setup – usually a blinking LED.
Download your solar manufacturer’s monitoring app from your smartphone’s app store. Popular options include SolarEdge, Enphase, or SunPower monitoring apps. Create an account if you haven’t already done so.
Open the app and select “Add New System” or “Setup Device.” The app will guide you through the initial configuration process. When prompted, connect your phone to the monitoring device’s temporary Wi-Fi network – it usually appears as something like “Solar_Setup” or “Monitor_XXXX.”
Once connected, return to the app and enter your home Wi-Fi network name (SSID) and password. This step links your solar monitoring device to your home network. Wait for confirmation that the connection is successful – this typically takes 2-3 minutes.
For enhanced energy management, consider adding a smart thermostat installation to your setup. This integration allows for more precise control over your home’s energy consumption.
Verify the connection by checking the monitoring device’s LED status – a solid light usually indicates successful connection. Open your monitoring app again and confirm that live data is being received from your solar system.
If you encounter connection issues, try positioning your Wi-Fi router closer to the monitoring device or consider using a Wi-Fi extender to strengthen the signal. Remember to keep your monitoring device’s firmware updated for optimal performance and security.
Troubleshooting Common Issues
If you’re experiencing connectivity issues with your solar monitoring system, don’t worry – most problems have simple solutions. First, check that your WiFi router is within range of your solar inverter or gateway device. If the signal is weak, consider using a WiFi extender to boost coverage.
When your solar monitoring app shows “offline” status, try resetting your inverter by turning it off for 30 seconds, then back on. This often resolves common connection issues. Make sure your WiFi password hasn’t changed recently, as this is a frequent cause of disconnection.
If you see error messages during setup, verify that you’re using the correct network band – most solar monitoring systems work on 2.4GHz networks rather than 5GHz. Also, check that your router’s firmware is up to date, as outdated software can cause compatibility issues.
For persistent problems, ensure your mobile device’s location services are enabled during setup, as many solar apps require this for initial configuration. If issues continue, contact your solar installer or manufacturer’s support team for specialized assistance.
Maximizing Your Smart Solar Setup
Setting Up Automated Schedules
Setting up automated schedules for your WiFi-connected solar panel system can significantly optimize your energy usage and savings. Start by accessing your solar monitoring app’s scheduling feature, usually found in the settings or automation menu. Most apps allow you to create different schedules for weekdays and weekends to match your household’s routine.
Consider creating a basic schedule that aligns with peak sunlight hours, typically between 10 AM and 4 PM. During these hours, schedule energy-intensive activities like running your dishwasher, washing machine, or charging electric vehicles to maximize direct solar power usage.
Many smart solar systems also integrate with weather forecasts. Use this feature to automatically adjust your power consumption based on predicted sunny or cloudy days. For example, you might schedule your pool pump to run during forecasted sunny periods when solar production will be highest.
Don’t forget to account for seasonal changes. Set up different schedules for summer and winter months, as daylight hours and energy needs vary significantly. In summer, you might schedule air conditioning to pre-cool your home during peak solar production hours.
Remember to review and adjust your schedules every few months based on your energy usage reports. Most solar apps provide detailed analytics that can help you identify patterns and optimize your schedules for maximum efficiency. Start with basic schedules and gradually refine them as you become more familiar with your household’s energy patterns.
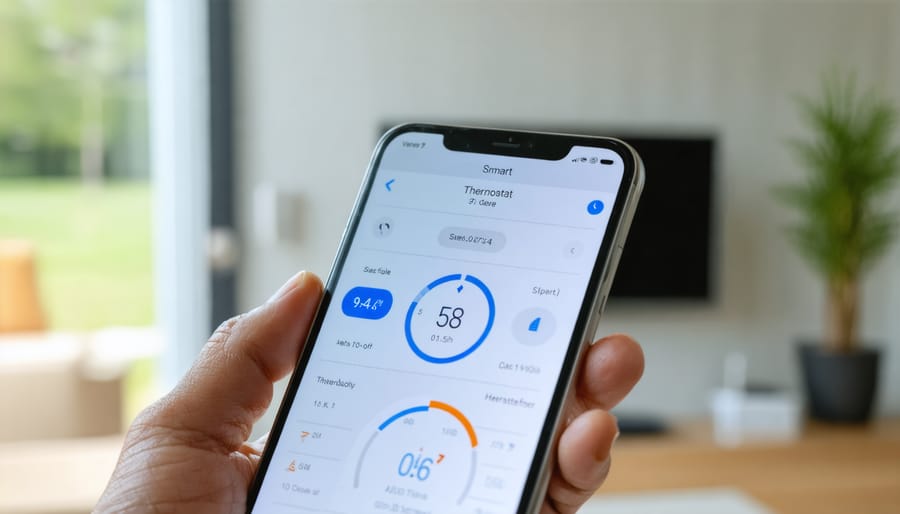
Mobile App Features
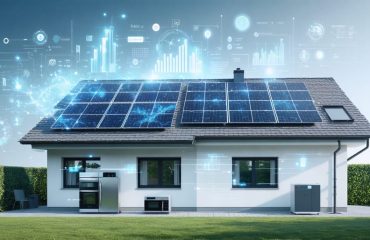
Modern solar monitoring apps put the power of your solar system right at your fingertips. These user-friendly applications offer a comprehensive dashboard where you can track your system’s performance in real-time. One of the most valuable features is monitoring energy production and consumption patterns through intuitive graphs and charts.
Most solar apps allow you to set custom alerts for system issues or performance drops, ensuring you’re always aware of your system’s health. You can receive instant notifications about power outages, connection problems, or maintenance needs. Many apps also include weather integration, helping you understand how environmental conditions affect your solar output.
The scheduling feature lets you optimize energy usage by programming your system to run power-intensive appliances during peak solar production hours. You can also access historical data to analyze trends and adjust your energy consumption habits accordingly.
For those interested in the environmental impact, these apps typically include features that calculate your carbon footprint reduction and equivalent trees saved. Some even offer social sharing capabilities, allowing you to compare your solar performance with neighbors or share your sustainable living achievements with friends.
Most importantly, these apps provide detailed financial insights, showing your energy savings in real dollars and helping you track your return on investment over time.
Connecting your solar panels to WiFi opens up a world of smart energy management possibilities. By following the steps outlined in this guide, you’ll gain real-time insights into your solar system’s performance, optimize energy usage, and potentially increase your savings. The process might seem daunting at first, but the benefits far outweigh the initial setup effort. With remote monitoring capabilities, automated alerts, and seamless integration with other smart home devices, you’ll have greater control over your renewable energy investment. Don’t let technical concerns hold you back – take the first step toward a smarter, more efficient solar system today. The future of solar energy is connected, and your home deserves to be part of this sustainable revolution.