Installing solar panels requires careful planning and precise execution to maximize energy production and system longevity. Before diving into the technical diagrams, understanding these essential facts about residential solar will ensure optimal placement and configuration. A proper installation diagram serves as your blueprint, detailing exact panel positions, wiring routes, and mounting specifications that accommodate your roof’s unique characteristics.
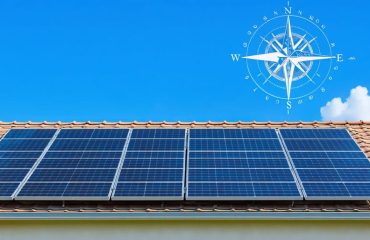
Your solar panel layout must consider three critical factors: roof orientation to maximize sun exposure, structural support requirements to handle additional weight, and local building codes that govern residential solar installations. Modern installation diagrams incorporate satellite imagery and 3D modeling to precisely map panel placement, avoiding shade zones and optimizing energy capture throughout the day.
Whether you’re a DIY enthusiast or working with professional installers, a detailed installation diagram becomes your roadmap to a successful solar project, ensuring proper component integration and maximum system efficiency. This comprehensive guide will walk you through creating and interpreting solar panel installation diagrams, helping you achieve the perfect setup for your home’s clean energy transformation.
Essential Components of a Solar Panel System
Primary Components
A successful solar panel installation relies on four essential components working together seamlessly. The solar panels themselves are the cornerstone, typically mounted on your roof to capture sunlight and convert it into DC electricity. These photovoltaic modules come in different sizes and efficiencies to match your energy needs.
Solar inverters form the heart of the system, converting the DC power from your panels into usable AC electricity for your home. They also monitor system performance and can provide real-time data about your energy production.
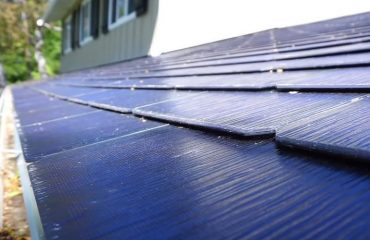
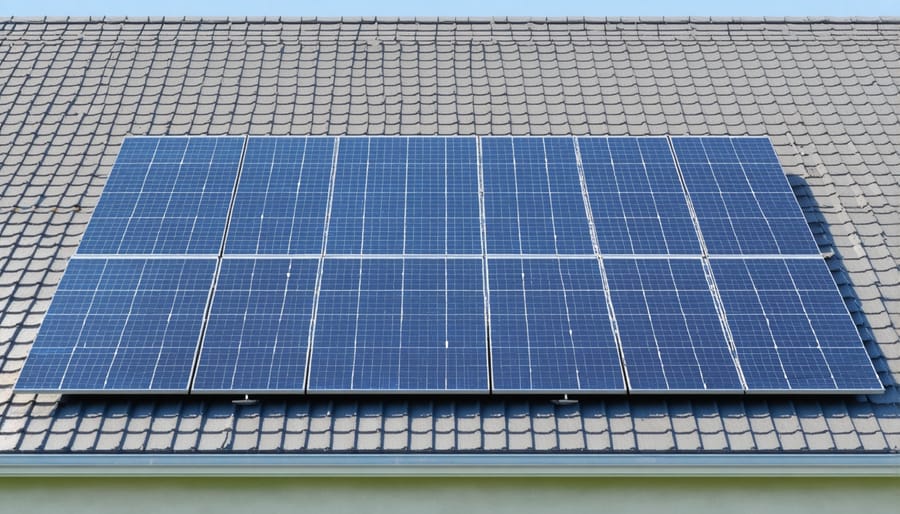
The mounting system secures your panels safely to your roof while maintaining proper angle and spacing for optimal sunlight exposure. Quality mounting hardware ensures your installation can withstand various weather conditions while protecting your roof’s integrity.
Electrical components complete the system, including:
– DC and AC disconnects for safety
– Wiring and conduit
– Electrical panels
– Battery storage (optional)
– Performance monitoring systems
These components work together to create a reliable, efficient home solar power system that can significantly reduce your energy bills while supporting sustainable living.
Supporting Equipment
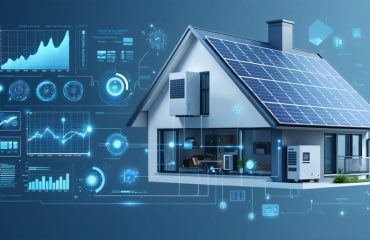
A complete solar panel installation requires several essential supporting components to ensure safe and efficient operation. The monitoring system is a key element, allowing you to track your system’s performance through a user-friendly app or web interface. This helps you verify energy production and detect any potential issues early on.
Safety equipment includes rapid shutdown devices, which quickly de-energize your system in emergencies, and proper grounding equipment to protect against electrical surges. DC disconnect switches provide an additional layer of safety, allowing you to cut power flow when needed for maintenance.
Optional components can enhance your system’s functionality. Power optimizers maximize each panel’s output, especially useful in partially shaded installations. Battery storage systems let you store excess energy for nighttime use or during power outages. Smart consumption meters help track your household’s energy usage patterns, while weather sensors can protect your panels by adjusting their position during severe weather.
Remember to include surge protectors and proper labeling for all system components, ensuring safe operation and easy maintenance for years to come.
Planning Your Roof Layout
Roof Assessment Guidelines
Before installing solar panels, a thorough roof assessment is essential to ensure optimal performance and longevity of your solar system. Start by examining your roof’s age and condition – ideally, your roof should have at least 10 years of life remaining to avoid costly panel removal for future repairs.
Check your roof’s orientation and pitch. South-facing roofs in the Northern Hemisphere typically receive the most sunlight, though southeast and southwest orientations can also work well. The ideal roof pitch for solar panels falls between 30-45 degrees, though panels can be installed on most slopes with proper mounting equipment.
Evaluate potential shading issues by observing your roof throughout the day. Trees, nearby buildings, chimneys, and other obstructions can significantly impact solar panel efficiency. Consider seasonal changes in sun position and shadow patterns. Even partial shade on one panel can affect the entire system’s performance.
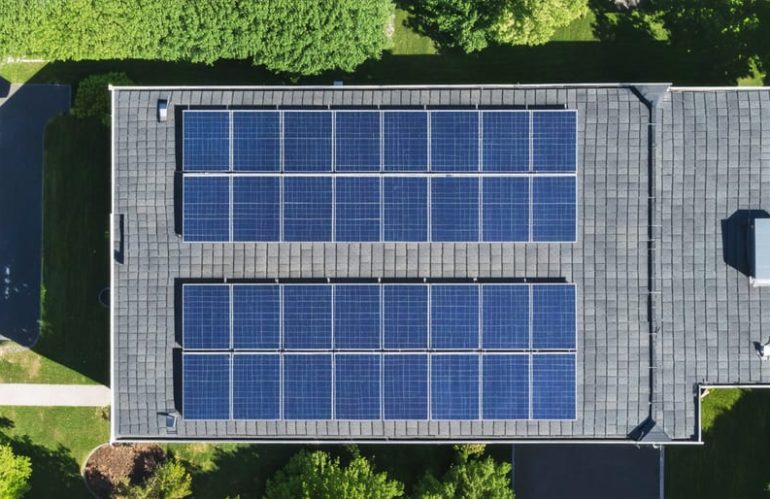
Calculate your usable roof space by measuring the available area, keeping in mind setback requirements for fire safety and maintenance access. A typical residential solar panel requires about 17-20 square feet, so ensure you have enough space for your desired system size.
Document any structural concerns like weak spots, leaks, or damaged shingles. These issues should be addressed before installation. Consider having a professional roofer assess your roof’s load-bearing capacity, as solar panels add approximately 2-4 pounds per square foot to your roof’s weight load.
Optimal Panel Positioning
Proper panel positioning is crucial to maximize system efficiency and energy production. For optimal results in North America, solar panels should face true south (not magnetic south) and be installed at an angle between 30-45 degrees, depending on your geographical latitude. Generally, your latitude minus 15 degrees provides an ideal tilt angle for summer, while adding 15 degrees works best for winter.
When arranging multiple panels, maintain proper spacing to prevent shading and allow for maintenance access. Leave at least 3-4 inches between panel rows and ensure a minimum of 1-inch gap between adjacent panels for thermal expansion. For flat roofs, use appropriate racking systems to achieve desired angles while maintaining at least 4 feet of clearance from roof edges for safety and maintenance.
Consider your roof’s orientation and shape when planning array configuration. While south-facing installations are ideal, east and west-facing arrays can still produce significant energy, typically generating 80% of what south-facing systems achieve. If space allows, arrange panels in portrait orientation for better wind resistance and easier maintenance access. For multi-row installations, calculate inter-row spacing using the “3x rule” – space rows at three times the height difference between the front of one row and the back of another to minimize shading impact.
Electrical System Integration
Wiring Configuration
The wiring configuration of your solar panel system plays a crucial role in its overall performance. Solar panels are typically arranged in strings, where multiple panels are connected in series to achieve the desired voltage. Each string feeds into a combiner box, which then connects to your inverter. For residential installations, most systems use either a single string or multiple parallel strings, depending on your energy needs and roof configuration.
When connecting panels, positive terminals link to negative terminals in sequence, creating a continuous electrical path. The final positive and negative leads from each string run through protective conduit to the combiner box. This box houses essential safety components like fuses and surge protectors that safeguard your system from electrical issues.
Modern solar installations often incorporate power optimizers or microinverters, which connect to individual panels. These devices help maximize energy production by allowing each panel to operate independently, especially useful when some panels may experience shading or different sun exposure throughout the day.
For safety and optimal performance, all wiring connections must be weather-sealed and properly secured. Using industry-standard MC4 connectors ensures reliable, waterproof connections between panels, while proper wire management prevents potential damage from environmental exposure.
Safety Components
Safety should always be your top priority when installing solar panels, and several essential components work together to protect both your system and your home. The main disconnect switch acts as an emergency shut-off, allowing you to quickly cut power to your entire solar system when needed for maintenance or in case of emergency.
Proper grounding is crucial for protecting against electrical surges and lightning strikes. Your system needs both equipment grounding conductors, which connect all metal components, and a grounding electrode system that safely channels excess electricity into the earth. These work together to prevent electrical fires and protect your expensive solar equipment.
Every solar installation requires circuit breakers or fuses in the combiner box and main service panel. These devices automatically shut off power if they detect dangerous current levels or short circuits. Modern systems also include rapid shutdown devices, which quickly reduce voltage in your solar panels when activated, making the system safer for emergency responders.
Arc fault protection is another vital safety feature, detecting and preventing electrical arcs that could cause fires. Finally, surge protection devices guard your system against damaging power spikes from lightning or utility grid fluctuations.
Installation Best Practices
Mounting System Setup
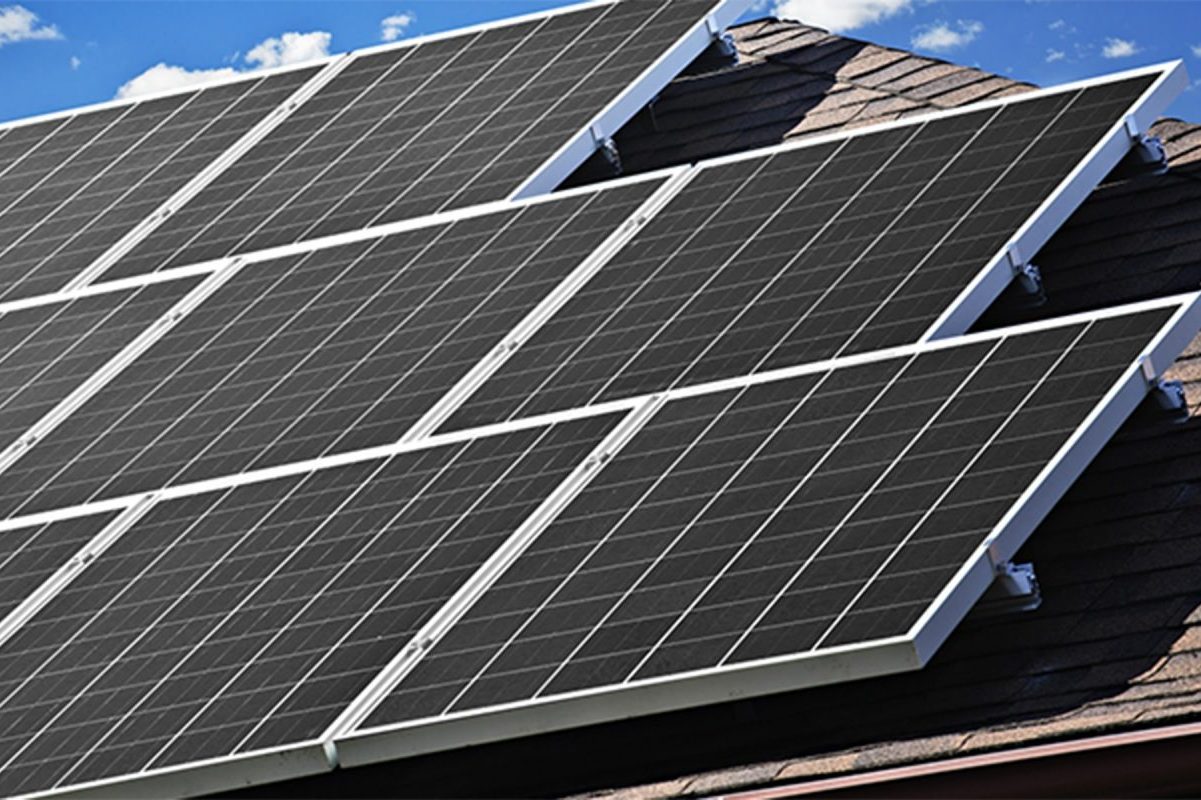
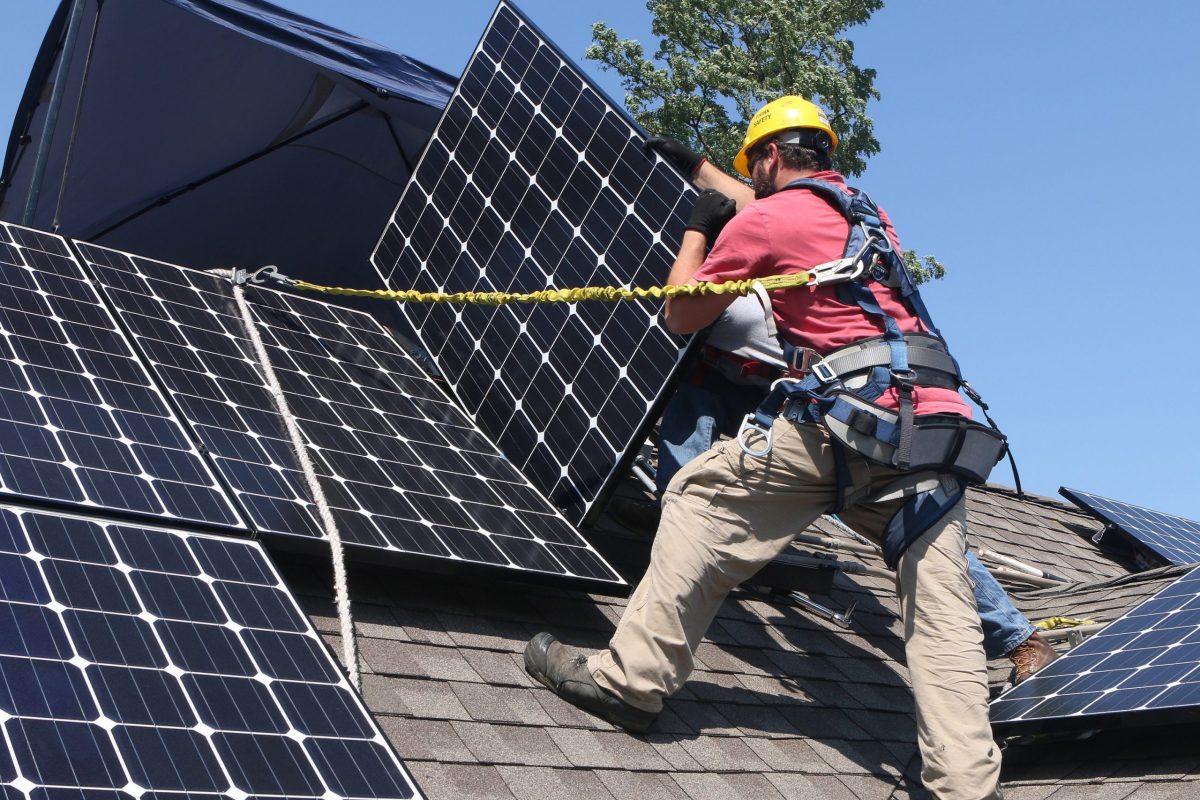
The mounting system forms the backbone of your solar panel installation, securing your panels safely to your roof. Start by installing mounting brackets, also called roof anchors, at regular intervals along your roof’s rafters. These anchors should penetrate the roofing material and attach firmly to the structural beams beneath for maximum stability.
Next, attach the aluminum rails to these mounting points, ensuring they’re perfectly level and parallel to each other. The rails typically run vertically up your roof and should be spaced according to your specific panel dimensions. Use a chalk line to mark their positions and maintain straight lines during installation.
Most mounting systems include mid-clamps and end-clamps. Mid-clamps secure panels between each other, while end-clamps fasten the outer edges of your solar array. When installing the rails, maintain proper spacing to account for thermal expansion and contraction – typically about 1/4 inch between panels.
For optimal performance, angle your mounting rails to match your roof’s pitch unless you’re using adjustable mounts. If you live in a high-wind area, consider additional mounting points for enhanced stability. Remember to apply weatherproof flashing around each roof penetration to prevent any water infiltration and maintain your roof’s integrity.
Always double-check that all bolts and fasteners are tightened to the manufacturer’s specified torque requirements, as this ensures long-term stability and safety of your solar installation.

Panel Installation Process
Once the mounting rails are securely in place, it’s time to install the solar panels themselves. Begin by carefully lifting each panel onto the rails with the help of at least one other person. Position the panels according to your layout plan, maintaining even spacing between each unit for optimal airflow and accessibility.
Secure each panel to the mounting rails using the manufacturer-provided clamps. Start with the end clamps, which anchor the outer edges of the first and last panels in each row. Then, install mid clamps between adjacent panels to lock them together. These clamps should be tightened to the specified torque settings – not too loose to risk movement, but not so tight as to damage the panel frames.
Next, connect the panels electrically. Each panel comes with positive and negative cables that need to be linked in series or parallel, depending on your system design. Always ensure the system is completely powered down before making any connections. Use weatherproof MC4 connectors to join the panels, making sure each connection clicks firmly into place.
Once all panels are secured and connected, perform a final inspection. Check that all clamps are properly tightened, wiring is neat and properly supported, and no cables are hanging loose or exposed to potential damage. This attention to detail during installation will ensure your solar system performs reliably for years to come.
Final Checks
Before powering up your solar system, complete these essential quality checks to ensure everything is working safely and efficiently. Start by verifying all electrical connections are tight and properly insulated. Double-check that all panels are securely mounted and aligned according to your installation plan. Confirm that the inverter displays are functioning and showing appropriate readings.
Test the system’s voltage output using a multimeter to ensure it matches the expected specifications. Inspect all wiring for proper labeling and ensure the grounding system is correctly installed. Verify that your monitoring system is connected and accurately tracking power production.
Remember to document all final measurements and take photos of the completed installation for your records. It’s also important to understand how to maintain your solar panels to ensure optimal performance. Finally, schedule your official inspection with local authorities and arrange for your utility company to install the necessary meter for grid connection.
Keep all installation documentation, warranties, and maintenance schedules in a dedicated folder for future reference. Regular system checks will help ensure your solar investment continues to perform efficiently for years to come.
Installing solar panels is a significant investment that can transform your home into an energy-efficient powerhouse while reducing your carbon footprint. Throughout this guide, we’ve covered the essential components of a solar panel system, proper placement considerations, and step-by-step installation procedures. While DIY installation might seem tempting, professional installation ensures optimal system performance, safety compliance, and long-term reliability.
Remember that proper installation is crucial for maximizing your solar panels’ efficiency and lifespan. Professional installers bring expertise in local building codes, electrical requirements, and structural considerations that might be overlooked in a DIY approach. They also typically provide warranties and ongoing support, giving you peace of mind about your investment.
The initial investment in professional installation often pays for itself through improved system performance, reduced risk of damage, and proper documentation for insurance and warranty purposes. Additionally, certified installers can help you navigate local permits, utility requirements, and available tax incentives or rebates.
As solar technology continues to advance and become more accessible, proper installation remains the foundation of a successful solar energy system. By following proper installation guidelines and working with qualified professionals, you’re not just adding value to your home – you’re contributing to a more sustainable future while ensuring the safety and efficiency of your solar investment.