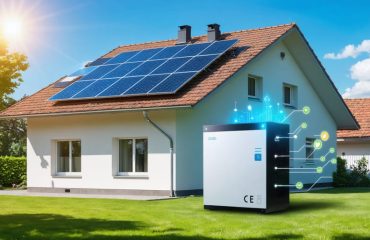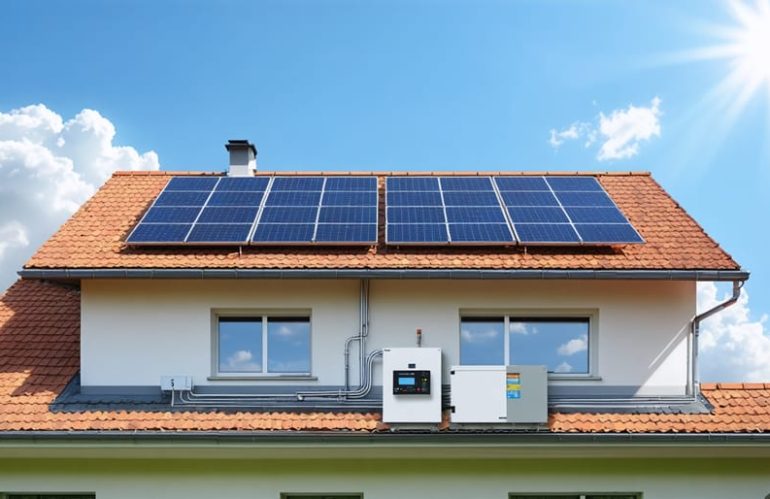
Installing your own independent solar power system with battery backup can slash electricity bills by 50-90% while providing reliable emergency power during outages. Modern DIY solar installations have become increasingly accessible, with pre-configured kits and plug-and-play components reducing both complexity and costs. A properly sized 5kW system with 10kWh battery storage typically powers an average home for 24-48 hours during outages, while generating clean energy year-round.
Calculate your specific power needs first – most homes require between 4-8kW of solar capacity and 8-16kWh of battery storage for meaningful backup. Quality components like tier-1 solar panels, hybrid inverters, and lithium batteries may cost $12,000-20,000 upfront but deliver 25+ years of reliable power generation with minimal maintenance. With federal tax credits covering 30% of costs and many states offering additional incentives, the average DIY solar installation pays for itself in 5-8 years through utility savings.
By handling the installation yourself while following local building codes and safety requirements, you’ll gain complete control over your home’s power supply while developing valuable technical skills. Modern monitoring systems let you track production and consumption in real-time through smartphone apps, optimizing your energy independence.
Planning Your DIY Solar System
Calculate Your Home’s Energy Needs
Before investing in solar equipment, it’s crucial to accurately calculate your home’s energy requirements. Start by gathering your monthly electricity bills from the past year to understand your average consumption patterns. Look for the kilowatt-hours (kWh) used per month and note seasonal variations.
To determine your daily energy needs, divide your monthly kWh by 30. For example, if you use 900 kWh per month, your daily requirement is 30 kWh. Next, consider which appliances and systems you want to power during outages. Make a list of essential items like refrigerators, lighting, and HVAC systems, along with their wattage ratings.
To optimize energy efficiency, conduct a home energy audit before sizing your system. This can help reduce your overall power requirements and potentially decrease the size and cost of your solar installation.
For battery backup, factor in how long you want to maintain power during outages. A good rule of thumb is to add 20% to your calculated capacity to account for system losses and future needs. Don’t forget to consider your location’s peak sun hours – this affects how many solar panels you’ll need to generate sufficient power.
Use these calculations to determine both your solar array size and battery bank capacity. For example, if you need 30 kWh daily and have 5 peak sun hours, you’ll need a minimum 6 kW solar system with appropriate battery storage.
Choose Your Components
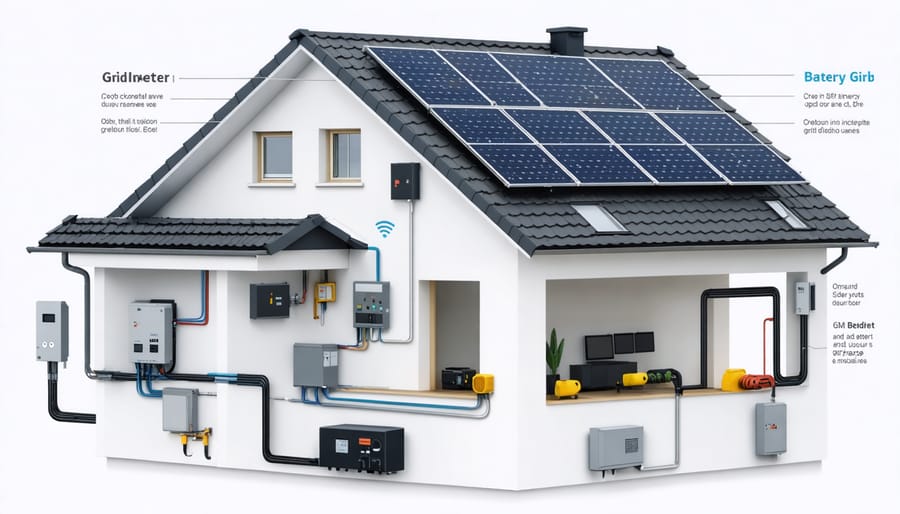
Selecting the right components for your DIY solar system is crucial for optimal performance and reliability. Let’s break down the essential equipment you’ll need:
Solar Panels: Start by choosing high-quality monocrystalline or polycrystalline panels from reputable manufacturers. For a typical home system, you’ll need enough panels to generate 5-10 kW, depending on your energy consumption.
Charge Controller: A MPPT (Maximum Power Point Tracking) charge controller is recommended for better efficiency. Size this according to your solar array’s voltage and current specifications.
Battery Bank: Deep-cycle lithium-ion batteries are the modern standard, offering better performance and longevity than lead-acid alternatives. Calculate your storage needs based on your daily energy consumption and desired backup duration.
Inverter: Choose a pure sine wave inverter that matches your system’s voltage and provides enough capacity for your power needs. For battery backup systems, select a hybrid inverter that can manage both solar input and battery storage.
Mounting Hardware: You’ll need sturdy mounting rails, clamps, and brackets designed for your roof type. Don’t skimp on quality here – proper mounting ensures system longevity and safety.
Safety Equipment: Include proper disconnects, surge protection devices, and grounding equipment. These components are essential for system safety and code compliance.
Monitor your energy usage patterns before making final component selections to ensure your system meets your specific needs. Remember to check local regulations and warranty terms when choosing components.
Essential Components Explained
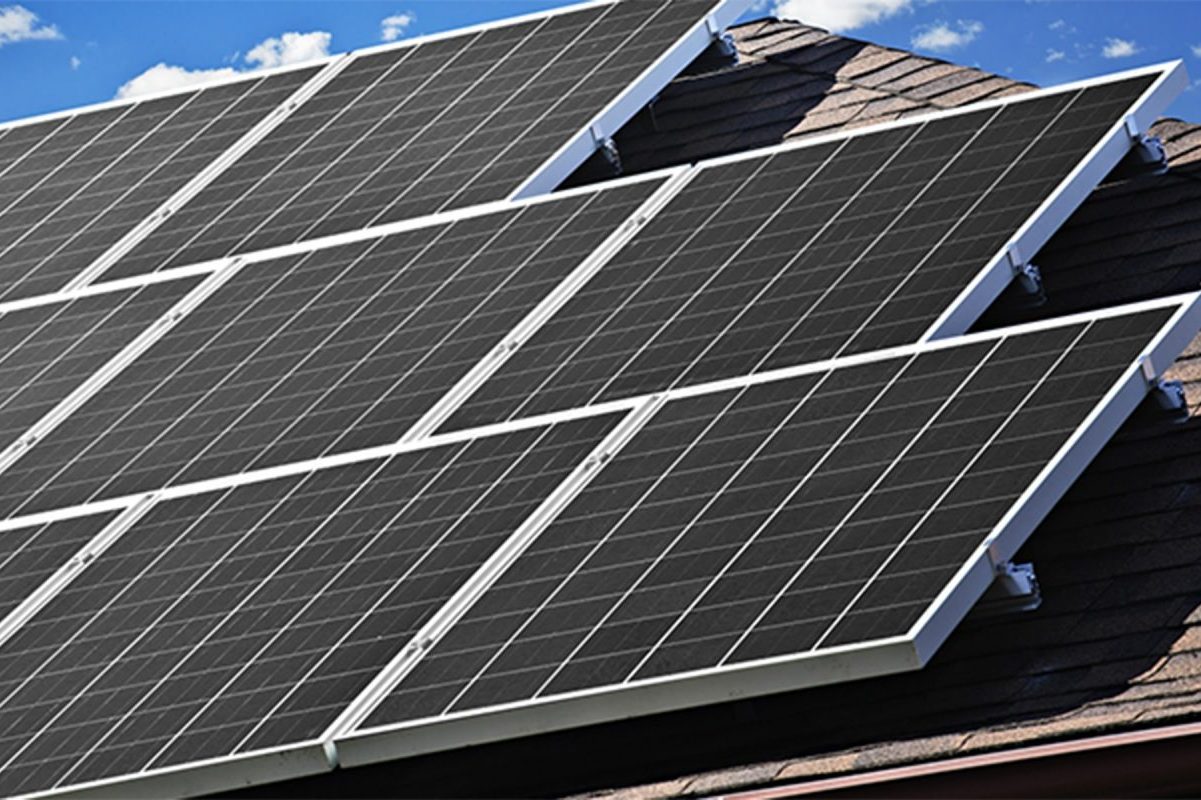
Solar Panels and Mounting
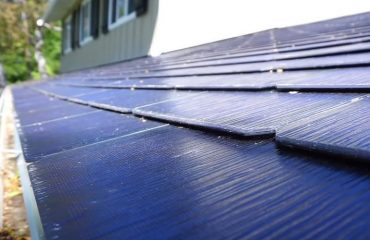
Solar panels are the heart of your DIY solar system, and choosing the right ones is crucial for optimal performance. Most residential installations use monocrystalline or polycrystalline panels, with monocrystalline offering better efficiency in limited space. For a typical home system, you’ll want panels rated between 300-400 watts each, with an efficiency rating of at least 15%.
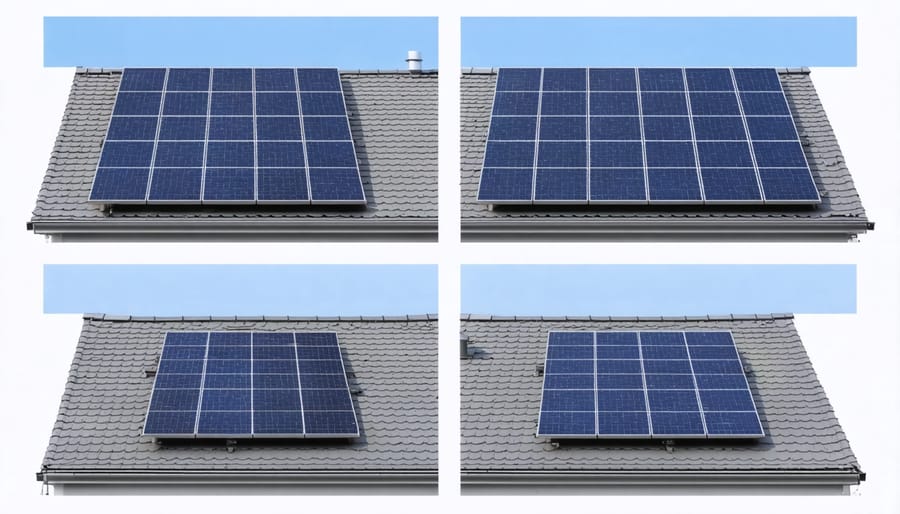
When it comes to mounting, you have two main options: roof mounts or ground mounts. Roof mounting is most common and saves yard space, but requires careful consideration of your roof’s condition, angle, and weight-bearing capacity. Ground mounting offers easier maintenance access and optimal angle adjustment but needs more space and proper soil conditions.
Your mounting system should be rated for your local wind and snow loads. Use corrosion-resistant aluminum rails and stainless-steel hardware to ensure longevity. For roof installations, ensure proper flashing and waterproofing around mounting points to prevent leaks.
Panel orientation is crucial – aim for southern exposure in the Northern Hemisphere, with a tilt angle roughly equal to your latitude for best year-round performance. Consider using adjustable mounts to optimize seasonal angles if you’re ground mounting. Leave adequate spacing between panels for maintenance access and proper airflow, which helps maintain efficiency by preventing overheating.
Battery Storage Systems
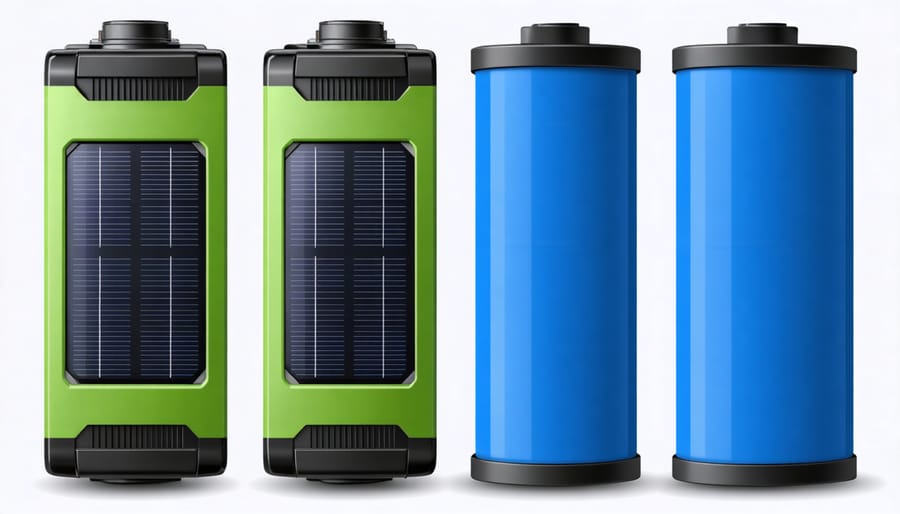
Choosing the right battery storage system is crucial for a reliable DIY solar setup. The three main battery types suitable for home solar systems are lead-acid, lithium-ion, and saltwater batteries. While lead-acid batteries are the most affordable option, lithium-ion batteries offer superior performance and longevity, making them increasingly popular for their solar backup battery benefits.
To determine the right battery size, calculate your daily energy usage and multiply it by the number of backup days desired (typically 2-3 days). For example, if your daily usage is 20 kWh and you want two days of backup, you’ll need a 40 kWh battery system. Remember to factor in depth of discharge limits – lithium batteries can typically discharge up to 80%, while lead-acid should only discharge to about 50%.
Maintenance requirements vary by battery type. Lead-acid batteries need regular water level checks, terminal cleaning, and specific gravity testing every 6 months. Lithium-ion batteries are virtually maintenance-free, requiring only occasional voltage checks and keeping them within recommended temperature ranges. Regardless of type, install batteries in a well-ventilated, temperature-controlled space and monitor their performance through your system’s charge controller.
Most modern battery systems include smart monitoring capabilities, allowing you to track performance and receive maintenance alerts through smartphone apps, making system management more convenient than ever.
Inverters and Charge Controllers
Inverters and charge controllers are essential components that ensure your solar system operates efficiently and safely. The inverter converts DC power from your solar panels and batteries into AC power that your home appliances can use. For a battery backup system, you’ll need a hybrid inverter (also called a battery-ready inverter) that can manage both solar panels and batteries.
When selecting an inverter, consider your total power needs and choose one rated slightly higher to accommodate future expansion. Look for models with high efficiency ratings (95% or better) and features like built-in monitoring systems that let you track your energy production and consumption.
The charge controller regulates the voltage and current from your solar panels to your batteries, preventing overcharging and extending battery life. For most home systems, choose an MPPT (Maximum Power Point Tracking) charge controller over the simpler PWM type. MPPT controllers are more expensive but can increase charging efficiency by up to 30%.
Size your charge controller based on your solar array’s specifications and battery bank voltage. A good rule of thumb is to select a controller rated for 20% more than your array’s maximum current output. Look for models with temperature compensation and multiple charging stages to optimize battery performance and longevity. Many modern charge controllers also include Bluetooth connectivity for easy monitoring through smartphone apps.
Installation Steps
Mounting Solar Panels
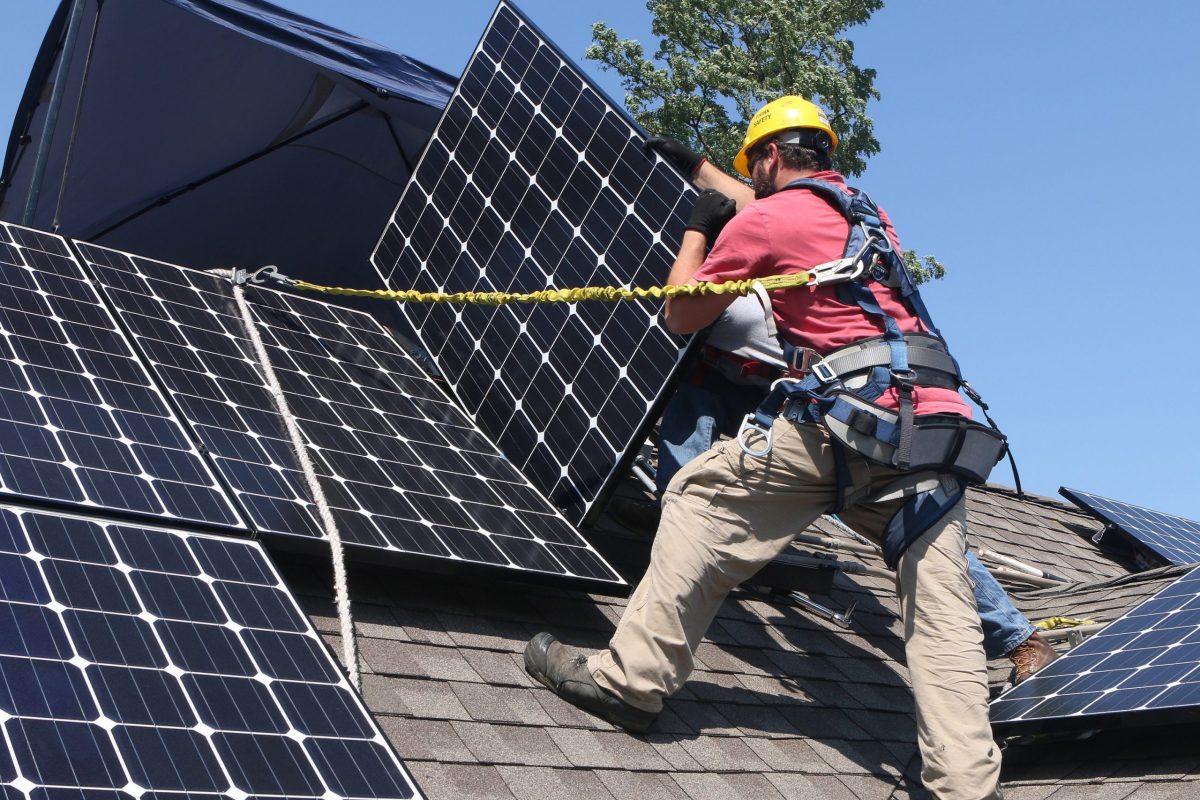
Before beginning the physical installation, ensure you’ve reviewed all solar panel installation safety guidelines and local building codes. Start by marking your roof’s mounting points, ensuring they align with the rafters beneath. Use a stud finder to locate and mark these structural supports accurately.
Install mounting brackets at least every 4 feet along your roof’s rafters, using lag bolts designed for solar installations. Apply weatherproof flashing around each mounting point to prevent water infiltration. Ensure all bolt penetrations are properly sealed with roofing sealant.
When lifting panels onto the roof, always work with a partner and use proper safety equipment, including a fall protection harness. Create a clear staging area on the ground for organizing materials and maintaining a clean workspace.
Attach the mounting rails to your installed brackets, ensuring they’re perfectly level and parallel to each other. The rails should be spaced according to your solar panel manufacturer’s specifications. Double-check all connections and tighten bolts to the recommended torque settings.
Finally, secure the panels to the mounting rails using the provided clamps. Center panels carefully on the rails and maintain consistent spacing between each panel. This not only looks professional but also ensures optimal airflow for cooling. Remember to leave enough space around the array for maintenance access and proper ventilation.
Once mounted, check that all panels are secure and level before proceeding with electrical connections. This attention to detail during mounting will ensure your system’s longevity and performance.
Wiring and Connections
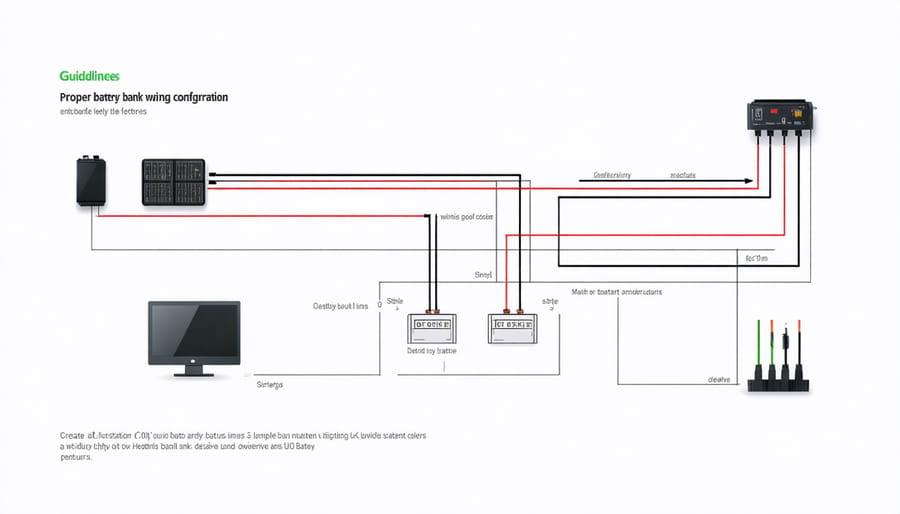
Proper wiring is crucial for both safety and efficiency in your DIY solar system. Start by creating a detailed wiring diagram before making any connections. This helps prevent mistakes and ensures compliance with local electrical codes.
For the solar panels, use UV-resistant PV wire rated for outdoor use, typically 10 or 12 AWG depending on your system size. Connect panels in series or parallel according to your charge controller specifications, making sure to maintain consistent polarity throughout.
When connecting batteries, use thick cables (usually 2/0 or 4/0 AWG) to handle the high current flow. Keep battery cables as short as possible to minimize power loss. Install properly-sized fuses or circuit breakers between components for protection against short circuits and overloading.
The charge controller sits between your panels and batteries. Mount it in a clean, dry location and ensure all connections are tight and properly insulated. Use appropriately sized MC4 connectors for panel connections and ring terminals for battery connections.
Your inverter requires heavy-duty cables to connect to the battery bank. Install a main DC disconnect switch between the batteries and inverter for safety during maintenance. On the AC side, wire the inverter to your home’s electrical panel through a transfer switch, which safely manages the transition between solar and grid power.
Always use proper crimping tools for terminals and connectors – never twist wires together. Apply anti-oxidation compound to battery terminals to prevent corrosion. Label all wires and connections clearly for future reference and maintenance.
Remember to double-check all connections before powering up the system. If you’re unsure about any electrical work, especially connecting to your home’s main panel, consult a licensed electrician. The initial investment in proper wiring materials and tools will pay off in system reliability and safety.
Battery Bank Setup
Setting up your battery bank is crucial for achieving a reliable continuous power supply during nighttime or grid outages. Start by choosing a dedicated, well-ventilated space for your batteries, ideally in a temperature-controlled area of your garage or utility room. Install a sturdy, level platform that can support the weight of your batteries, and ensure it’s elevated slightly off the ground to prevent moisture damage.
Connect your batteries in series or parallel configuration, depending on your system’s voltage requirements. For a typical home setup, connecting four 12V batteries in series will give you 48V, which is ideal for most modern inverters. Use heavy-duty battery cables with proper terminal connections, and always connect the negative terminals first, followed by the positive terminals.
Install a battery monitoring system (BMS) to protect your investment. The BMS helps prevent overcharging and deep discharging, which can significantly reduce battery life. Place temperature sensors on key points of your battery bank, and ensure proper insulation between batteries to maintain consistent temperature across the bank.
Don’t forget to include safety features like proper fusing and disconnect switches. Install these components between the battery bank and charge controller, and between the bank and inverter. Label all connections clearly and create a simple diagram showing the setup for future reference.
For maintenance, check battery connections monthly for corrosion and ensure terminals remain tight. Keep a maintenance log to track battery performance and schedule regular inspections of your battery bank’s health.
System Testing and Maintenance
Initial Testing
Before powering up your entire system, conduct a series of safety checks and tests to ensure everything is properly connected. Start by testing the battery bank’s voltage using a multimeter – it should match the system’s designed voltage (typically 12V, 24V, or 48V). Next, verify all solar panel connections and confirm they’re generating the expected voltage in full sunlight.
Test your charge controller by connecting it to the batteries first, then to the solar panels. Watch the controller’s display to ensure it shows charging activity. For the inverter, connect it to the batteries and test it with a small appliance like a lamp before adding more substantial loads.
If you notice any issues, such as incorrect voltage readings or equipment not functioning as expected, double-check all connections and consult your component manuals. Common problems include loose connections, reversed polarity, or incorrect system sizing. Don’t rush this testing phase – it’s crucial for ensuring your system’s safety and longevity.
Remember to document all test results and initial performance readings for future reference and monitoring system efficiency over time.
Regular Maintenance Tasks
Regular maintenance helps ensure your DIY solar system operates efficiently for years to come. Every month, check your battery levels and connections, looking for any signs of corrosion or loose wires. Clean your solar panels quarterly using plain water and a soft brush to remove dust, leaves, and bird droppings that can reduce efficiency.
Inspect your charge controller settings and battery terminals every six months, and tighten any loose connections. Test your backup system annually by simulating a power outage to ensure it switches over smoothly. During this test, verify that all critical appliances receive power as intended.
Keep a maintenance log to track cleaning dates, system performance, and any issues you encounter. Monitor your battery’s charging cycles and overall health through your charge controller’s display. Most modern systems will alert you to potential problems, but regular visual inspections are still important.
Replace batteries every 5-10 years, depending on usage and battery type. Consider professional inspection annually if you’re unsure about any aspects of system maintenance.
Installing a DIY home solar system with battery backup is an achievable goal that can significantly reduce your energy costs while providing reliable power during outages. By following the steps outlined in this guide, you can successfully plan, purchase, and install a system that meets your household’s needs. Remember to start with a thorough energy assessment, choose quality components that work together, and carefully follow local regulations and safety guidelines during installation.
While the initial investment may seem substantial, the long-term savings on utility bills and potential tax incentives make this a worthwhile project for many homeowners. Don’t forget to maintain your system regularly, checking batteries, cleaning panels, and updating your monitoring system to ensure optimal performance.
If you’re ready to begin your solar journey, start by conducting an energy audit and researching local regulations. Consider consulting with a professional electrician for complex electrical work, and always prioritize safety throughout the installation process. With proper planning and execution, your DIY solar system can provide clean, reliable power for years to come while contributing to a more sustainable future.